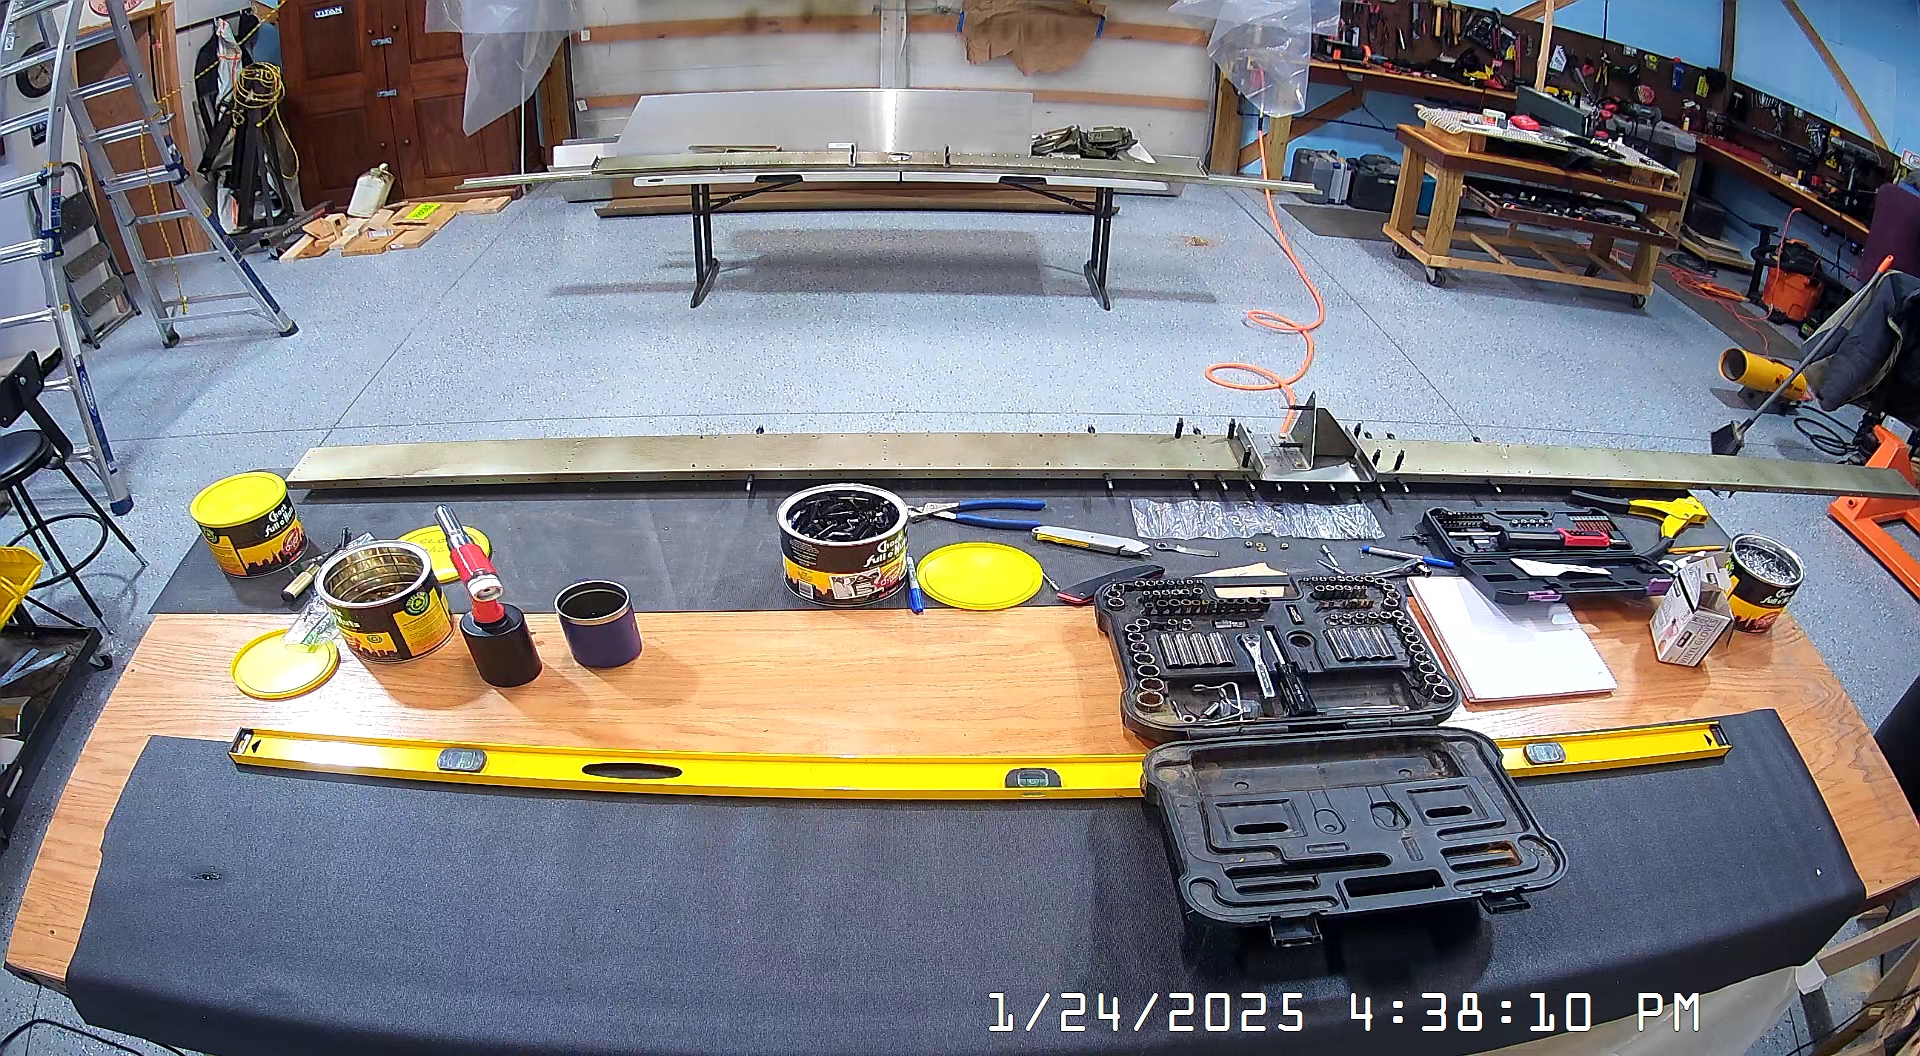
DATE: 1/24/2025 TIME: 3:23 – 4:38 ~ 1:10
As of this morning I had all of the parts primed and ready to assemble. I find the IPL documents provided as assembly instructions to be severely insufficient. It’s not that you cannot find your way to figuring out how to assemble the aircraft, it’s just that because of the way the information is provided it probably takes at least twice as long as necessary.
The videos that are available are really helpful, but if it takes a couple of hours to assemble the horizontal stabilizer skeleton, then having to watch a video first automatically doubles that to 4 hours, whereas a decent set of writing instructions can cut that down to maybe an additional 20 minutes.
To this end, as I am going through my build process I am updating the IPL document to at least reflect my process. The Zenith IPL document is copyright Zenith so I won’t be posting it here, just my comments regarding the build process. I will probably offer my edits to Zenith.
Instruction Updates
First off, the instruction order switches from the forward spar to the rear spar and back again whereas I think just finishing the initial preparation of each spar would be quicker.
There are four doublers for the rear spar. These doublers have notches in them which, when properly aligned, will line up. This helps to prevent putting the doublers in the wrong places. Strangely, one of the doublers on the forward spar also has notches in it. This is confusing because it made me wonder if I had the wrong doubler, or used the wrong doubler on the rear spar. The instructions don’t mention that one of the doublers on the front spar has a notch in it.
Moving on, as I was assembling the rear bracket onto the rear spar along with the hinge gusset is that while most of the rear bracket holes are final sized some are not. Specifically, the bolt holes in the rear bracket are correctly sized for the AN3-5A bolts. However, the bolt holes in the spar may not be final sized for the bolts but the doublers definitely are not final sized for the bolts so they have to be drilled out. I used a #12 drill for final sizing these holes.
Also with respect to the bolts, the IPL instructions mention placing a washer under the head of each of the bolts used to attach the hinge bracket to the rear bracket and spar but does not mention anything about washers on the other 4 bolts that hold the rear bracket to the spar. However, there are enough washers to place one under the head of each of the other 4 bolts and if you do not do that, and only place a washer under the nut of each of those bolts, then you will likely end up with close to 4 threads exposed once you have torqued the nut down. The bolt is then too long and you should place a washer under the head of the bolt and under the nut. After I had torqued the bolts I took them apart again and placed the extra washer under the head which results in maybe 1-1.5 threads visible.
Also, while on the subject of nuts and bolts, I don’t understand why they don’t specify the torque requirements in the instructions but refer you to a generic table to figure it out. I get that you should be able to figure it out but again, it’s frustrating when it would be quite simple to indicate the torque for the nut and bolt combination in any circumstance. Particularly as the company has had to assemble the kit itself and knows what the torque should be.
