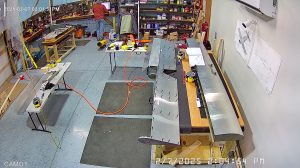
DATE: 02/07/2025 TIME: 1:12 p.m. – 4:31 p.m. ~ 4:00
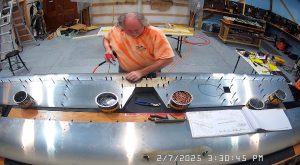
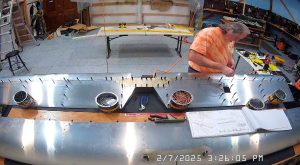
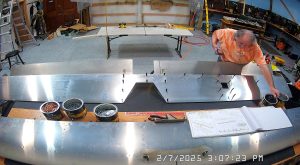
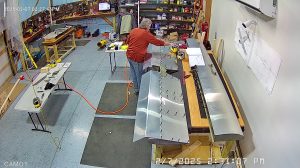
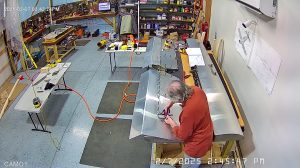
Continuing the Zenith 750 SD elevator assembly process today began with the alignment and attaching of the left elevator skin.
I made the comment yesterday about having the elevator channel oriented correctly. In fact I had already riveted the channel in place and had to drill out the rivets, turn it over and re-rivet it. That took some initial time as it didn’t make any sense to me that it should be necessary but once I had done so everything fit together properly.
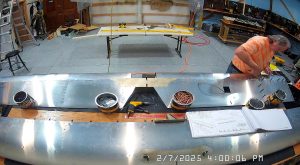
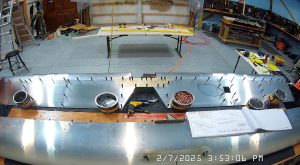
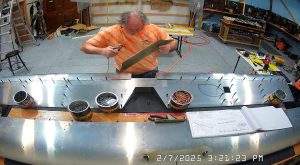
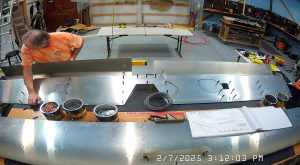
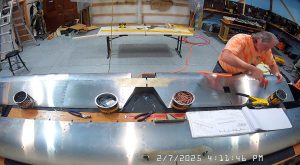
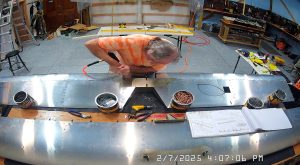
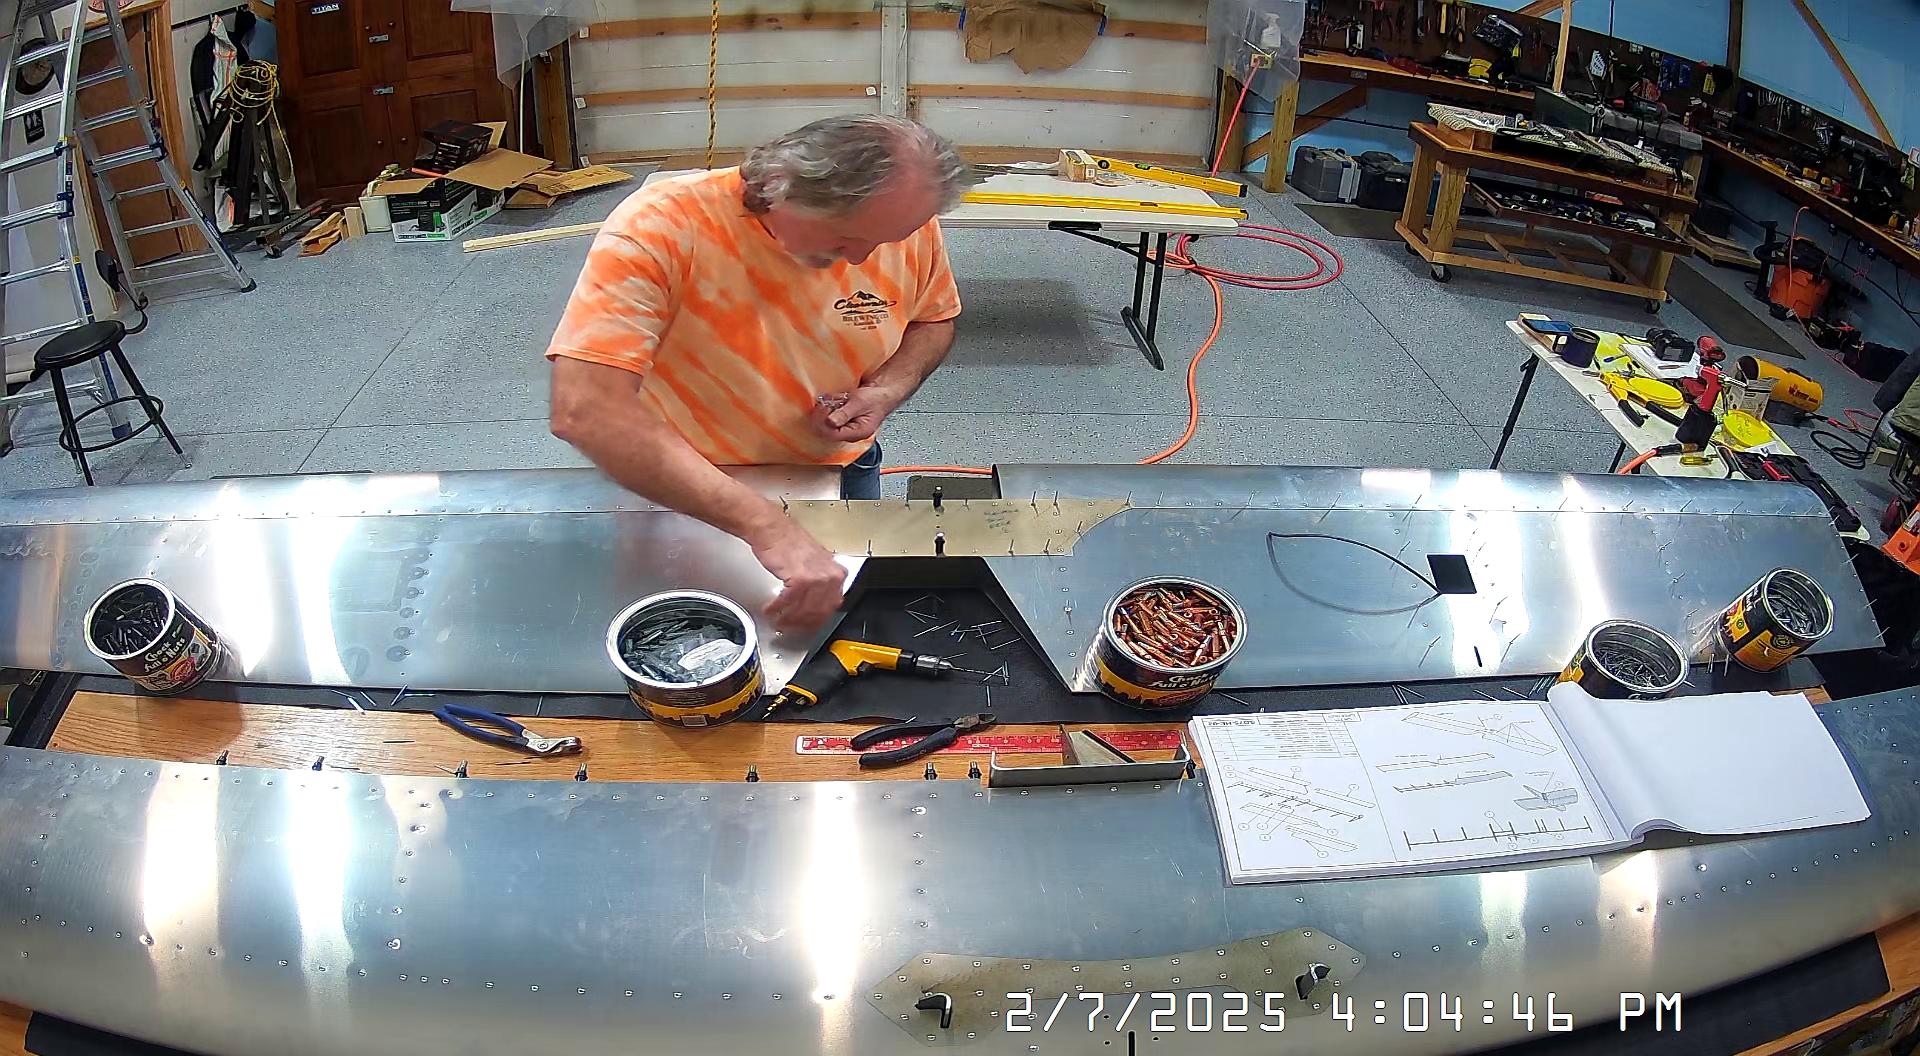
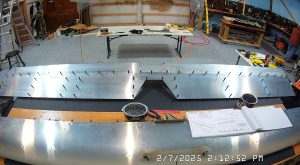
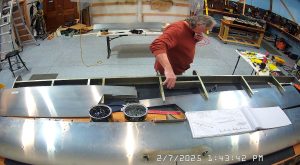
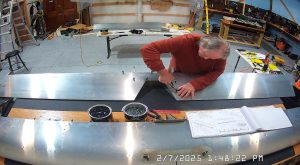
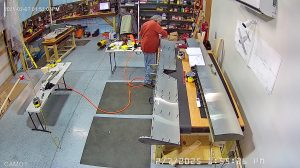
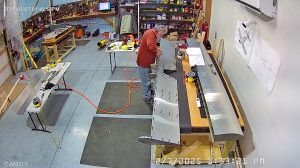
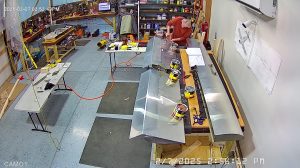
I clecod the left and right skins to the frame and then, per the instructions, the leading edge / nose skin. The photos of the whole process are below.
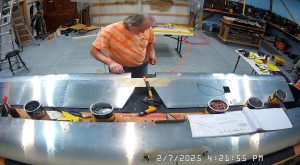
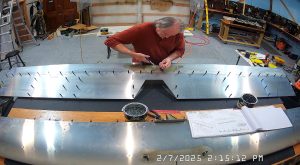
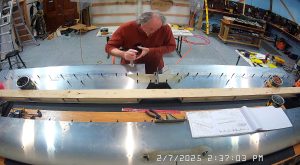
Note also that the skin doublers will only align correctly if they are the right way up on the elevator skins. Make sure you do not put rivets in the holes for the upper and lower elevator horns or in the spar or bracket where the horn angles are attached.
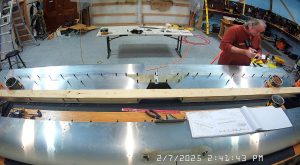
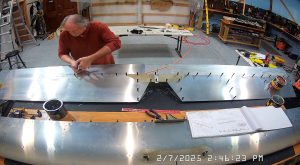
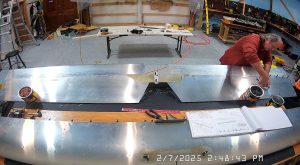
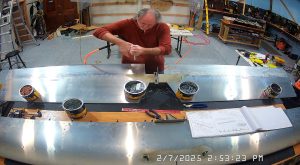
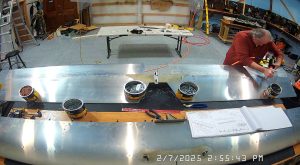
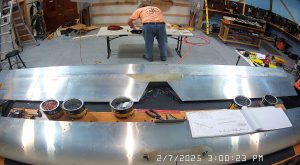
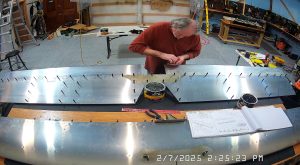
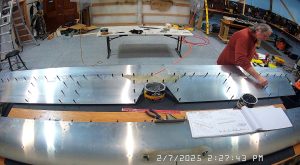
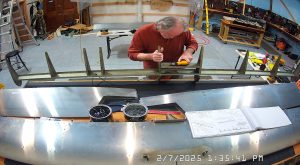
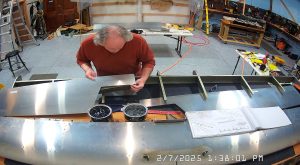
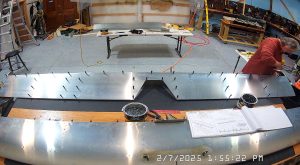
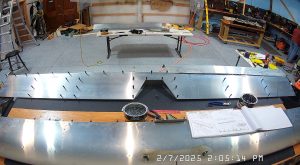
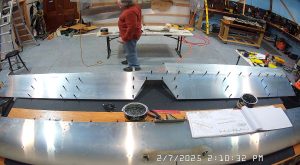
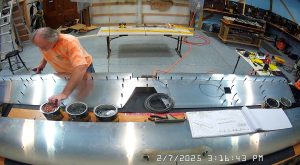
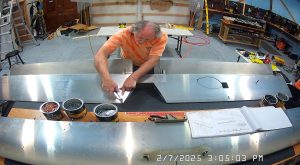
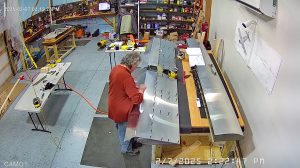
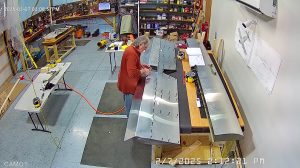
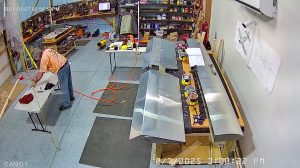
Here are some different view snapshots of the same process. You can see I used the 2×4 I used to fold the horizontal stabilizer over the ribs to make sure the elevator was flat against the bench top. That and a few cans full of clecos. I guess I could have clamped the elevator to the bench. Next time :). In any event, I think I got the elevator and the horizontal stabilizer flat.
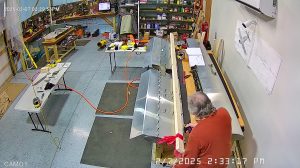
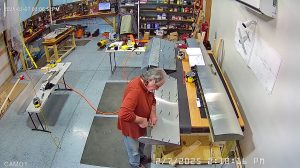
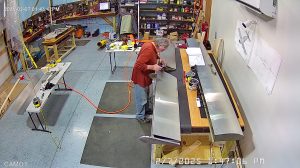
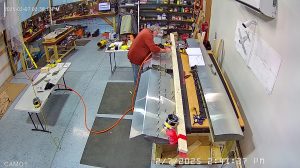
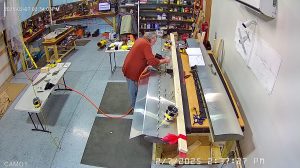
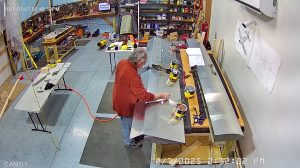
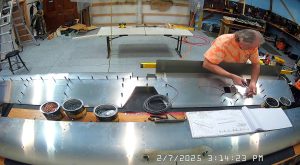
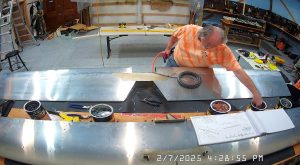
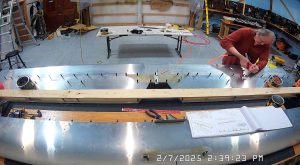
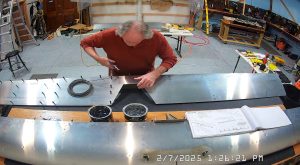
Turning the elevator over, I used my 6′ I-frame level from Harbor Freight to fold the nose skin over the ribs. It’s a little difficult to fold both the horizontal stabilizer skin and the elevator nose skin on your own, but it isn’t impossible.