DATE: 04-18-2025 TIME: 11:10 – 17:07 ~ 5:00
As of this morning the trim tab was riveted to the elevator and the servo set correctly for the required tab deflection of 30° +-2°. So today was the day to bolt the servo motor in place, test the wiring again, and screw the cover plate onto the elevator.
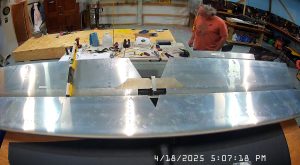
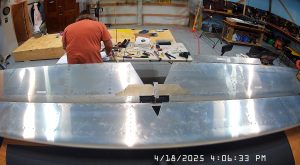
As I mentioned in a previous entry, I installed the servo and then had to remove it again because the pins were not properly locked into the connector.
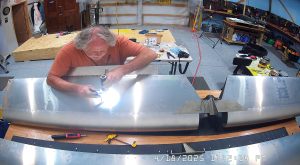
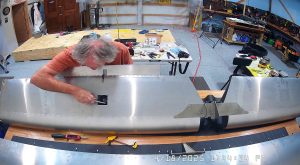
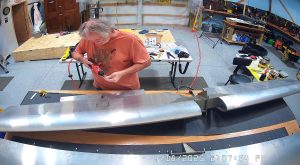
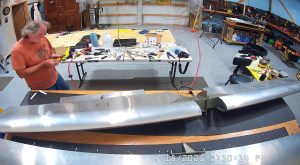
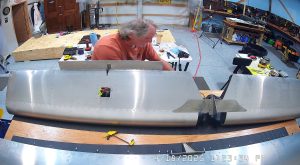
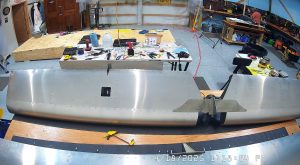
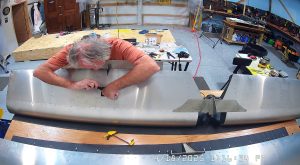
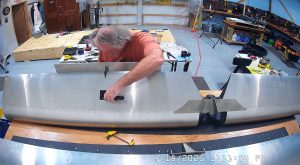
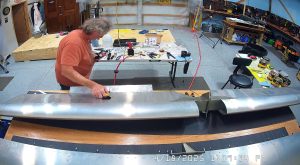
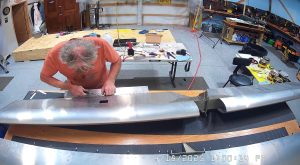
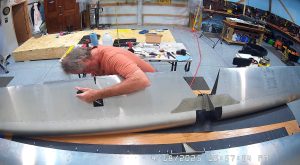

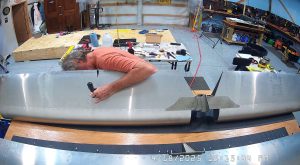
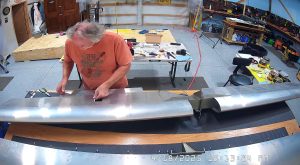
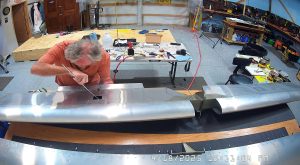
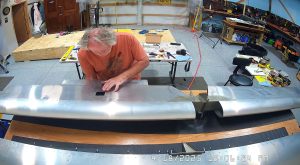
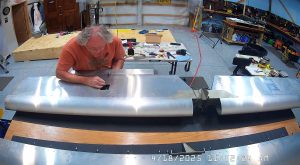
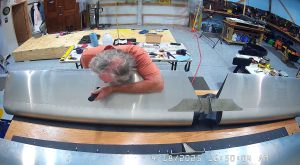
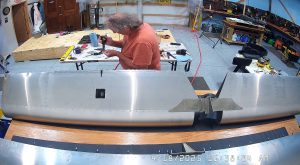
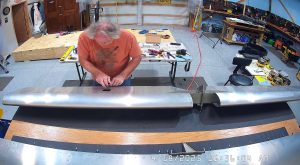
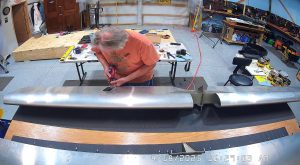
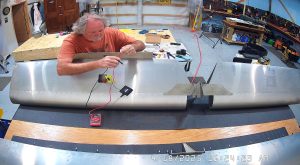
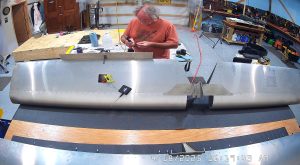
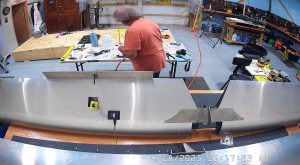
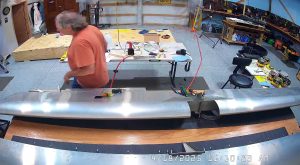
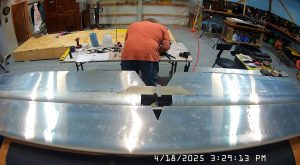
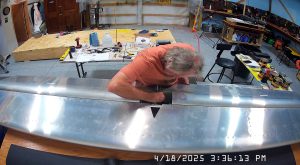
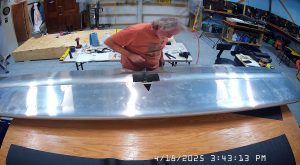
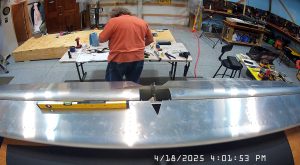
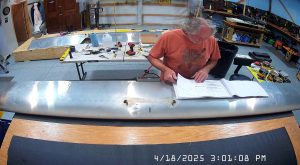
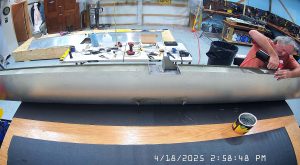
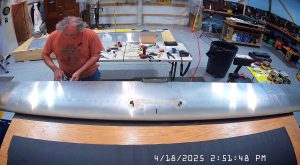
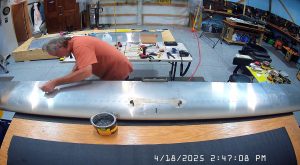
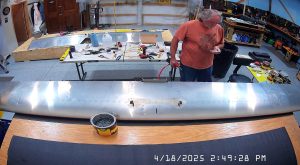
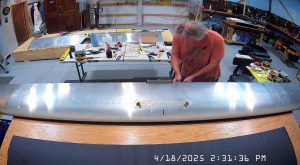
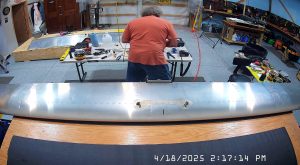
You will see from these snapshots above that I had installed the servo, then removed it to reset the connector pins and then re-installed it. The bolts and nuts were difficult to torque on the servo but I used the torque driver I had purchased off eBay. A really great tool, plus an articulating socket adapter and a socket that I reduced to a thin-wall socket and everything came out great.
You should notice I have some check paint on the stop nuts on the rod ends too. Don’t miss this, it’s important, and don’t solder (tin) the wires when you crimp connect them, whether you are using a connector as I did or simply butt end connecting them because it makes them more susceptible to breaking due to vibration.
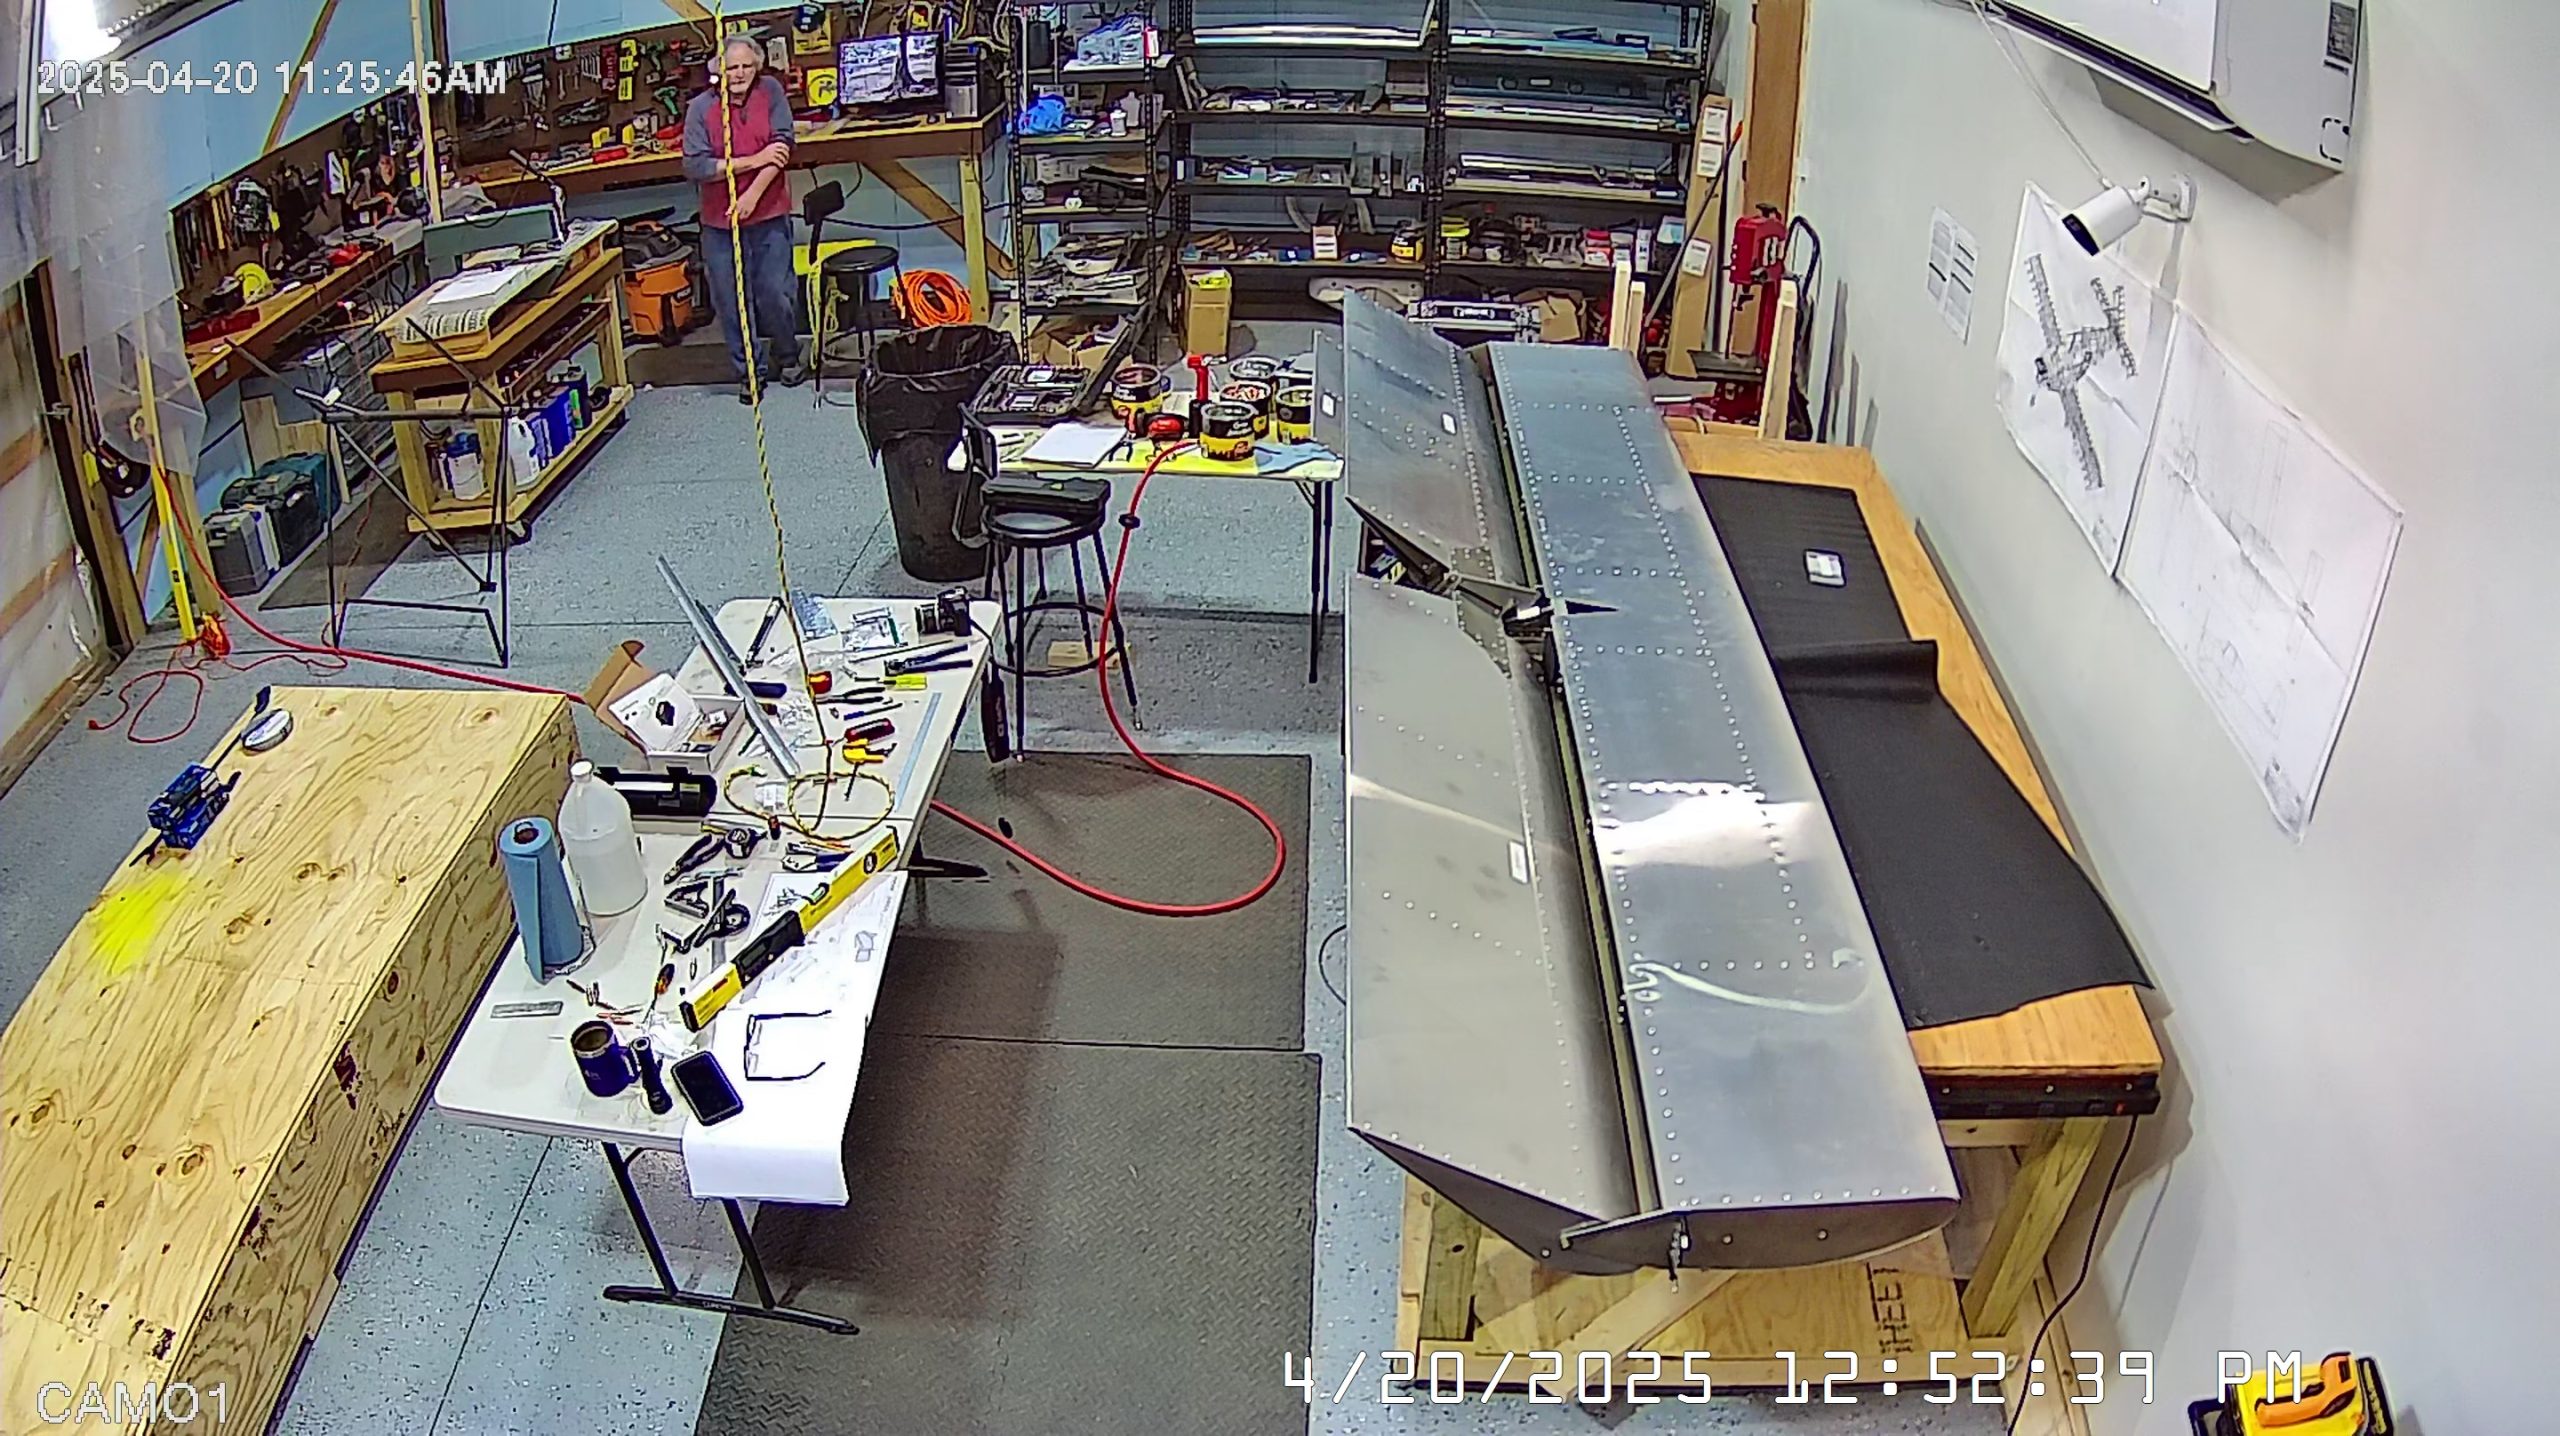
Next was to get on with assembling the elevator to the horizontal stabilizer and installing the upper elevator stop.
Assembling The Elevator To The Stabilizer
Sadly, the IPL instructions are minimal for the 750 SD and the builder resources don’t include anything on the SD specifically, only the STOL and Cruzer so that’s no help. The instructions begin by saying cleco the left and right hinge plates to the stabilizer and then align the elevator with the stabilizer. Well, if you do that, you can’t get the elevator in place so you really need to align the elevator with the horizontal stabilizer and then cleco the hinge plates in place, remembering to place an AN960-10 washer between the hinge plate and the elevator.
I had used a washer under the bolt head and the nut when assembling the stabilizer horn so I was short washers. Fortunately I had a bag left over from assembling the RV-10 tail so I used those to make up the shortfall and will purchase replacements when I go back to the RV-10 build next year.
Another issue I found was that the drawing shows 3 washers, the max permitted when bolting, on the outside of the hinge plate, over the elevator hinge pin, between the hinge plate and the clevis pin, while the instructions refer to only 1 washer. If you use 1 washer it leaves a large gap between the hinge plate and the clevis pin so I put 3 washers per the drawing. It’s not a huge issue but if you only use a single washer then lateral movement of the elevator relative to the stabilizer is only controlled by the central hinge which is a single bolt with a very small bushing in the elevator horn.
I had not riveted the rear spar web of the horizontal stabilizer so I started with that with the A5 rivets. Once that was completed I placed the elevator up against the horizontal stabilizer and clecod the hinge plates in place on the elevator hinge pins. At this point I installed the hinge bolt. It needs to be correctly torqued too. You definitely don’t want it falling out in flight. It uses an elastic lock nut so there isn’t really any need to use a check paint but there also isn’t any harm in doing so.
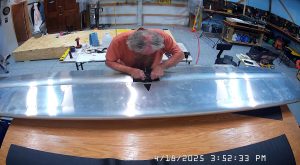
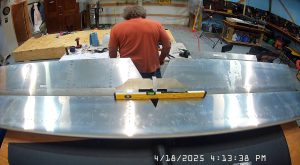
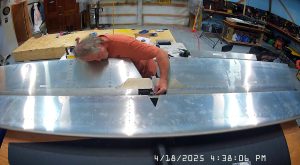
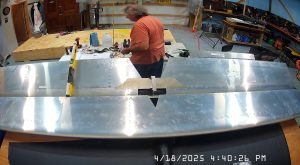
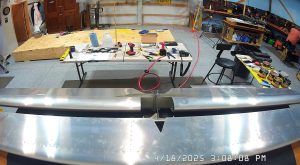
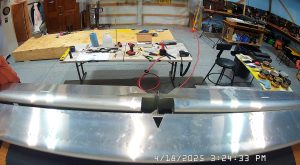
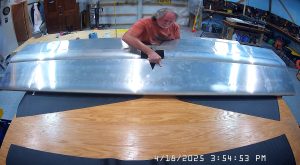
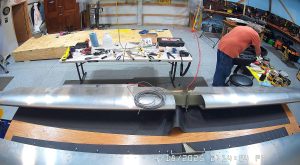
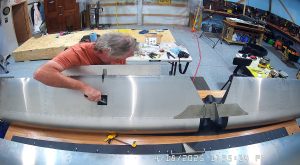
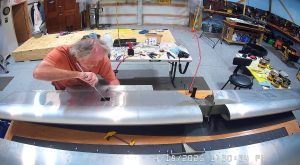
The snapshots below show the process of assembly. The last step is to install the up elevator stop which is provided as a small piece of aluminum angle which you have to drill. I leveled the horizontal stabilizer on my bench, the deflected the elevator up, placed the aluminum angle in place against the elevator angle and stabilizer horn and marked the holes for drilling. I used a digital level to make sure I had the angles correct with a tenth of a degree. Pretty easy and quick.
Once I was satisfied everything was correct, only then did I rivet the hinge plates in place. Then I put the assembly out of the way, ready to start the fuselage…