DATE: 04-15-2025 TIME: 1:17 – 4:29 ~ 3:12
Today I took up working on attaching the trim tab to the elevator. I had previously marked where to place the hinge so that there was no chance the hinge would rub against the elevator in use.
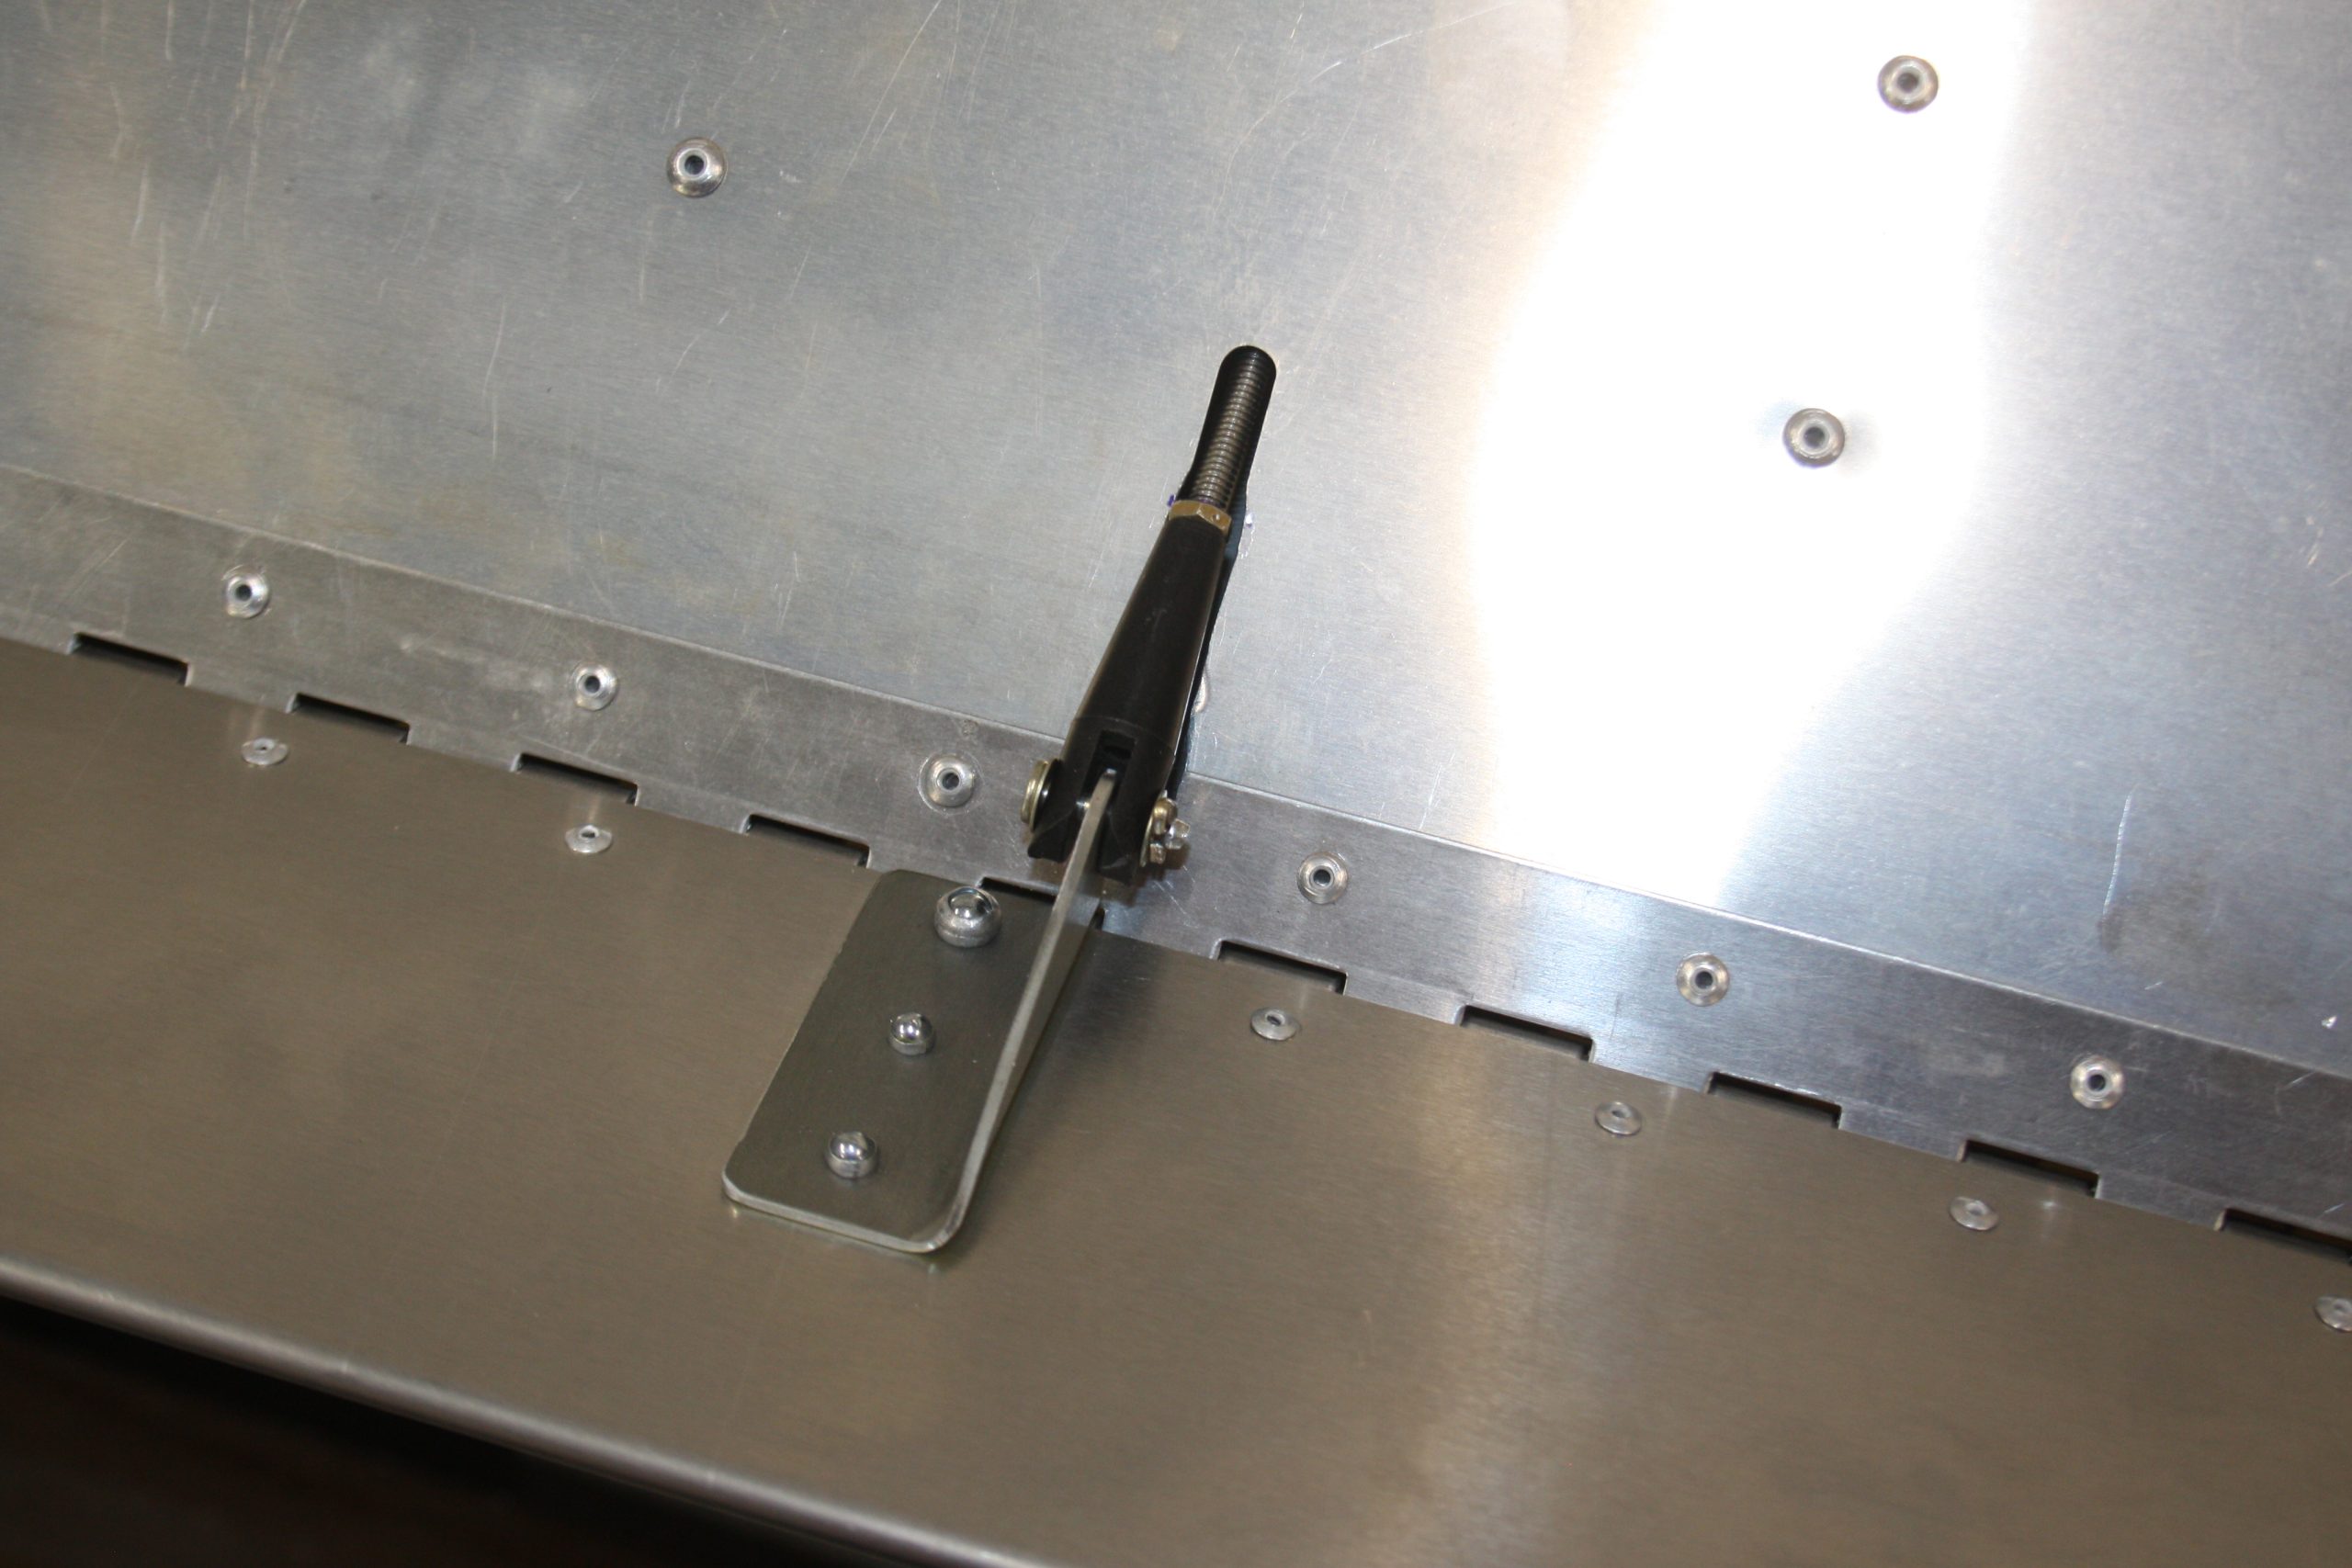
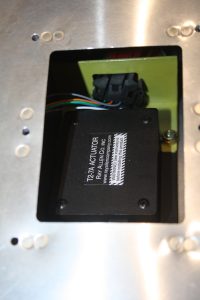
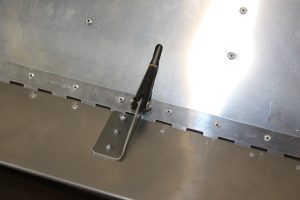
Now I needed to check that I could get the deflection necessary, both up and down, of the trim tab. During this process I discovered that the rod end that attaches to the trim tab horn is such that it blocks the tab from a full 30° up deflection so I removed some of the tab horn material. Others have removed some of the rod end material and still others have gone to different servos but, after looking at other rod end alternatives, decided the simplest was to remove some material from the horn. You can take a look at these couple of snapshots.
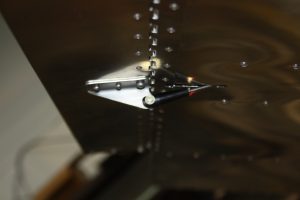
Those snapshots were taken with my Canon camera after I had riveted everything in place on the 18th but as today was the day I actually made the changes to the horn I thought I’d include them here.
Once I had clecod the servo into place and moved the servo arm to its fullest extent and full retraction it became clear that the instructions indicating that cutting the notch into the elevator skin so it matched the notch in the hinge was absolutely necessary.
I also found that, when adjusting the trim tab for the proper 30° up and down deflection, the stop nut on the rod was rubbing on the elevator skin when the rod was fully retracted (down trim tab). I used a dremel tool to widen the slot in the elevator skin just enough to make sure that the nut would not rub against, or get caught by, the elevator skin.
Once I was comfortable with the slot for the servo rod I taped the trim tab hinge and attached trim tab back in place and match drilled the hinge to the skin for A4 rivets and then, after deburring, riveted the hinge and tab into place.
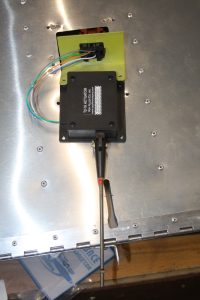
Next came putting the servo back into the elevator, after using some seal check paint on the stop nut, and bolting it into place. It is very difficult to get a torque wrench / driver onto the 6-32 nuts inside the skin but I was able to do that with 3 of the nuts with a thin wall socket.
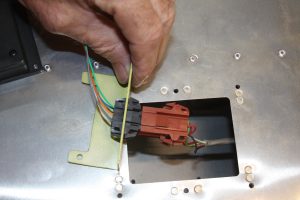
I had also made a bracket out of 1.75″ aluminum angle to hold the connector for the trim tab wiring. Sadly, even though I had tested continuity of the connector and pins when I first assembled the connection, the socket pins were not locked into the connector housing and after bolting the servo in place I had to remove it again, reseat the socket pins and put the servo back into the elevator skin. That process was completed on the 18th.
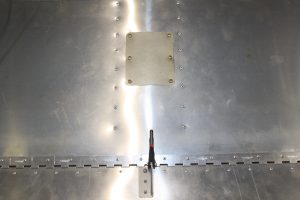
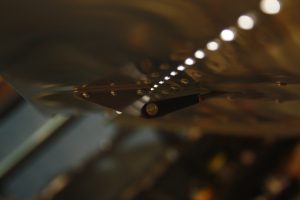
I will put some additional photos below here just for interest’s sake, but those are the more valuable ones above.
Thanks for reading my log 🙂