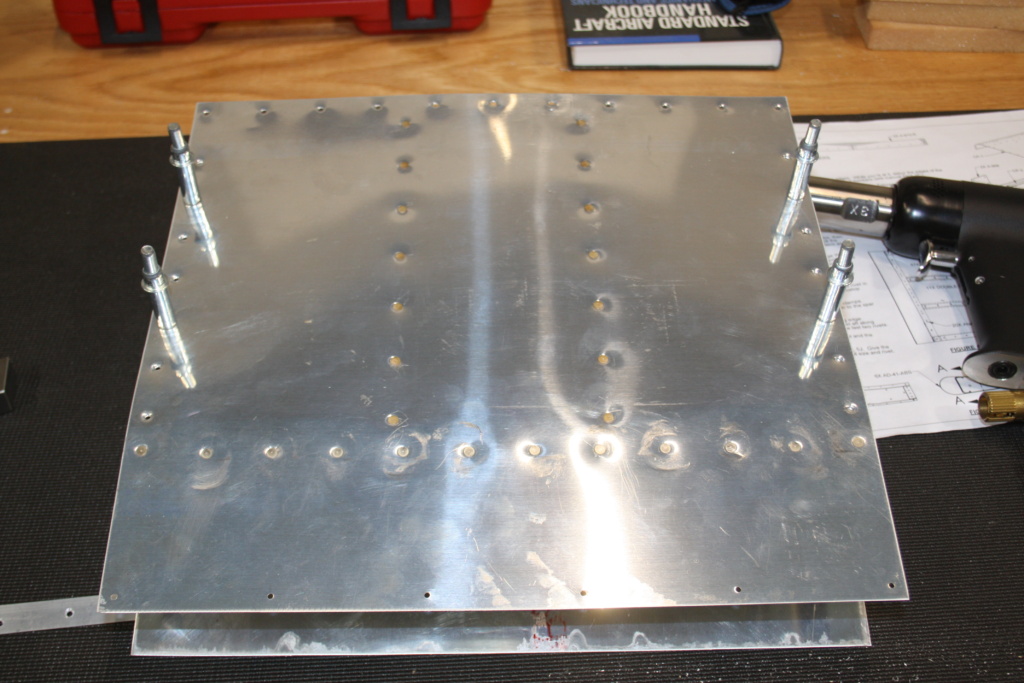
I spent most of the day yesterday doing the final drilling, dimpling and machine countersinking my last practice kit which is a small control surface section. This was a good thing because it has the “standard” RV trailing edge wedge in it and consequently a lesson to be learned.
Interestingly, the instructions keep referring to “section 5C” or other alphabet sections of the full build manual but the manual has changed to just numbers with a cross reference for the alphabet sections.
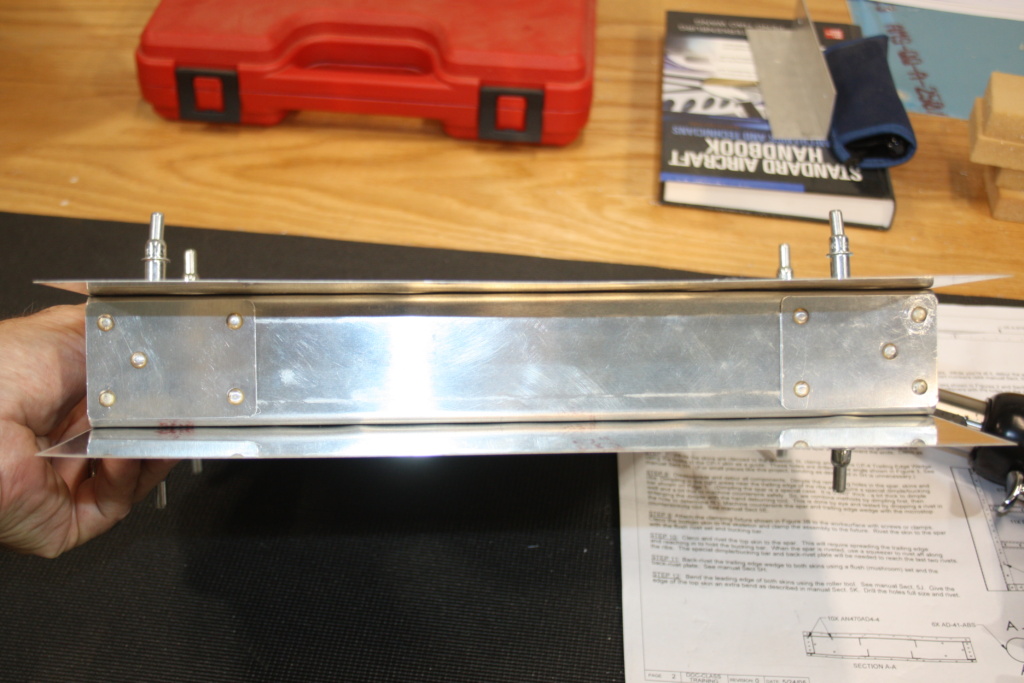
Anyway, there are instructions in section 5 on bonding the trailing edge in place while matched hole drilling through the drilled holes in the top skin, through the wedge and bottom skin at an 84 degree angle. The instructions for the practice kit say bonding isn’t necessary for such a short piece of trailing edge, just clamp it in place.
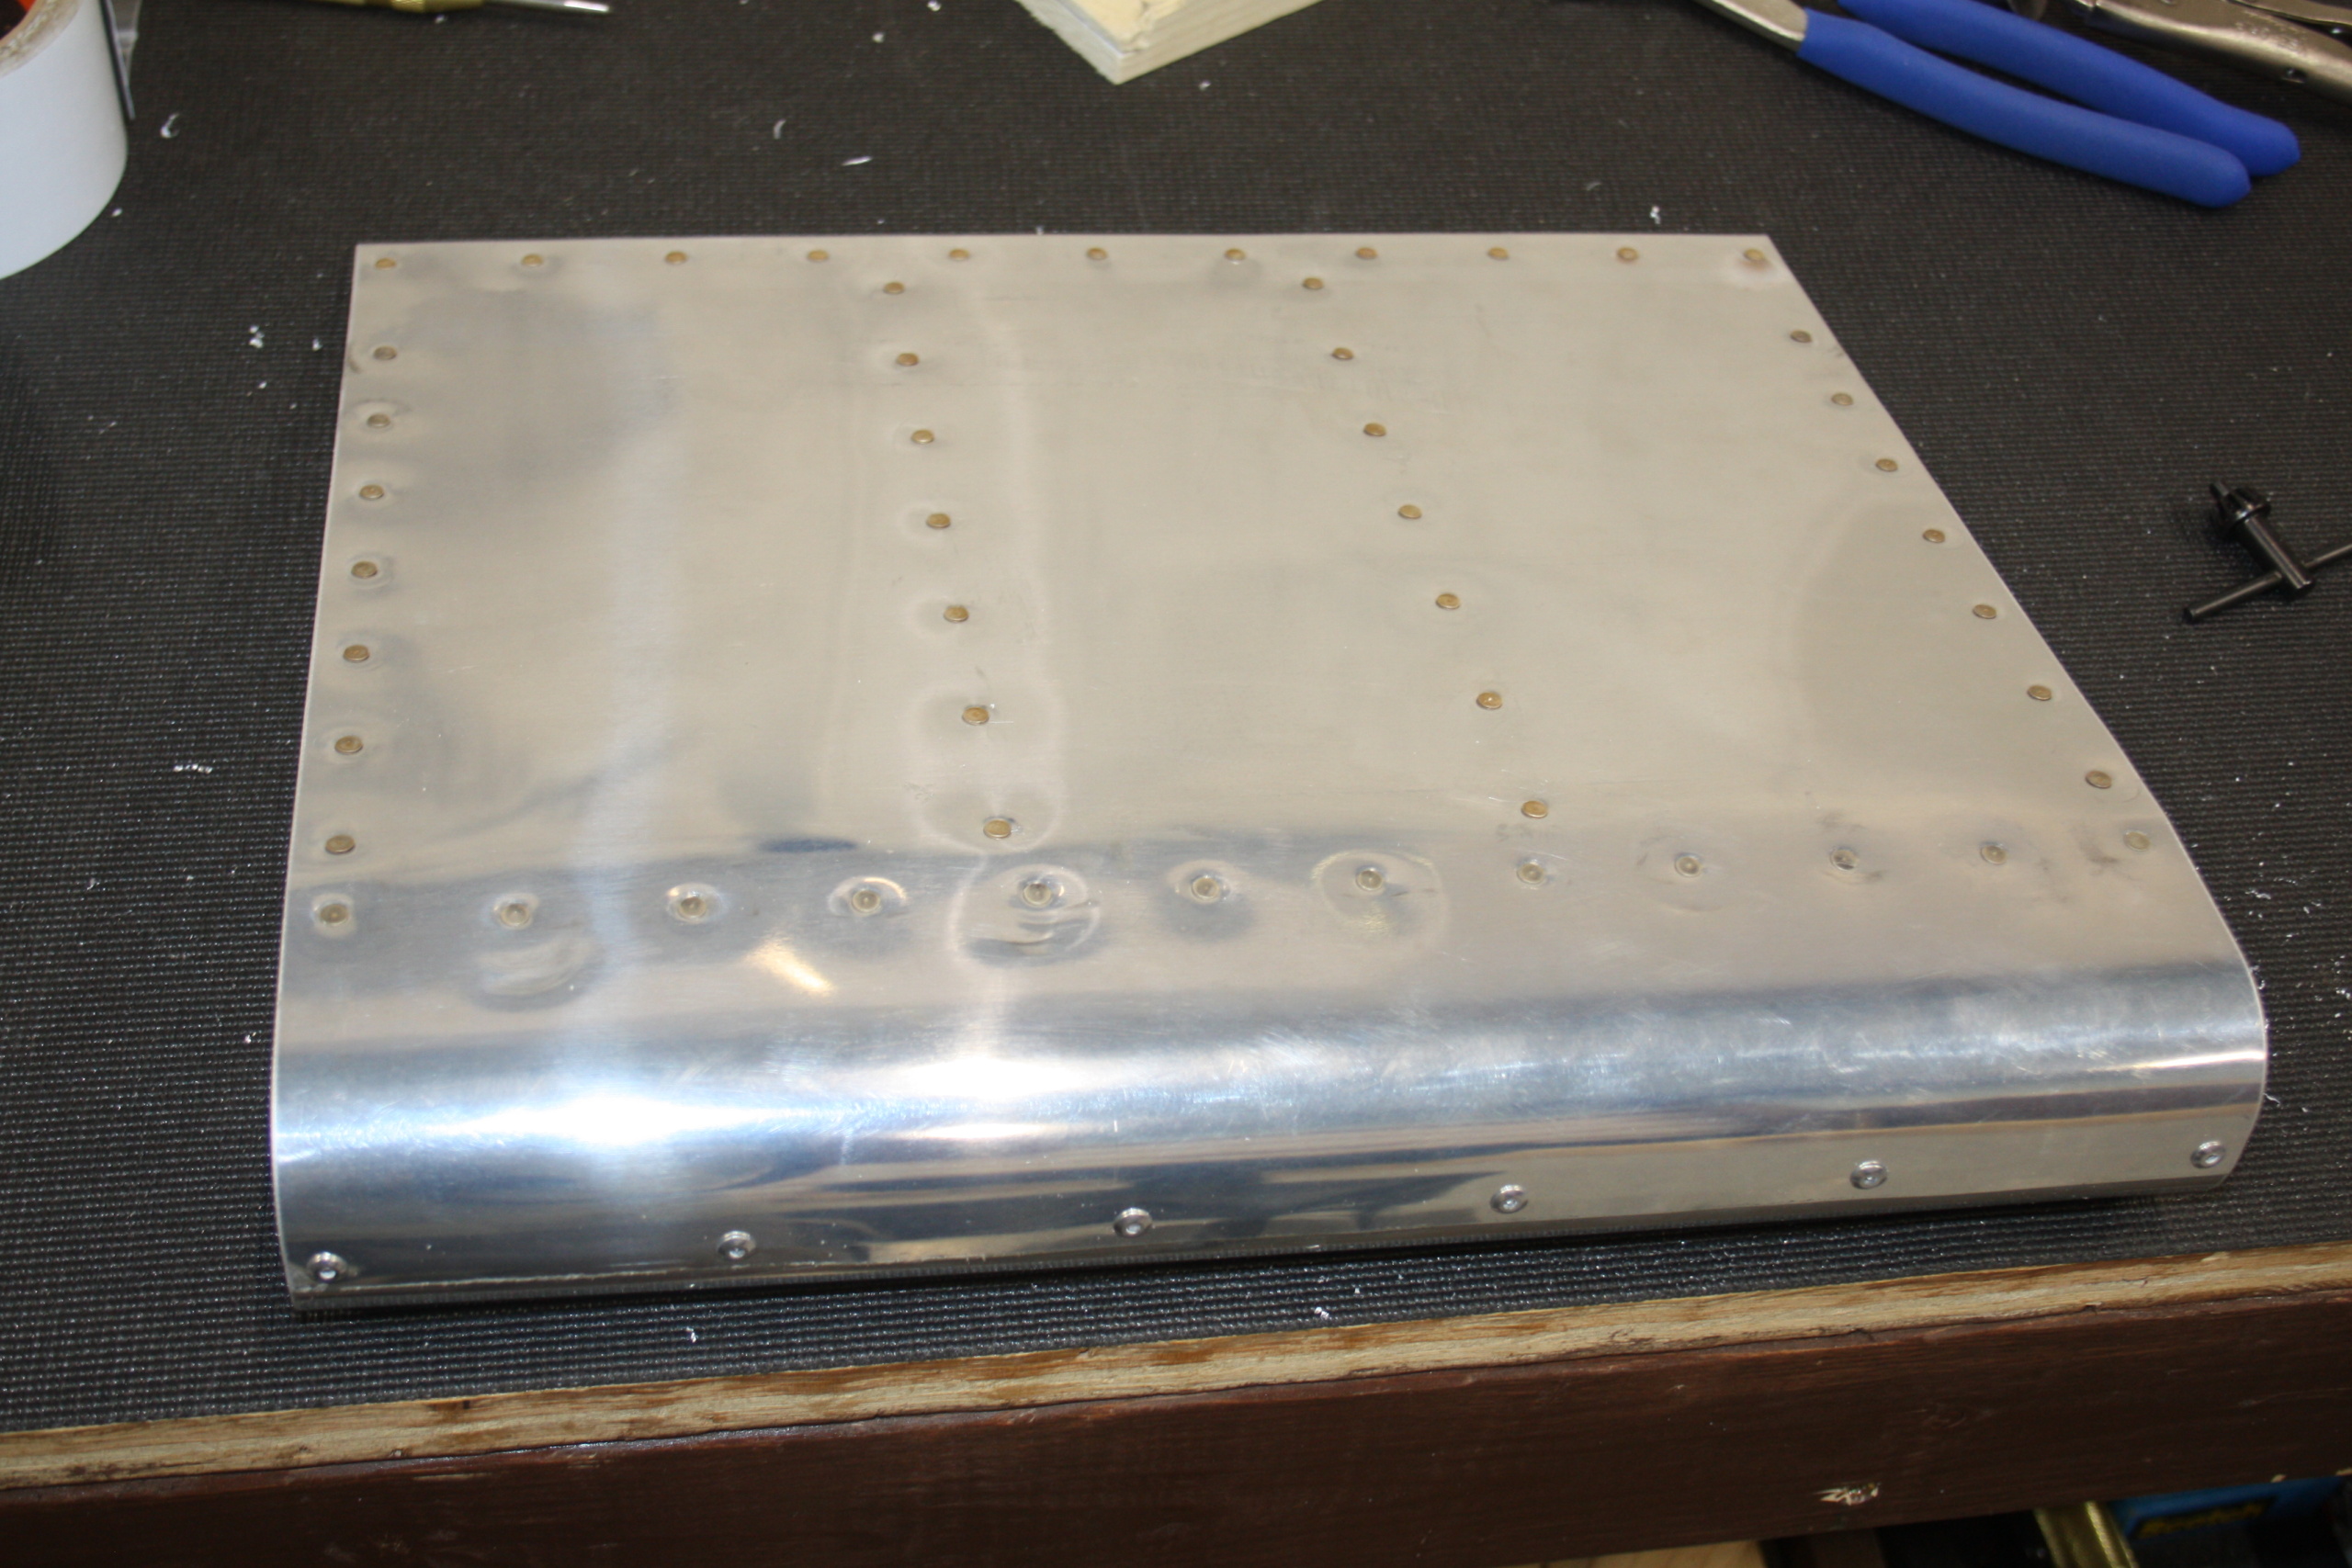
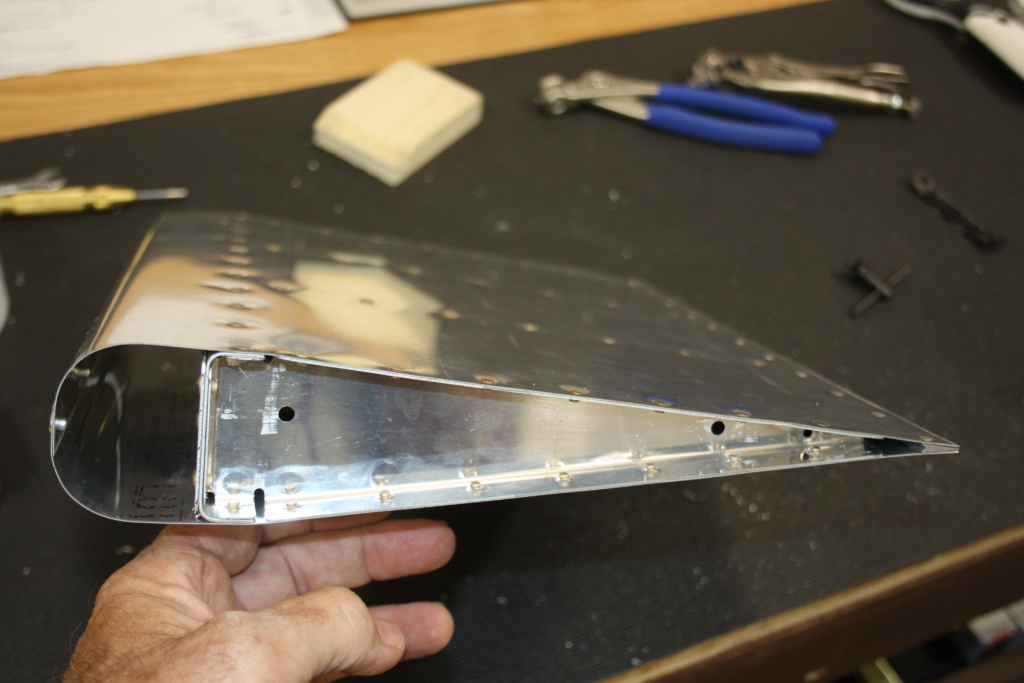
So I did that. That turned out to be a mistake as the wedge moved. The photo below shows the terrible job of the wedge. This made it difficult to do the final assembly of the trailing edge but, it could have been worse.
Anyway, I’m glad I learned this on the practice kit and not the RV-10 ! So I’ve ordered the tape. Speaking of which, the manual recommends 3M F9460PC VHB double sided tape for bonding. That’s very expensive tape. I found that you can buy a glue transfer tape with the same glue a lot cheaper so I am going to check with Vans to see what their sense of using the glue transfer tape is. That raises another question…once you’ve bonded the trailing edge in place so you can match drill it, how do you remove it to countersink ?
Interesting stuff.
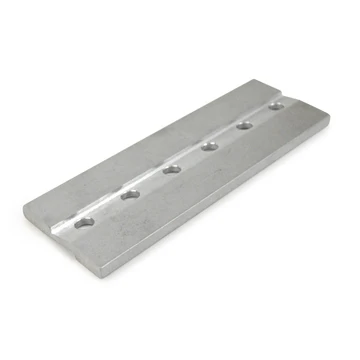
On another note…In section 5 of the manual Vans suggest a method for setting up the trailing edge wedge for countersinking. This isn’t necessary if you purchase the special wedge tool available from Cleveland Tools. Makes the whole process a lot easier. Here is a link: Cleveland Countersink Jig and an image of the tool below.
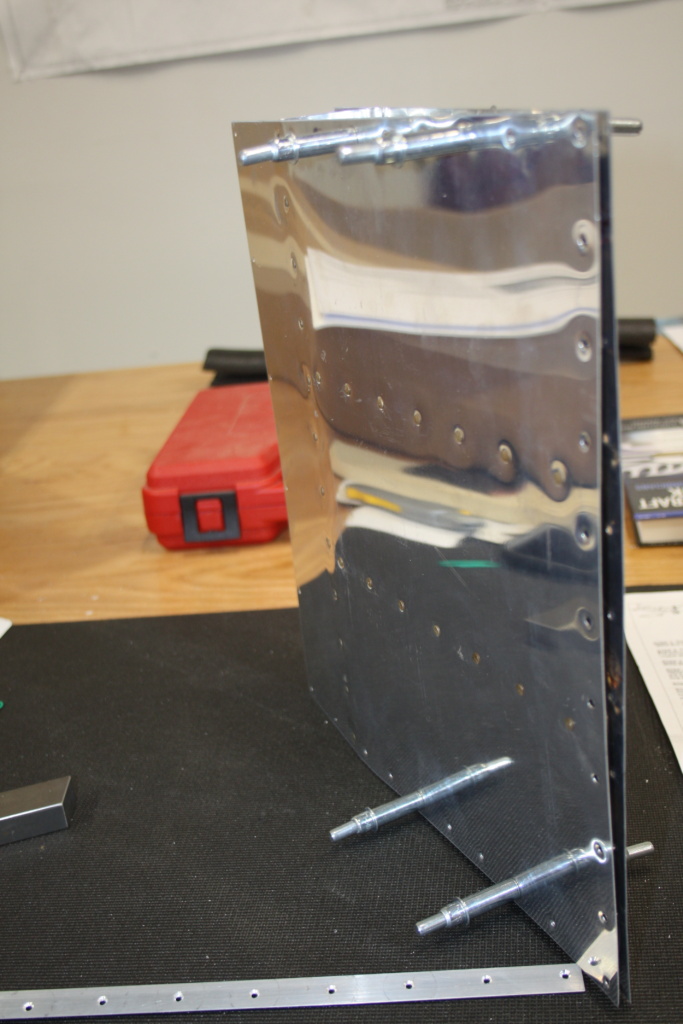
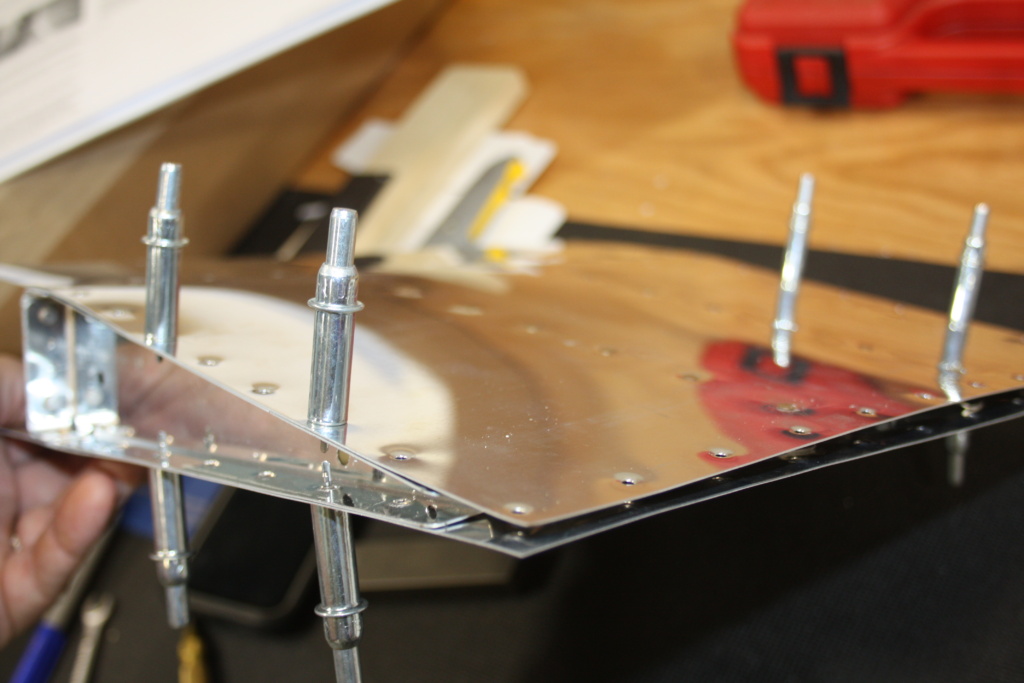
I should finish this practice kit today sometime at which point I will add some photos. Then I’m done with practicing and on to the RV-10 tail. It’s been a long time coming but I expect to work at it pretty diligently until done.

One other final important point to make…
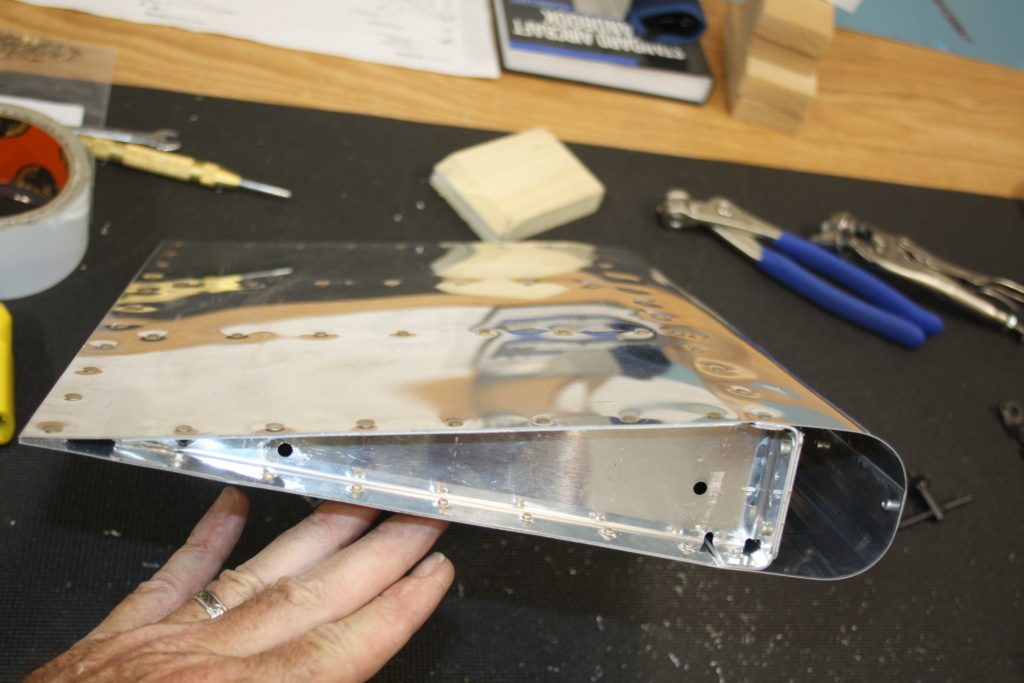
Don’t roll the leading edge until you have bent the top skin at the edge so that when it laps over the bottom skin and is riveted it fits tightly against the bottom skin ! An important note for the real thing. I made the little wooden block seaming tool because the roller seaming tool I had wouldn’t come close to fitting.