DATE: 07/29/2023 – TIME: 3:00 hours
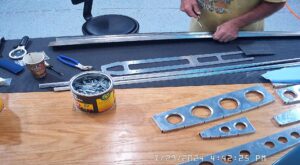
So after update the web site I went back to the workshop to try and finish off the prep for the vertical stabilizer and ready to prime before starting final assembly. I still had some dimpling and machine countersinking to do and then some scuffing and scratch removal.
I made a comment on an earlier post about being glad that I had done some practice kits. This is why.
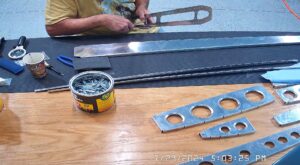
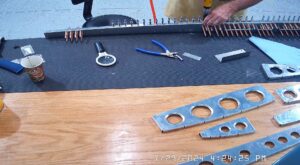
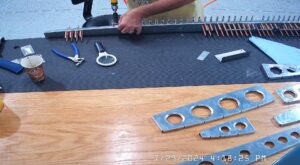
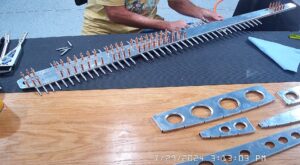
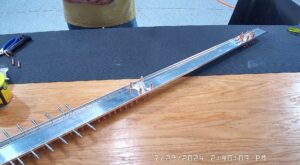
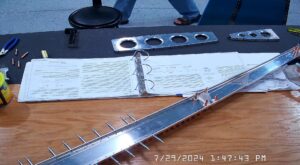
As part of the assembly of the vertical stabilizer you have to countersink the rear rudder spar where it overlaps with the skin and the left and right spar caps. Checking section 5 with respect to countersinking, you can see that it is important to not countersink too deeply, in this case in the rear rudder spar, so that you enlarge the rivet hole. At the same time, you have to countersink deep enough that the vertical stabilizer skin, which has been dimpled, will fit flat against the spar with the dimple fully, if possible, in the hole.
Section 5 explains that 7 additional clicks on a .001 countersink cage, after countersinking to a flush test with the appropriate rivet, will allow for the skin thickness of the dimple. Then you need to check as you are countersinking to make sure that you are getting good consistent depths.
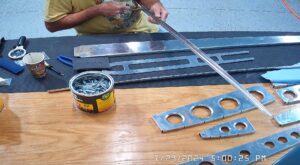
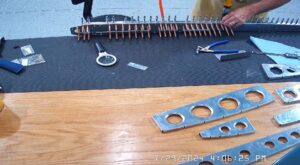
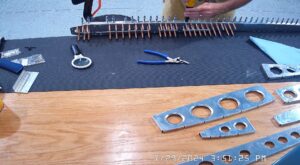
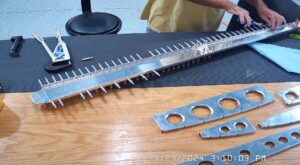
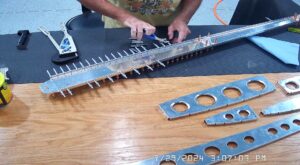
This is where the practice kit came in. I found a piece of skin from a practice kit that was the same thickness as the vertical stabilizer skin. Drilled the same size holes, #40, and dimpled them. Then I cut that piece of skin off the practice kit and used it as a depth test for each of my countersink holes.
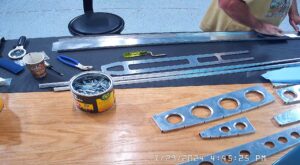
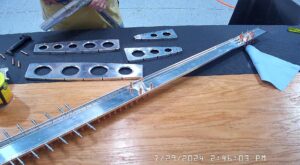
When I again disassembled the rear spar and spar caps I was very pleased to find no countersinking in the spar cap, indicating that I had not countersunk beyond the thickness of the rear spar and thus widened the rivet hole.