DATE: 09-13-2024 TIME: 1:30
Today we started working with the HS-1002 and the associated ribs HS-1004, 904 and 905 but first we went back and drilled the matching holes for the HS-1008 left and right brackets for attaching them to the HS-1007 and also finished off machine countersinking.
We decided to continue with prepping all the HS-1004, HS-904, 905 nose ribs and then to prime all the parts at the same time, before riveting the HS-1007 in place.
Sometimes, the manual is really great and sometimes the manual just sucks. So far there are a couple of weaknesses that are really frustrating:
- A lot of the parts are now final hole drilled but the manual still says – cleco the parts together and final hole drill them. This is a tremendous waste of time.
- Sometimes, the drawings or text just don’t match the parts.
- Sometimes, information is missing (like torque values) while at other times they’re specific.
In the end, these are huge time wasters and frustrating because it’s hard to know what you can trust and what you cannot.
Case in point with the nose ribs HS-905. In my kit, the nose ribs have 2 lightning holes in them. The manual, in some places, shows these ribs with the holes and other places without. The text, meanwhile, says to cut holes for trim cables as specified in the figure 2 of page 8-7. Well, there are already 2 holes in my HS-905 parts and no information on where to cut another so after going back and forth I decided to not cut any more holes.
So far, I would grade the empennage kit a “C”, largely because the manual is dangerous in it’s inaccuracies, in my view. I am really glad I held off trying to build and RV-7A.
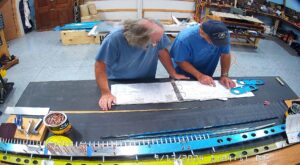
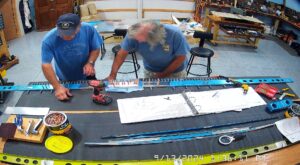
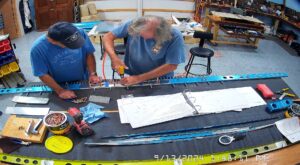
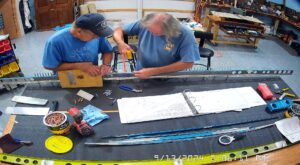
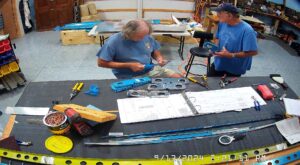
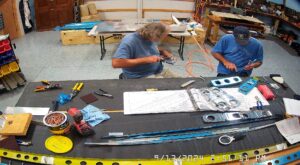
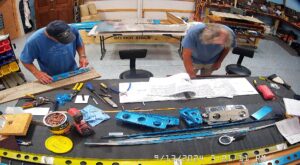
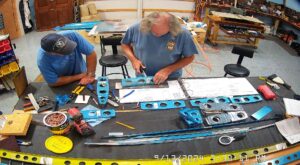
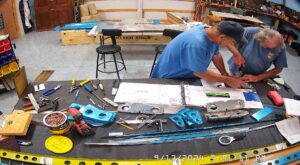
Anyway, below are some pics of the process of prepping the ribs. The manuals says to flute the
In order to make the 9 degree bends in the HS-1004 ribs that were required I marked the angle on a piece of card and then lined the rib and flange as appropriate and then made the bends. Came out pretty close I figure.
