DATE: 10-16-2024 TIME: 4:30
The closing of the rudder was delayed until after finishing off the horizontal stabilizer because I had wanted to have the workmanship inspected by an A&P and also because I had one rivet hole in the left skin, the last one where the manual calls for a CCR264SS-3-2 (Cherry Max) rivet, had been accidentally distorted by puncturing and additional hole with the dimpler which ended up in the dimple for where the rivet was supposed to be. I had 3 opinions on what to do, 2 of which were to use an oversize rivet, which is what I ended up doing, using an MK-319-BS rivet which fits in the original #40 dimple but is oversized for the hole so I drilled the hole out using a #34 drill bit. After pulling the MK-319-BS rivet in place, it’s a blind rivet, the finished job looked fine.
Per section 5.8 I used 3M transfer tape, F9460PC VHB double sided tape. In reality, this is not a double sided tape, it’s actually a glue that is just transferred onto the skin, in my case, and is therefore quite thin but does an excellent job of holding the trailing edge wedge in place. It’s also a lot less messy than the other option, tank sealant.
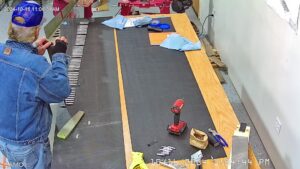
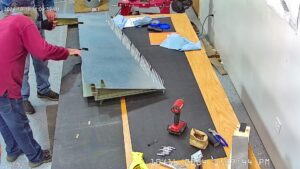
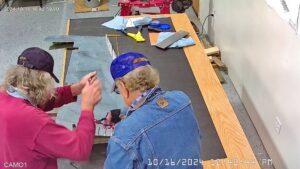
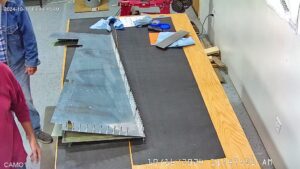
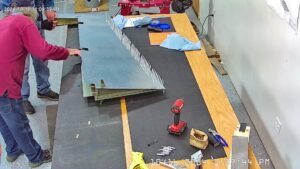
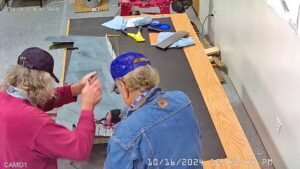
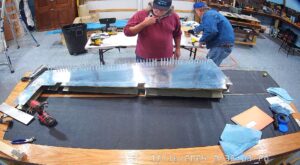
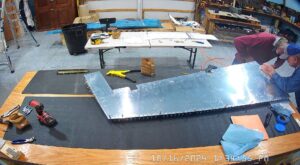
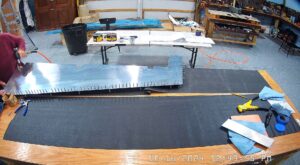
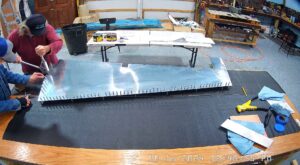
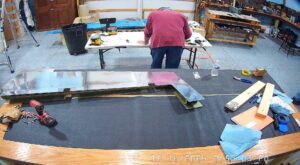
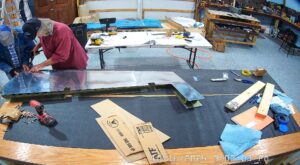
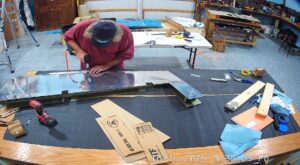
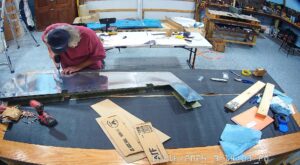
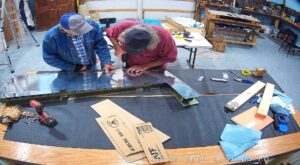
With the trailing edge wedge in place and cleco’d through every hole, we started by riveting the R-1004 bottom rib to the left skin (step 7).
Not having used tank sealant meant we did not have to wait for curing time, nor remove any excess with a machine countersink or drill bit. The skin was held firmly in place by the transfer tape glue which had been left for a number of days to cure. The longer the glue remains, the stronger it gets so by the time we came to riveting the trailing edge it had a great hold on the skins and wedge. In reality, 20 minutes would have been adequate.
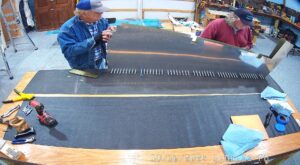
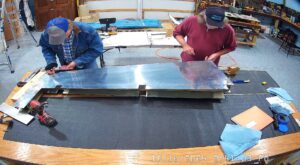
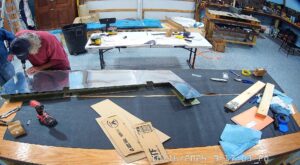
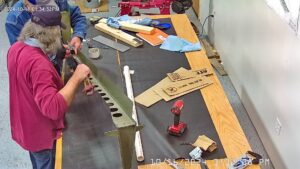
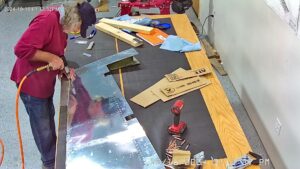
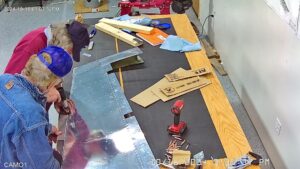
Next we riveted the rear spar in place per the instructions in step 2 on page 7-10 and then proceeded through steps 3 through 7. We used some rivet tape against the skin as that did a lot to hold rivets in place and in fact protect the skin from the mushroom set. Otherwise it was normal bucking and setting.
There is a lot of emphasis on getting the trailing edges correct, flat and straight. I had seen an RV-6A elevator trailing edge in a kit I considered buying into but the trailing edge was so wavy it looked like the whole elevator needed to be replaced. The up side was that I was going to be very careful with the rudder trailing edge and went very slowly and methodically per the instructions. If you do that, you are going to get a really nice trailing edge, as I did.
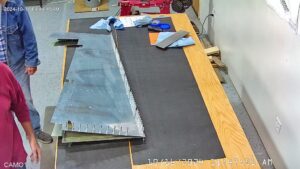
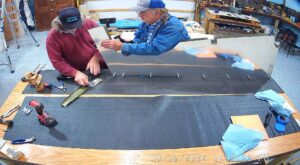
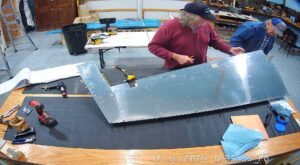
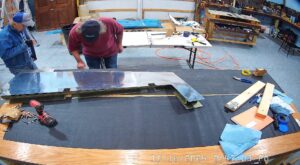
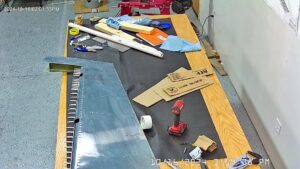
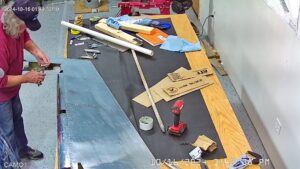
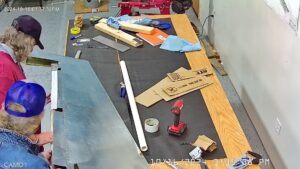
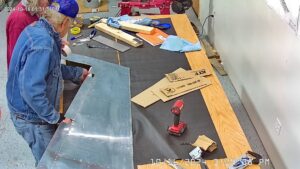
It then came time to roll and rivet the leading edge per step 2. I did not have a 1.25″ pipe so used a 1.25″ PVC water pipe which has a larger outer diameter. I note that the manual says to roll the edges and then to make a slight bend in the skin edge of the skin that will be on top of the other skin.
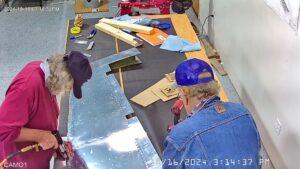
I recommend bending the edge of the overlapping skin before rolling the skins with the pipe. Also, if you have the modified locking pliers with the rollers on them, you are going to want to roll the edge of the right skin to overlap the left skin after they are rolled because that will facilitate getting very close to the top of the rudder to get a nice even bend the length of the skin.
After rolling the upper two sections with the PVC pipe I decided to just leave it until the next day and to go and buy a piece of 1.25″ diameter pipe.
