DATE: 10-05-2024 TIME: 0:40
After completing the priming of the horizontal stabilizer components with Sherwin Williams P60G2 I went back to closing up the rudder which was awaiting an inspection by an EAA tech counselor that just never quite seemed to happen. That’s not a criticism, just an acknowledgement that everyone is extremely busy these days.
Aside from an actual inspection, I have received great remote advice and assistance from various people including Vans and local EAA chapter tech counselors and my local airport manager who is also an A&P, Randy Jones.
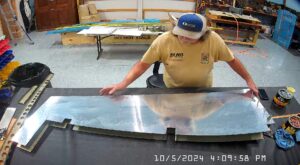
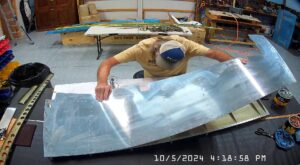
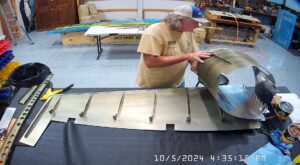
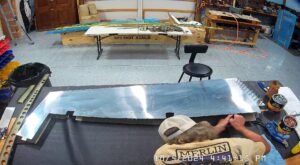
The photos here are the start of closing up the rudder. It’s hard to see much because, well, it’s closed.
My version of the out-of-date RV-10 build manual says, in the manual, to use tank sealant to hold the trailing edge wedge in place. In section 5.8 (G), very confusing numbering scheme, it says that 3M transfer tape, VBH, can be used instead of the tank sealant. The transfer tape is very expensive, but I opted to go that way and found it to work just fine.
I put the tape on the right skin, after slightly bending the edge so that it would close together with the left skin edge, and then using a cleco every 4 rivet holes, cleco’d the right skin and trailing edge wedge together. I used a vice grip modified with rollers to “crimp” the skin trailing edges of both the left and right skin.
I put another strip of tape onto the trailing edge of the left skin but left the backing paper on the exposed glue. I put the bottom cleco through both the left and right skins. Then I riveted the 1015A L & R stiffeners components together at the forward hole, then into the shear plate at the forward end, peeling back the backing paper from the transfer tape one “section” at a time – i.e. between each stiffener section – and as I did so I placed clecos in all of the holes stopping at the next rib in order (B,C,D, E etc.)
The manual also suggests you have someone roll back and hold the left skin while you are doing the riveting. I did not find it necessary to have an additional person although it would have been quicker.
The manual says to put an LP4-3 rivet in the forward hole of each of the stiffener sections making sure that the left was on top of the right and that the forward section was under the shear plate. I accidentally put a rivet in both the forward and aft holes of the stiffeners, except for 1015A. So long as I don’t run out of rivets I figure I’ll be OK 🙂
