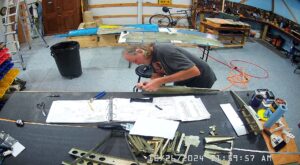
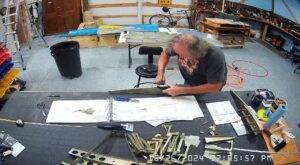
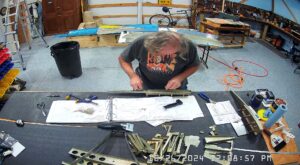
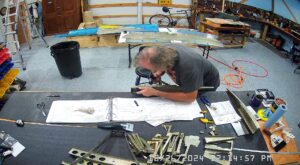
DATE: 10-26-2024 TIME: 11:32 a.m. – 3:51 p.m. Duration: ~ 4:20
My durations are approximate in part because I usually take a lunch break if the time extends from a.m. to p.m.
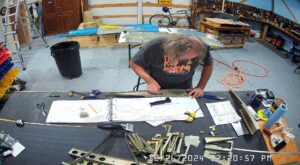
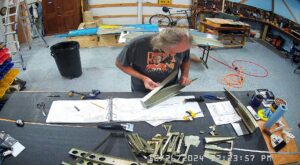
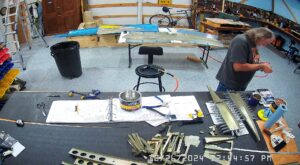
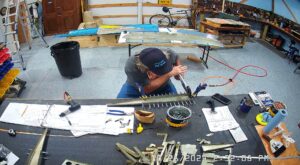
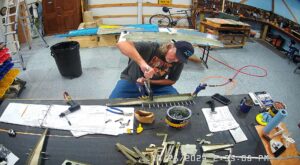
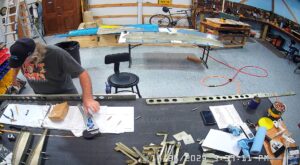
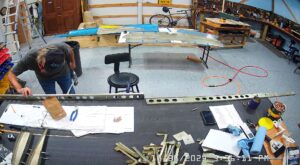
As you will see from the snapshots, all of the elevator components, apart from the trim tabs and related parts, are now primed and I started the assembly as outlined on page 9-9, steps 2 through 6. As much as possible I prefer to use the rivet squeezer, even when it isn’t necessary, because I can get a consistent rivet set without having to constantly check with a rivet checker. I set my squeezer slowly on my first rivet and once I have the compression where I want it to be I just get on with the remaining rivets without further checking. I do then do some random checks at the end to make sure I have what I want.
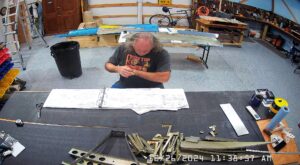
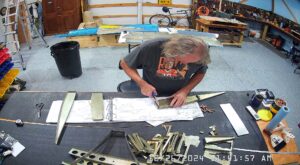
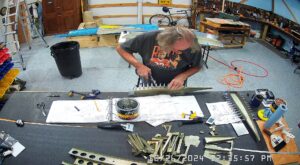
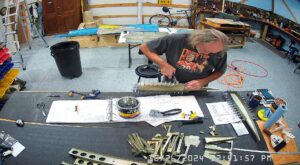
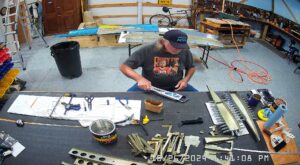
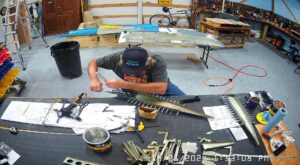
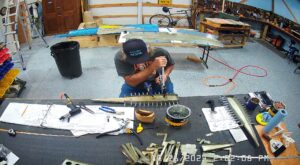
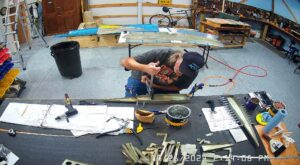
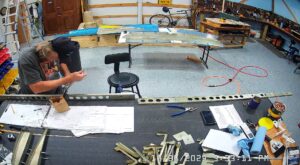
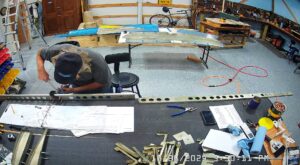
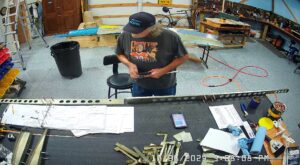
These photos are the assembly of the counterbalance skin, rib and tip rib.
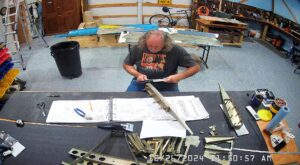
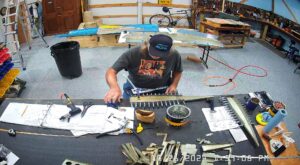
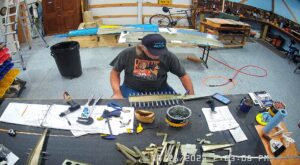
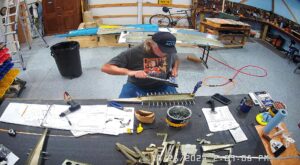
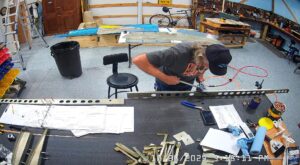
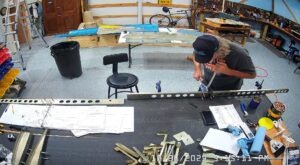
These snapshots are for the assembly of the E-910 reinforcement plates to the E-1002 front spar in step 4 and inserting the snap bushings. I did not get to complete the riveting of the E-905 root ribs but that comes next.
