DATE: 10-29-2024 TIME: 9:00 – 4:57 ~ 6:30 hours
I prefer to use the rivet squeezer when I am working on my own because the finish is better than using the 3x rivet gun and bucking bars. That said, I also want to do what is easiest to some extent so I end up switching between the two but prefer the squeezer. The consequence is that I end up exerting myself sometimes for no reason. A case in point is riveting the nut plates K1000-6 to the E-910 doublers and the E-1002 front spar. These are AN470AD4-6 rivets and for some reason they are much harder to squeeze than the AN470AD4-5 rivets used to attach the E-910 to the E-1002 spar without the nut plate between.
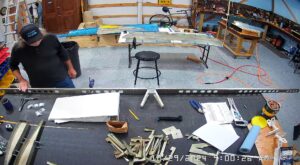
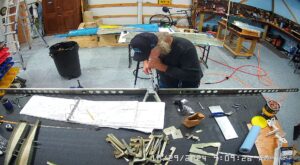
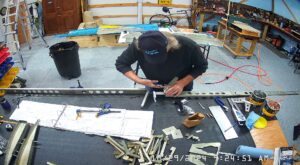
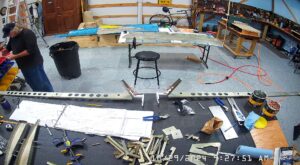
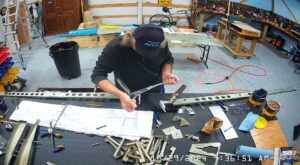
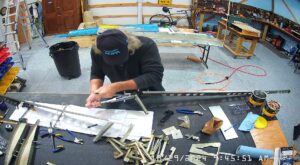
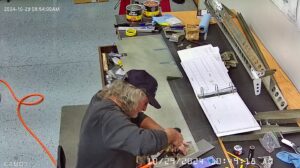
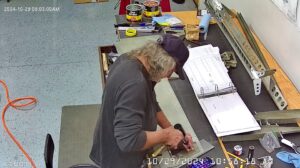
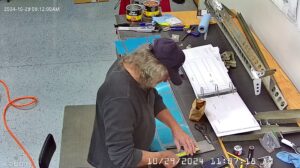
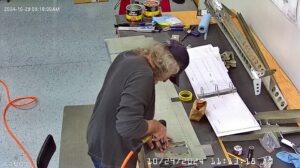
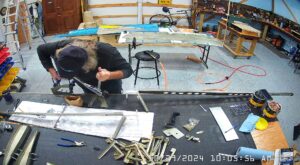
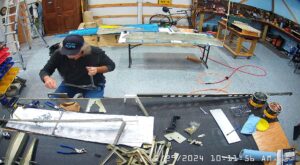
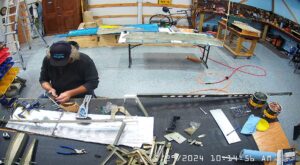
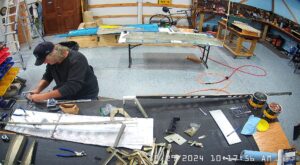
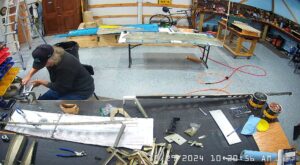
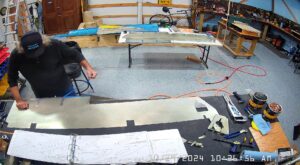
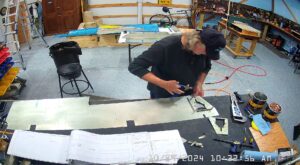
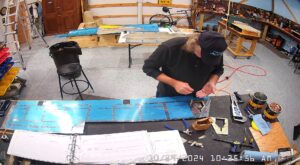
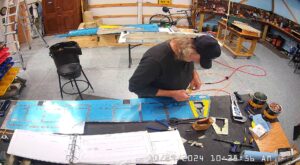
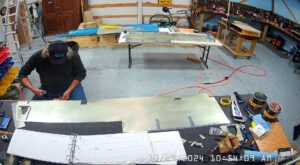
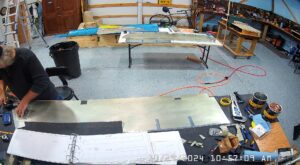
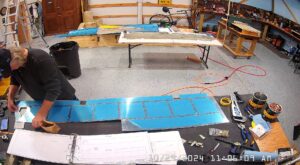
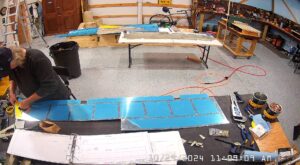
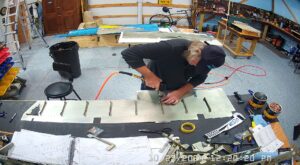
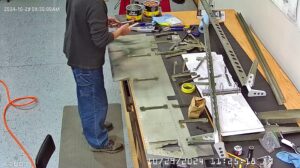
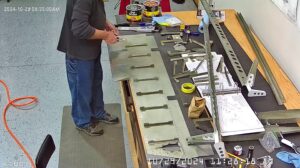
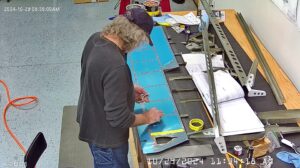
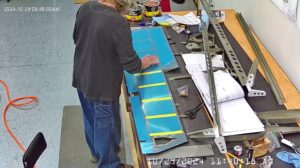
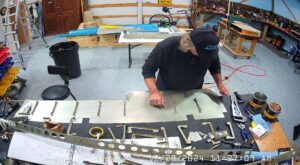
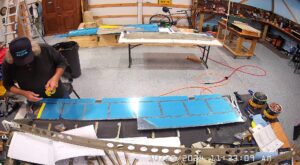
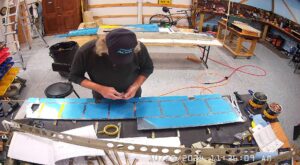
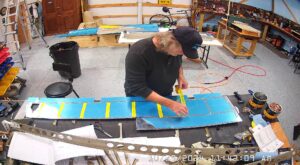
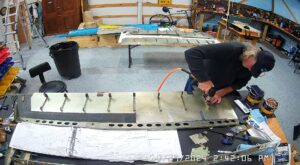
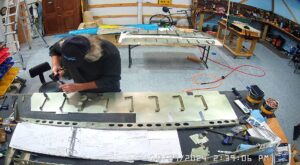
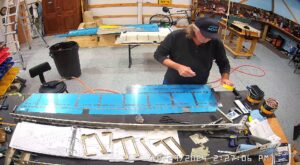
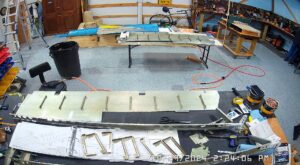
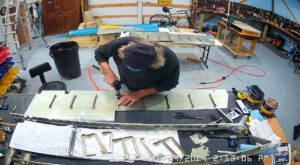
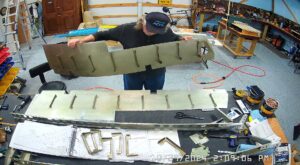
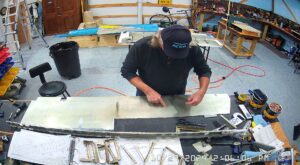
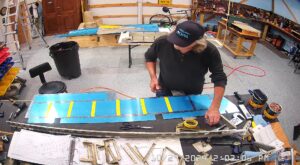
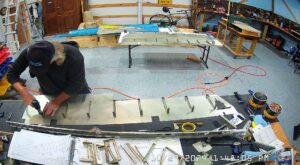
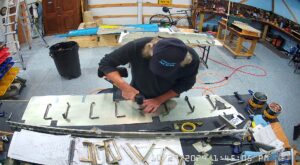
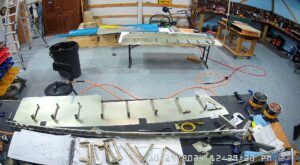
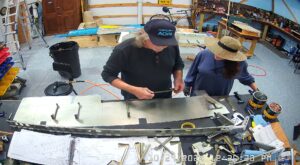
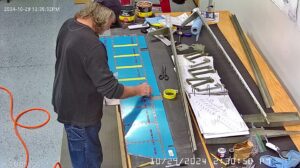
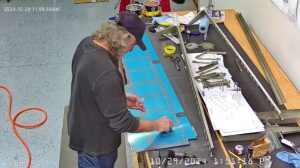
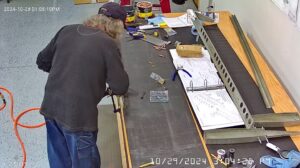
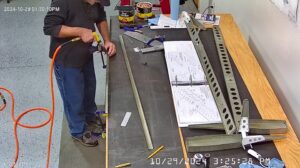
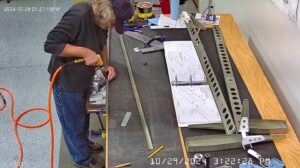
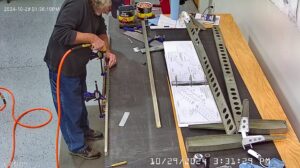
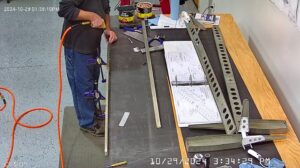
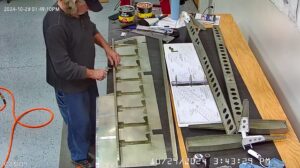
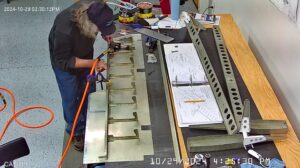
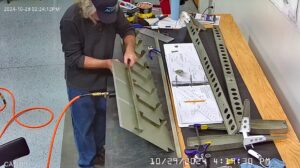
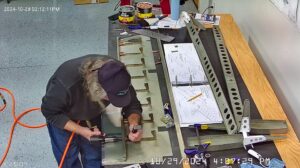
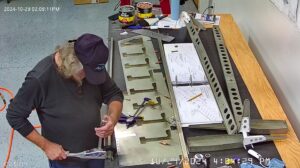
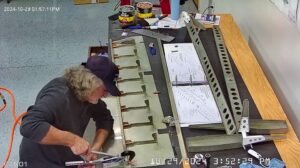
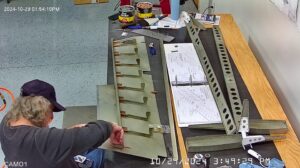
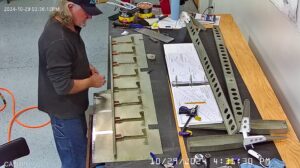
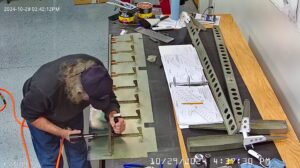
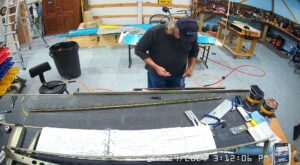
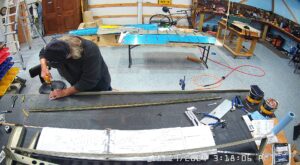
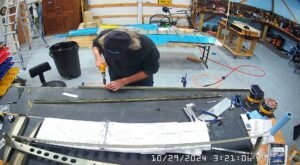
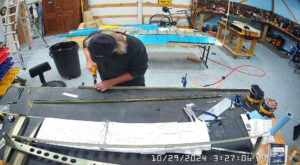
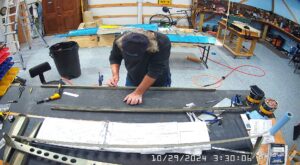
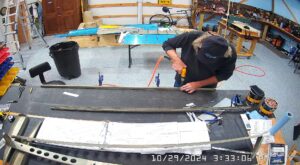
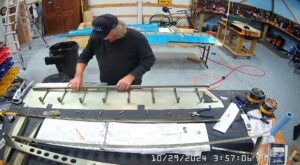
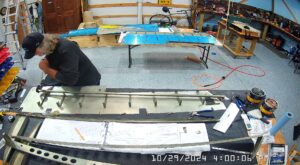
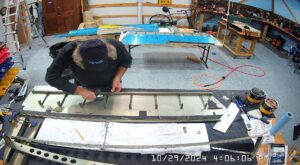
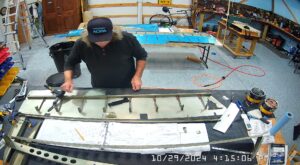
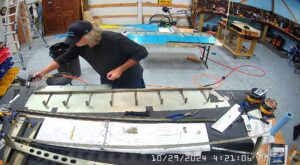
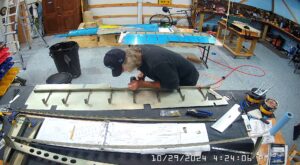
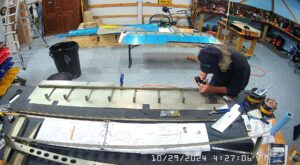
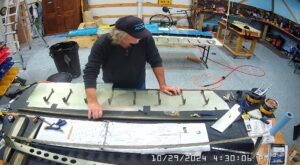
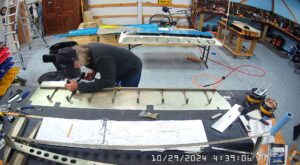
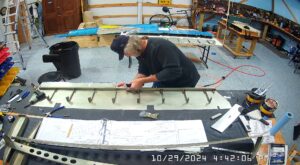
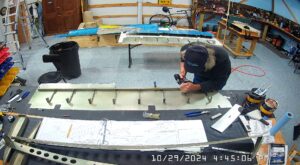
Pics in the slider below relate to steps 5, 6 and 7 completing the root rib riveting to the E-1002 spars, attaching the elevator horns and inserting the plastic bushings into the 5/8th holes.
Om the top of the page 9-11 in my manual step 1 says to use the rivets on page 9-20 to attach the nut plates to the E-615 and E-1015 reinforcement plates. Step 2 says to back rivet the E-615 and E-1015 reinforcement plates to the E-1001B (bottom) skins using the rivets called out in the exploded view on the page. This is arse backwards. The rivets called out in the exploded view are for step 1 and the rivets called out for the back riveting of the reinforcement plates to the skins are actually the ones specified on page 9-20.
While on the subject of back riveting…I initially used regular scotch tape to hold the rivets while back riveting and it worked fine. The only downside is that if you peel and move the tape, the rivets come with it so you have to re-insert them. As I was buying other stuff I bought 2 roles of back riveting tape, or rivet tape, and have used it quite extensively now for any flush riveting and it really helps to protect the skin even when not back riveting.
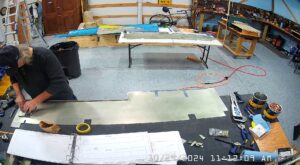
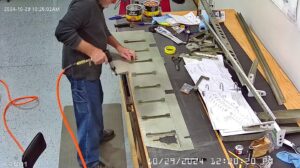
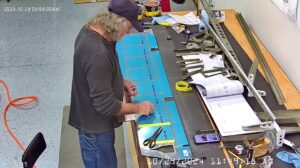
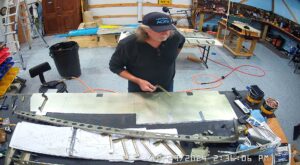
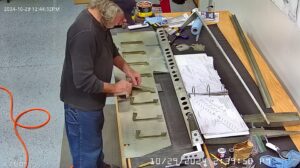
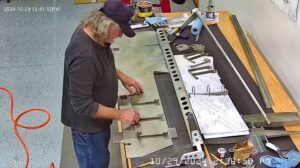
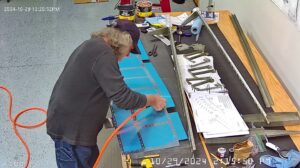
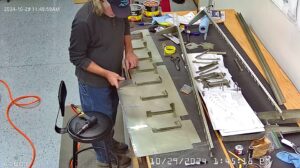
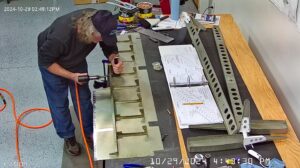
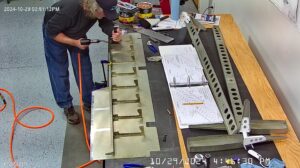
Pics below are for step 2. One other point, I always test the rivet gun for pressure against something before I start riveting to make sure I don’t have the pressure set too high. It doesn’t take much to over drive a rivet.
The next step page 9-11 is to back rivet all of the E-1008B rib halves to the skins as shown in the diagram. These are the rib halves with the larger connecting flanges. Having finished the assembly of the elevator I still don’t understand why they would have the E-1008Bs on the right top ski, E-1001A and the left lower skin, E-1001B. I recognize that the holes are in different places but is just seems to me they could have been the same ?
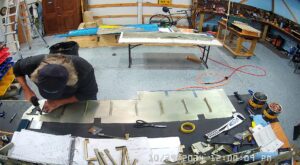
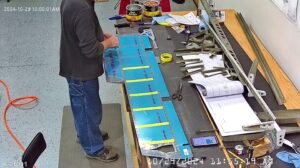
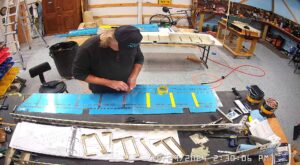
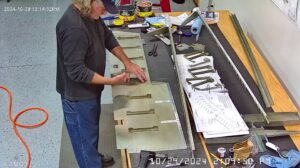
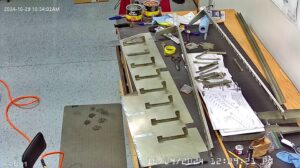
Step 3 pics below.
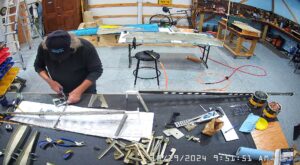
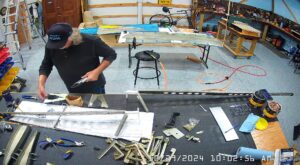
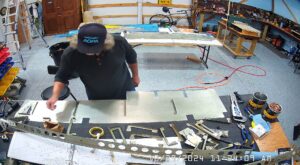
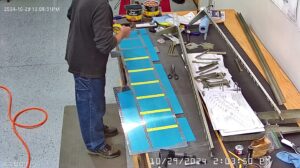
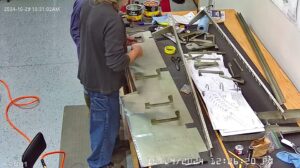
Step 4 is to rivet the E-1007 rear spars to the E-1008B rib halves using the AN470AD4-4 rivets. Important not to forget to include the E-1022 close out flanges. Step 5 & 6 complete page 9-11. You will see in the snapshots below that I start by machine countersinking the E-1007 spars for the trim tab hinges. I had not completed this as step 2 of page 9-8 because I was not happy with the results my #40 pilot countersink was producing so I threw it out and bought 2 new ones. I also bought a spare #30 at the same time…just in case.
Next was to prep for riveting the E-1001B bottom skin to the E-1007 rear spar for the right skin which was continued on the 30th.
