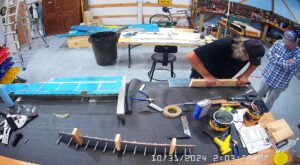
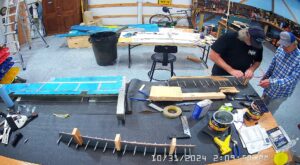
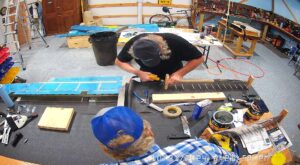
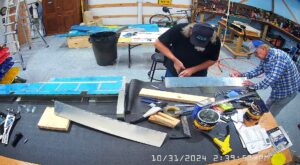
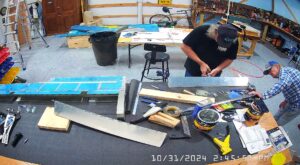
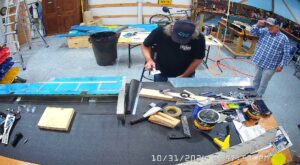
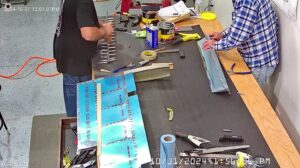
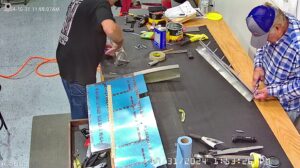
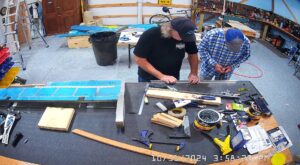
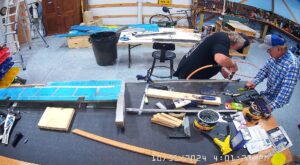
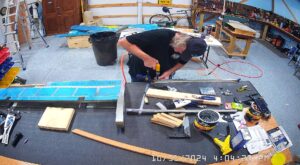
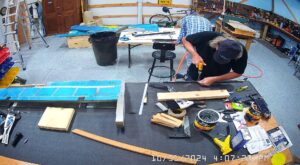
DATE: 10-31-2024 TIME: 9:34 – 4:31 ~ 7:00
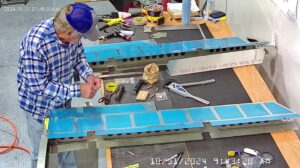
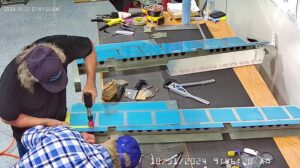
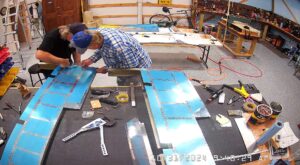
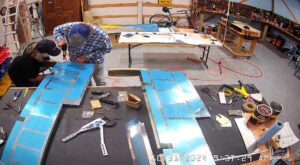
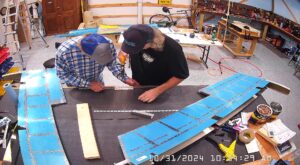
Today began with continuing the completion of attaching the tip rib assemblies to the elevator assemblies and riveting the skins to close up the tip end of the elevator. Essentially continuing the steps 4 through 6 from yesterday.
The next step on page 9-14 is to make the foam ribs for the trailing edge section of the elevator. I photocopied the templates on page 9-21, making a couple of copies, so that I could be sure I’d have useable templates without having to cut up the manual. I checked the photocopies against the originals because sometimes a photocopy will shrink the actual size. Per Vans’ suggestion I used my trusty $300 bandsaw with a wood blade to cut out the foam ribs and a 36 grit sanding block to finalize the ribs.
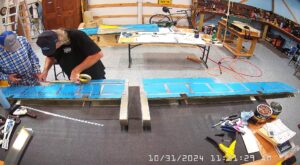
At this point we switched from closing the trailing edge to working on the trim tabs after applying the VHB tape to the trailing edge wedges. I had not previously machine countersunk the trailing edge wedges as specified in step 6 on page 9-9 because of my pilot countersink issue so we did that first.
We started on Page 9-16 at step 1 by making the trim tab blocks as specified and using my photocopied templates for cutting the foam ribs from the foam blocks. You can’t see the foam block cutting because I used my bandsaw which does not have a camera but a basic wood cutting blade at 300 ft/min worked just fine.
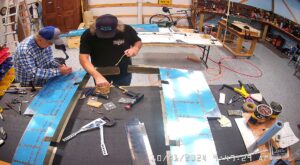
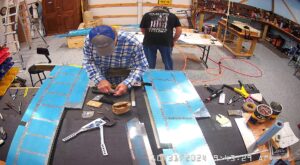
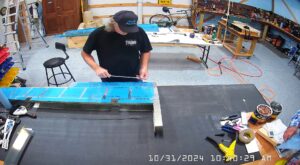
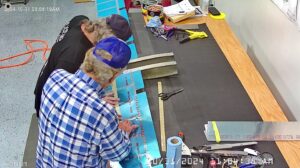
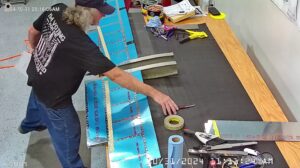
We then completed step 3 by marking the locations of the foam ribs in the trim tab skins, masking, scuffing and cleaning as required for the fuel tank sealant / adhesive. The bad news is that at this point I did not make the metal brake suggested in section 5.7, basically because I skipped the instruction by accident and went straight to bending the two tabs as specified in step 5. On top of that, I misread the drawing and made the first bend in the lower skin of the right tab in the wrong location. I did straighten it out and then make the correct bend, and the correct bends in all the other tabs. However, when it came time to now complete the trailing edge bend on the E-919 and E-1019 the tab ends were interfering. I used various blocks to complete the bend, getting a nice flat surface at the correct angle but with some creases and dings. Not severe, but ugly.
We then continued on with steps 1 through 6 on page 9-17 without further problems, disassembled, deburred and primed all the parts. That was the end of the day but I was not pleased with the condition of the tab skins so I decided I would replace them. At $90 I figured it was cheap peace of mind in a significant investment.
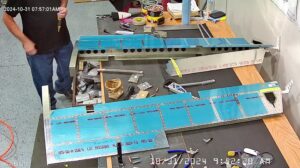
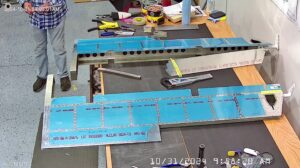
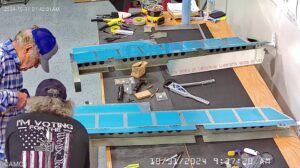
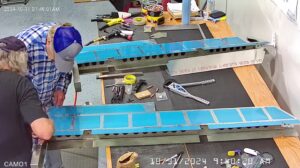
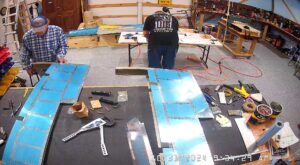
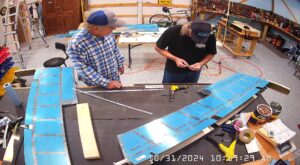
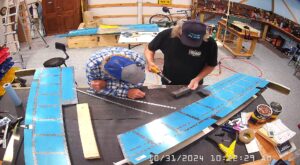
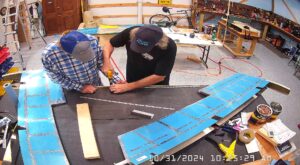
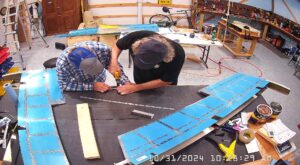
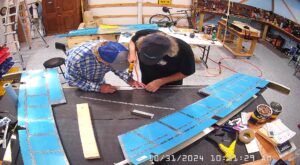
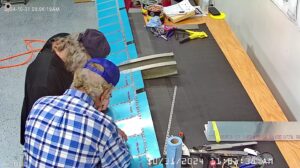
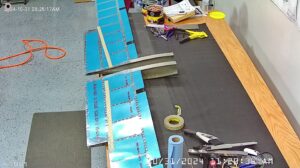
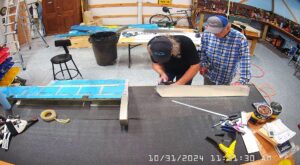
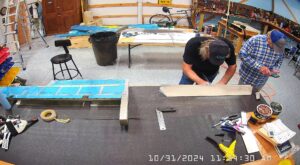
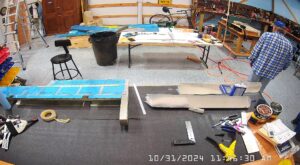
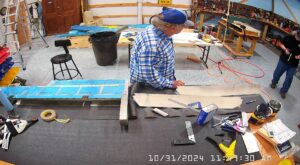
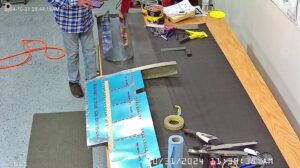
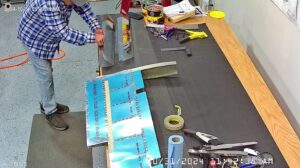
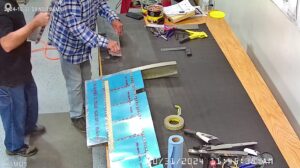
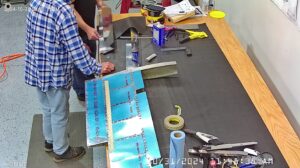
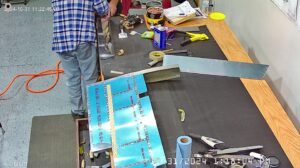
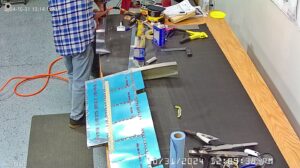
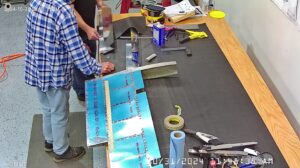
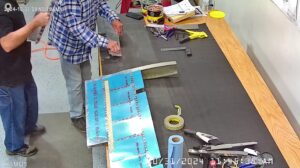
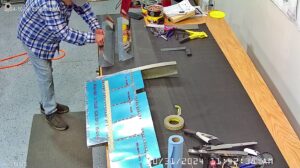
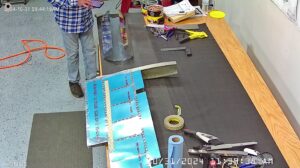
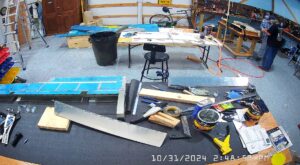
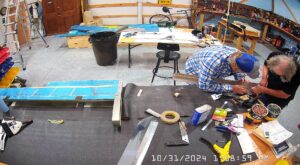
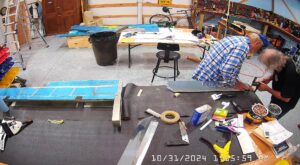
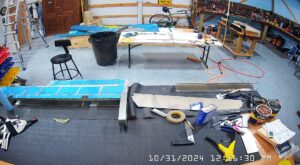
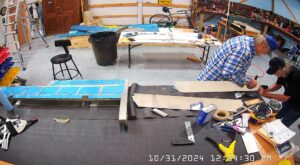
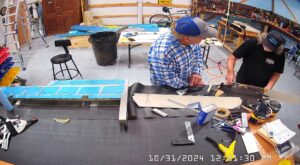
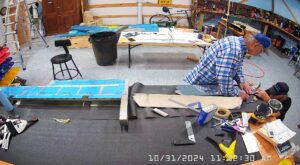
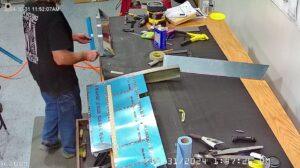
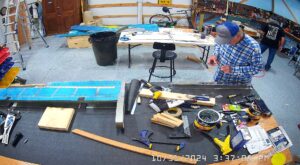
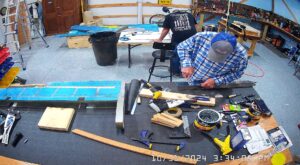
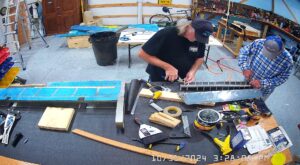
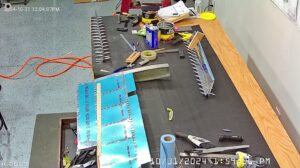
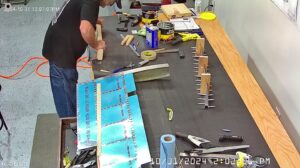
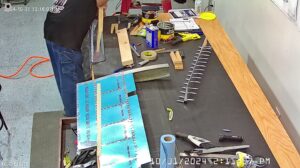
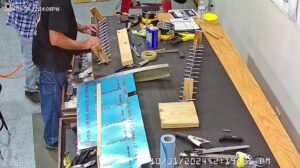
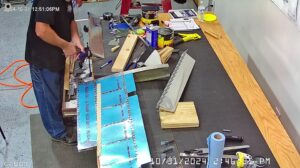
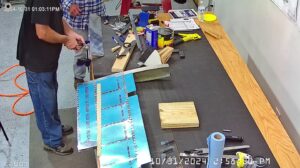
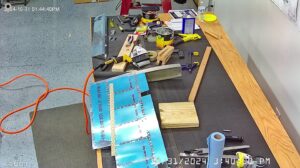
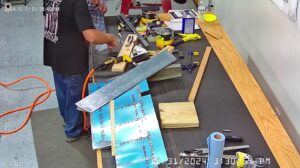
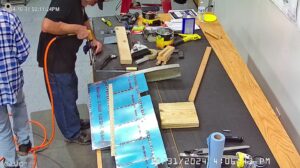
Here are the snapshots.
Steps 1 through 4 on Page 17 provide the instructions for clecoing the E-920 trim tab spar to the trim tab, marking the tab skin along the web and then bending the lower edge up 15 degrees. I used my hand seamer to do the bending. We also then trimmed and prepared the E-918, E-1018, E-917 and E-1017 trim tab horns and final drilled everything before disassembly, scuffing and priming.
Disassembling in Step 5, deburring and then dimpling and countersinking.
