DATE: 10-21-2024 TIME: 5:00
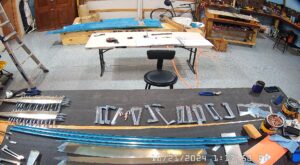
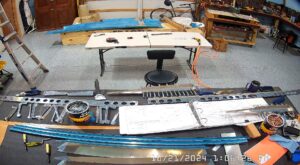
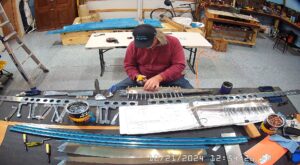
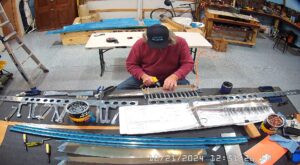
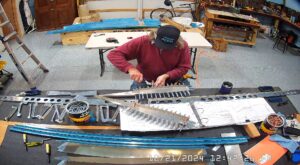
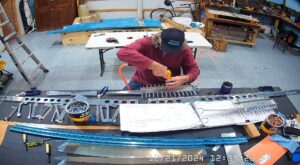
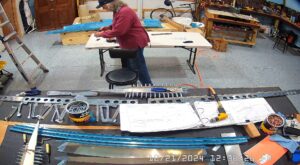
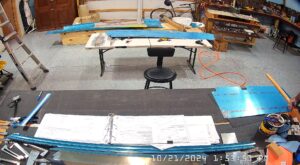
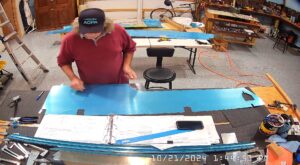
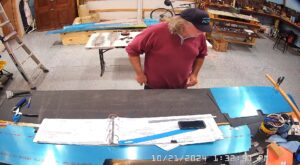
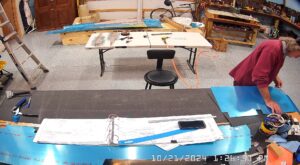
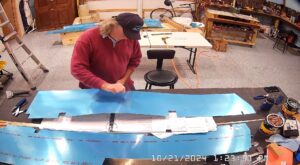
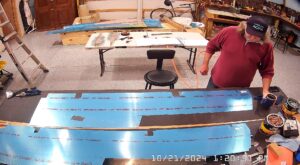
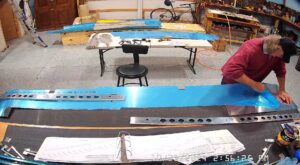
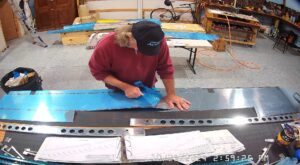
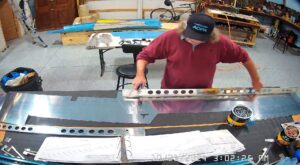
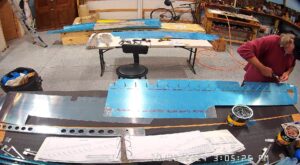
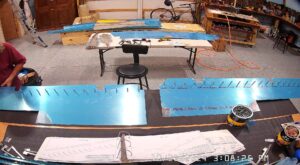
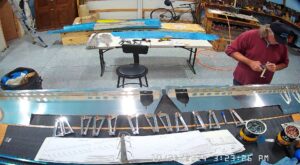
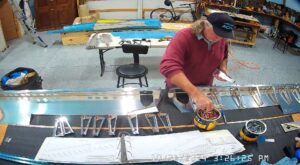
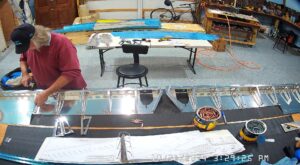
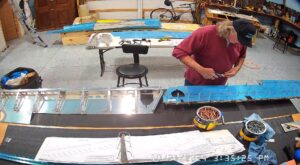
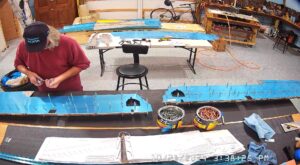
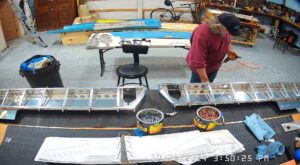
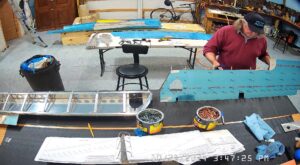
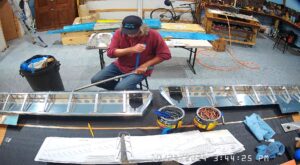
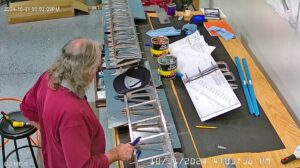
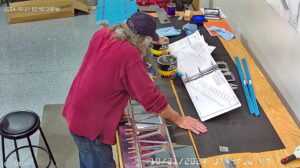
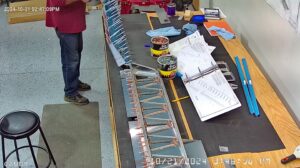
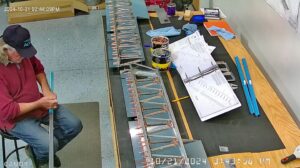
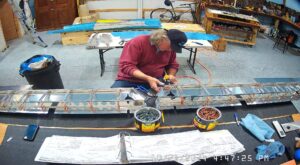
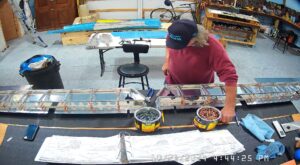
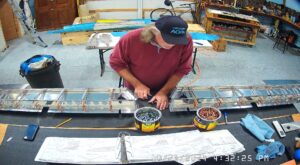
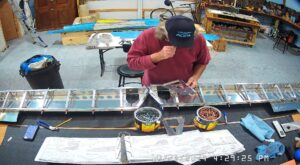
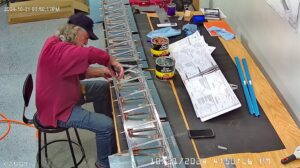
I spent the day today building the elevators on my own. While we had previously prepped ther E-1008A and B, and peeled much of the vinyl from pieces of the elevator including doing a lot of the edge deburring, the majority of the initial build was left undone.
I started with the completion of steps 4 through 6. As mentioned in my previous post, because the fluting by Vans in the E-904 was so severe I had to flatten a lot of it to get the rib to line up with the skin and then create flutes in the E-903. Various suggestions of using string and bench top surfaces no doubt all work. I used a combination of bench top and cleco assembly to get things lined up.
I separated the E-1022 shear clips in step 7 using my cheap Harbor Freight band saw, worked well, and then cleaned them up on my 3M wheel.
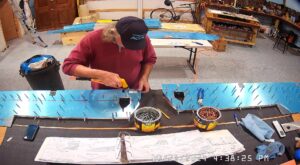
Beginning on Page 9-3 step 1 says to remove the vinyl in the area of the tabs that you need to bend. After I had made the bends I decided to remove the whole sheet from the side of the elevator sheets E-1001A and E-1001B.
In this particular instruction the manual says to clamp the sheet, use a wood block to first bend the sheet by hand and then use a mushroom set to complete the bend. I found this strange because in the instruction on page 7-11 where you are forming the bends around the counterbalance weight for the rudder the instructions say to bevel the edge of the block so as to not split the metal sheet, yet here there seems to be no concern and not only that, you are going to pound the sheet to a sharp bend with a mushroom rivet set.
In step 3 on page 903 it says to finish the bend to 90 degrees with a hand seamer but I did not find that necessary.
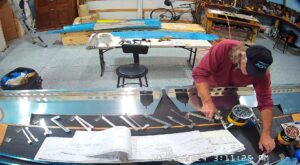
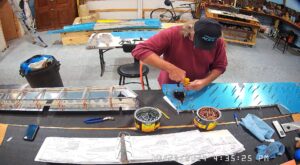
Page 9-4 starts with clecoing the hinge reinforcement plates, E-910, to the front spars E-1002 and final drilling the 1/8th holes. There is a lot of emphasis throughout the manual about marking things so you can reassemble in the same place. I am conscientious about doing this but I wonder sometimes if it is really necessary given that all of these parts are already match drilled and many final sized even. I have also found that, unless you have a lot of identical parts, during the build process you quickly get familiar with what goes where so often marking isn’t necessary.
In some places, the manual instructs you to remove the vinyl before clecoing things together. This is not one of those places but I did remove the vinyl on the inside of the elevator skins before clecoing them to the E-1002 front spars per step 3, and the E-905 and E-1008 ribs and stiffeners per page 9-5. I had completed the drilling of the E-910 hinge plates and the 5/8th hole previously so just moved on with attaching the bottom skins to the spars.
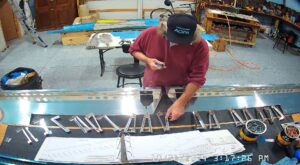
Next step was to cleco the shear clips E-1022 and E-1007 rear spar together and to the E-1008 stiffeners and the skins.
Page 9-6, the next step was to cleco the E-615 trim access reinforcement plates to the bottom skin E-1001B on the left skin and the E-1015 reinforcement plate to the right skin and then final drill the holes. In reality, in my kit, the holes were already final drilled but I went through them all with the #40 drill bit to be sure.
I also completed step 3 and 4 for the gusset. I did not find it necessary to change the bend angle of the gusset.
That pretty much ended my day and I left the attaching of the tip ribs and counterbalance rib assembly for the next work session.
