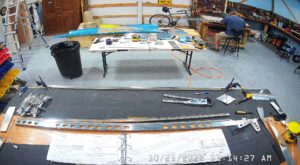
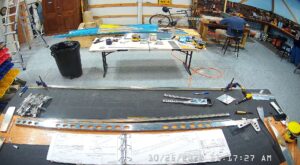
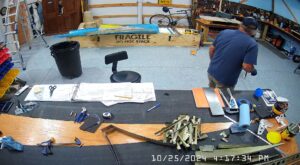
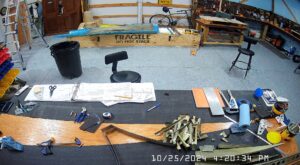
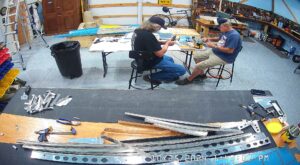
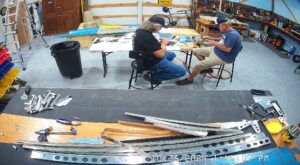
DATE: 10-25-2024 TIME: 8:41 – 4:23 ~ 7:40
All the steps on page 9-8 are related to dimpling the E-1002 and E-1007 spars and the E-905 root ribs. Notably the first 29 holes in the rear spar are not dimpled but machine countersunk because the trim tab hinge is placed on the underside so the underside of the flange needs to remain flat.
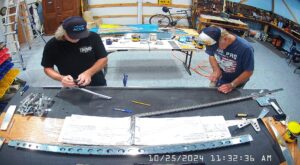
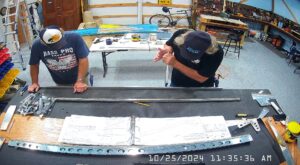
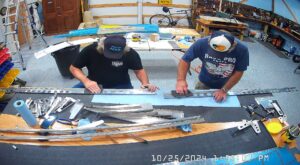
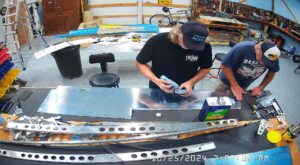
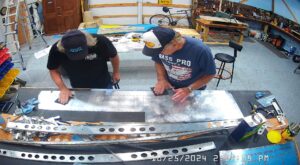
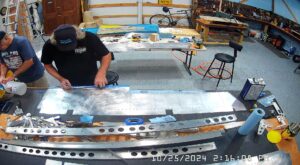
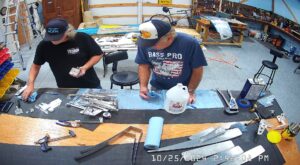
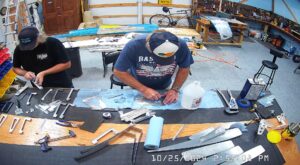
I had not completed all of the deburring from page 9-7 so I did a double check to make sure anything that warranted being deburred was done so some of these snapshots include further deburring. I use the “Avery” quick deburring tool for this purpose, primarily, plus a couple of other tools I purchased.
As is my custom, I attached my 3/32 (#40) pilot countersink to my drill and ran it into a couple of test holes on scrap to set the correct depth. This was very fortunate because I discovered that the countersink was not cutting smoothly resulting in a distorted, oversized hole. Consequently I ordered 2 spare #40 countersinks and an additional #30 countersink as a spare. I also had to order tank sealant for the foam ribs that go into the trim tabs. I have taken to avoiding purchasing non-custom, i.e. unique to Vans, parts from Vans because most of the time it won’t ship for a a week whereas supplies from Aircraft Spruce, Sky Geek and Aircraft Tool Supply (my new favourite supplier) ship pretty much immediately. Sky Geek is the place I purchase the Sherwin-Williams P60G2 primer and catalyst although I found a 5 gallon drum of catalyst reducer on eBay recently at 50% less per gallon than Sky Geek so I bought the 5 gallon drum. At a 2:1 ratio and a Zenith 750 SD build to do as well I figure I’ll have no problem using 5 gallons of catalyst reducer.
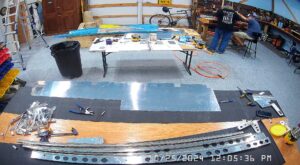
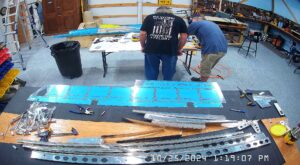
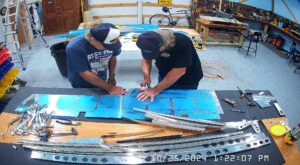
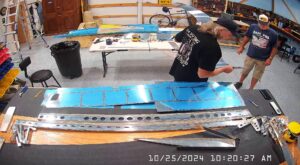
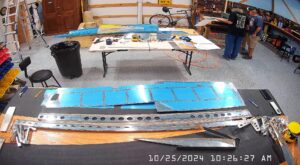
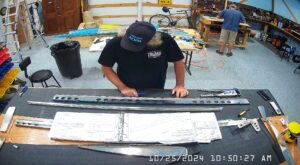
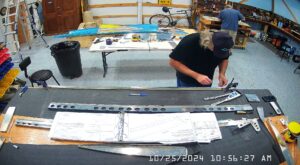
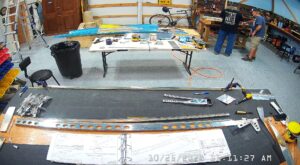
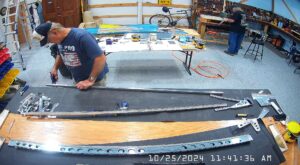
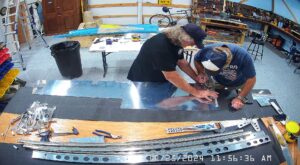
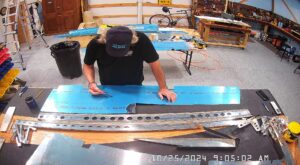
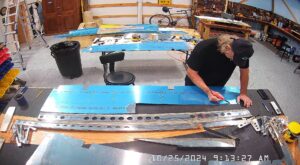
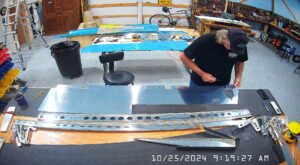
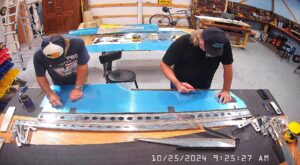
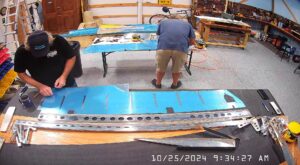
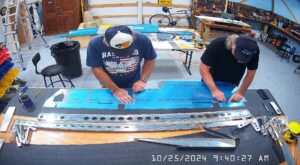
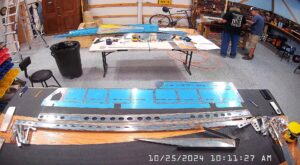
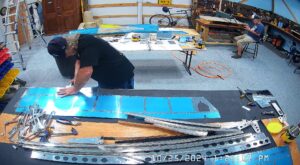
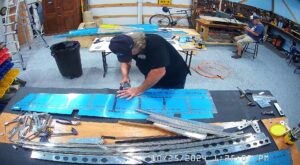
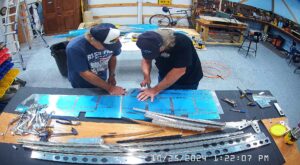
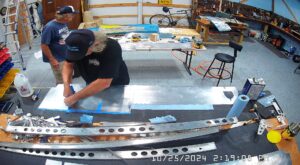
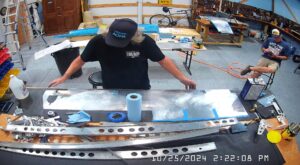
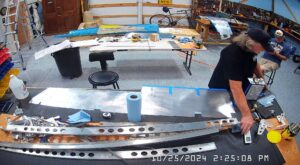
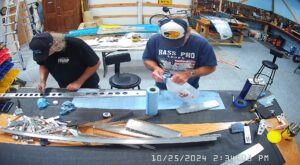
Again, even though much of the work now comprised dimpling, and I don’t seem to have any close up dimpling snapshots, here is what I do have from the day.
Strangely, Vans had dimpled part of the tip rib, E-903, but not all of it. Combined with the lack of specificity regarding dimpling the counterbalance skin, and consequently the counterbalance rib, this added to the uncertainty of what exactly to dimple and what to leave. In the end, I dimpled pretty much everything except for the holes in the counterbalance skin that are used to attach the elevator tip fiberglass fairing in section 12.
IMPORTANT: Don’t dimple the trailing edges of the skins before you have used your vice grip edge roller to slightly bend the edges of the trailing edge skins. If you do you will have to use a hand seamer to bend the edges. That works, but it is far easier and provides a more consistent bend to use the vice grip rollers.
The manual instructs to bend the edges of the trailing edge after you have been instructed to do the dimpling.
I used my hand seamer to bend the edges because I had forgotten to do so with the vice grips. It came out OK, but I don’t consider it ideal.
I could not do the countersinking of the first 29 holes in the rear flange, E-1007 due to my aforementioned countersink issues so we just continued in the interim with removing all the remaining vinyl and scuffing parts so we could prime everything ready for reassembly while we waited for the arrival of the new countersinks. I bought both medium, purple, and fine, grey, 3M pads for scuffing but primarily we use the grey which works just fine.
After scuffing everything, I masked off the areas where the trailing edge wedges fit and also where the foam ribs are glued to the skins and then we primed all of the components with the P60G2 primer. Once the countersinks have arrived and I have machine countersinked the rear spar I will spray rattle can zinc phosphate primer over that section of the spar.
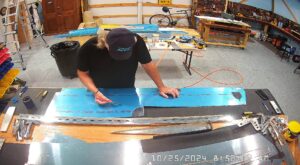
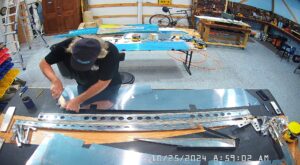
Here are some snapshots of scuffing and cleaning. Just a few. It’s a pretty mundane process but for the primer to stick, very necessary.
I do not currently have a camera on the “paint booth” but will set that up at some point. I just need to find a spare IP camera.
