DATE: 10-17-2024 TIME: 5:10
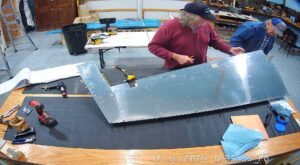
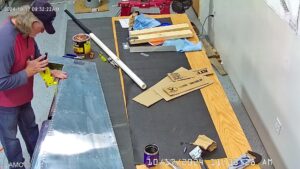
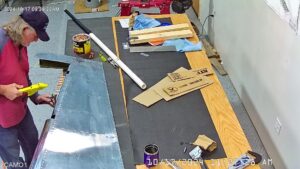
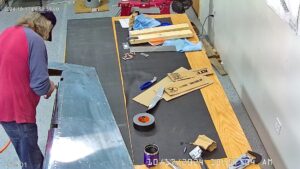
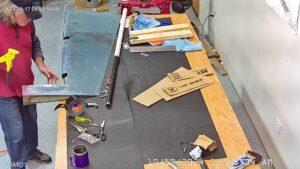
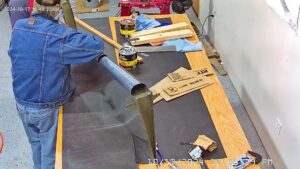
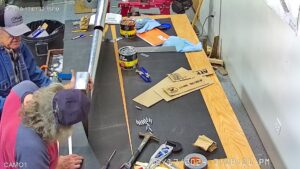
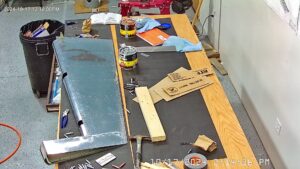
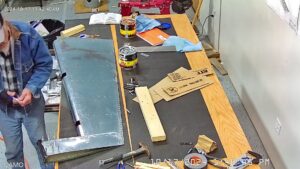
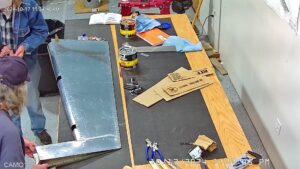
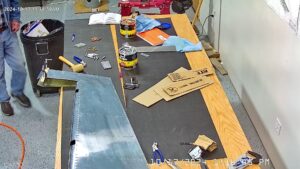
First thing this morning I rushed down to Home Despot and bought a 3 foot piece of black pipe, 1.25″ outer diameter. I taped it to the piece of PVC we had tried to use the day before to roll the leading edge of the rudder and used that to complete the rolls to my satisfaction. The other recommendation I have heard is to place a piece of dowel of an appropriate diameter underneath the skin you are rolling against the edge and that will also prevent kinking along the edge.
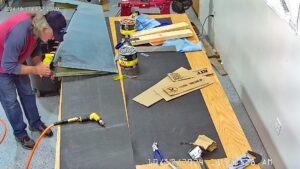
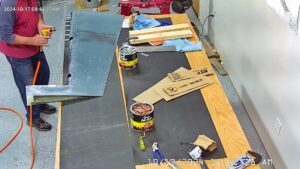
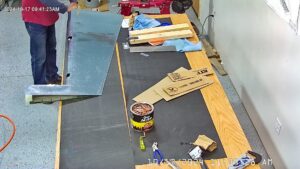
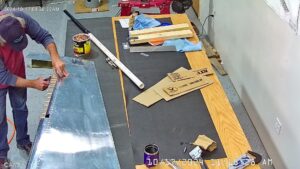
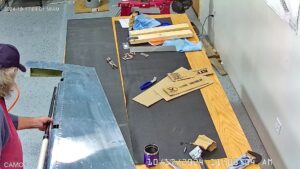
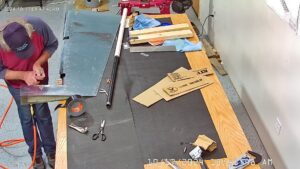
Anyway, I managed to roll the edges of the skins and as I had already slightly bent the right skin it did not take much to complete the riveting of the leading edge together per the instructions on page 11, step 2.
Step 3 on page 11 is the attachment of the counterweight to the counter balance rib at the top of the rudder. It says to use a #8 screw. This is one of the frustrating aspects of the manual. It refers to #8 screws but the bags do not. You have to basically figure out which screw the instructions are referring to and the same kind of confusion reigns when it comes to nut plates and nuts. Some of the manual is excellent and really clear, other parts are just frustrating as heck and confusing. The elevator section, so far, is the worst.
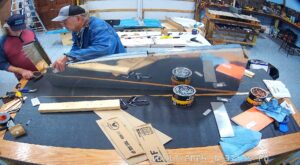
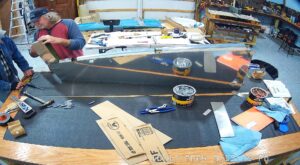
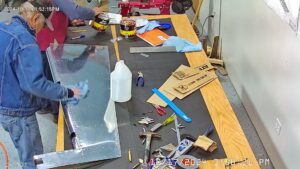
Well, we followed the instructions with respect to assembling the counter balance, creasing the skins, first with fingers and then with a wood block and a mallet. We followed the instructions to the letter but I am less than pleased with the final result because the overlapping skins are not as tightly overlapped as the could be and now, having drilled and dimpled the skins, it is too late to squeeze them together tighter and re-drill them.
The consequence is that the skin, while riveted tight up against the counterbalance rib, bends outward around the counterbalance weight. This is true of both the left and right skins.
Were I to do this again, I would proceed to step 1 on page 12 and then either clamp the overlapping skins left-to-right to make sure they were pulled together adequately, or just pull the skin that is going to be overlapping tight into place and then mark it with the drill bit through the hole. I would then drill that hole and then clamp that skin over the other making absolutely certain it is as tight as against the counterbalance weight as possible before match drilling the hole(s).
The rest of the process was fairly straightforward and there is no pillowing to speak of but, as I say, the skin is not as tight up against the sides of the counterbalance weight as it could be. That may just be a cosmetic issue at this point and not affect the overall performance.
