DATE: 10-14-2024 TIME: 1:45
At this point we have completed page 8-11 and are beginning with step 1 on page 8-12 of the RV-10 assembly manual.
PAGE 8-12
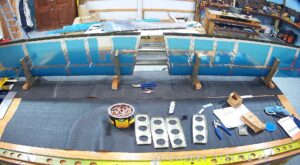
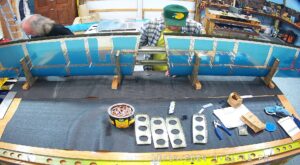
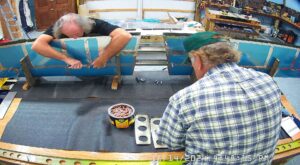
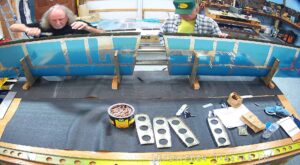
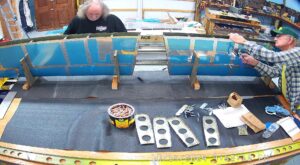
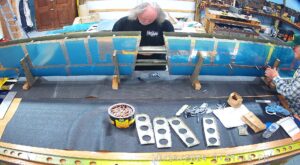
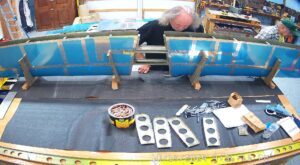
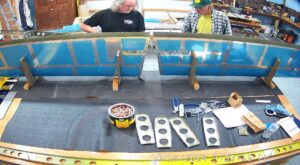
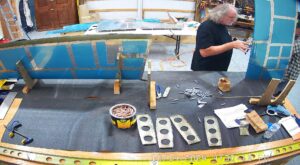
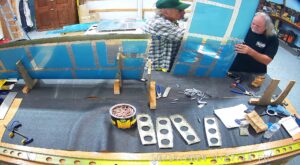
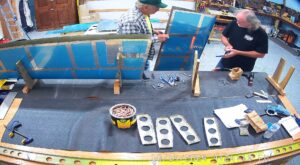
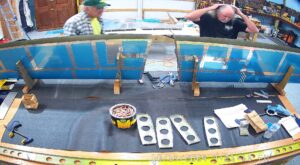
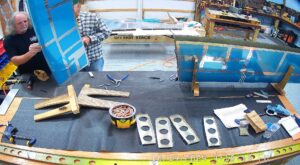
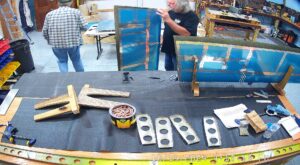
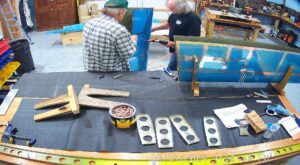
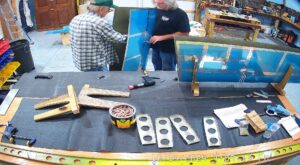
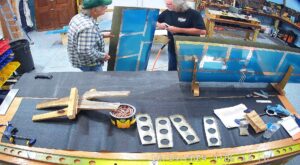
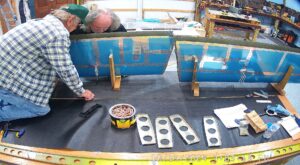
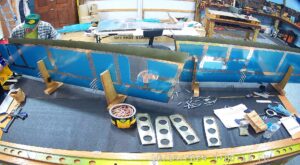
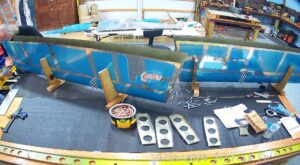
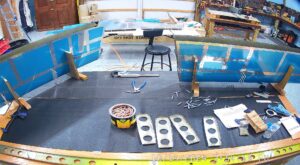
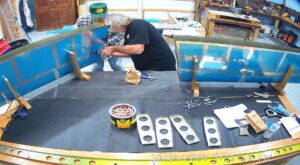
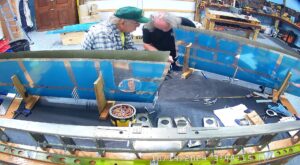
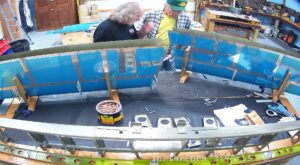
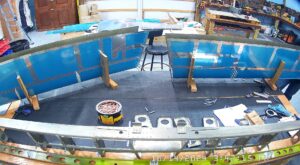
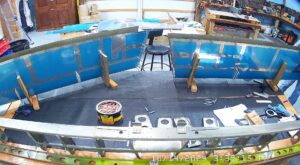
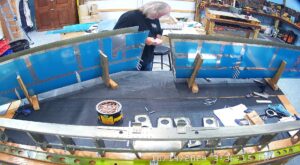
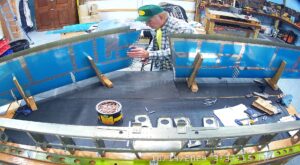
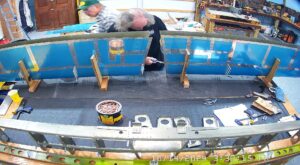
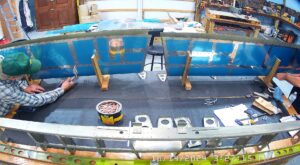
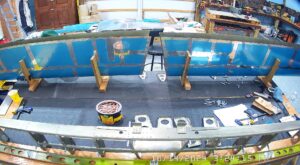
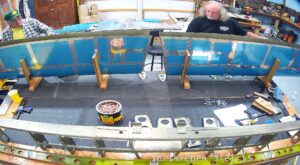
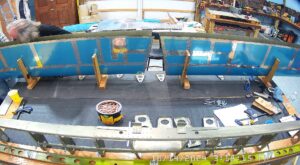
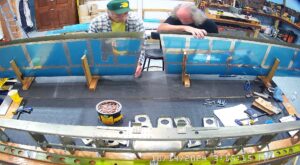
This process begins with riveting the nose ribs into the skins, both left and right, which makes snapshots that are meaningful difficult given the camera placement. The bench we work on most of the time is an “EAA” bench and while it is great for the most part, reaching into the horizontal stabilizer to try and rivet at that height is just not practical. The manual says to place the skins back into the cradles to rivet the nose ribs in place. Very difficult to reach all the way down into the skin to buck the rivets.
You will see from the snapshots that we got the nose ribs in place by climbing onto the bench and a bit of moving the skins around. We opted to move the skins onto a lower table to finish off the installation of the previously assembled skeleton.
You cannot see it in these pictures, but I guess one of the nose ribs was not adequately trimmed to prevent making a small bump in the leading edge of the horizontal stabilizer. If I recall correctly I think it is in the lower part so probably not very visible when completed. I did not even pick up on it until we had finished the skins and were placing the rear spar.
