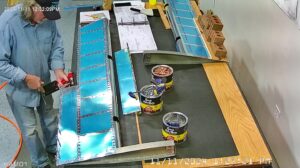
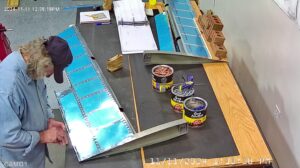
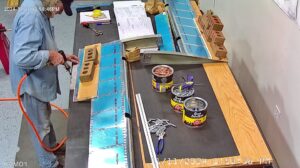
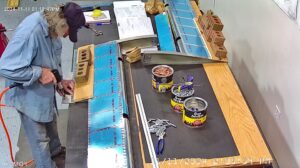
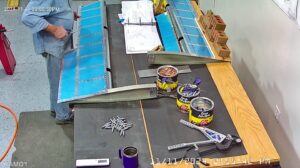
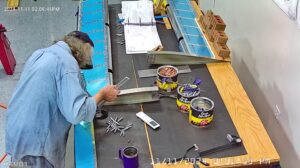
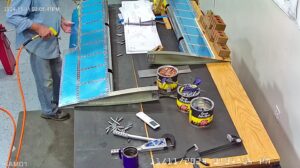
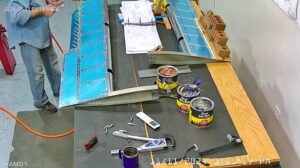
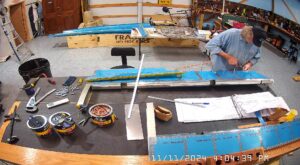
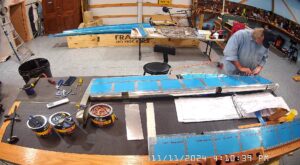
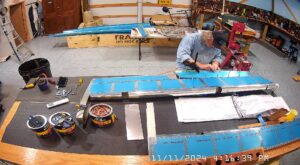
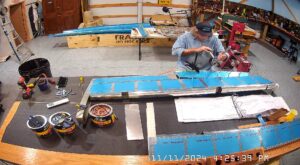
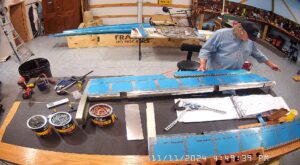
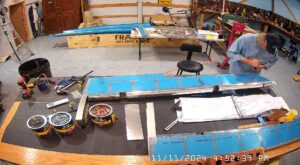
DATE: 11-11-2024 TIME: 13:26 – 17:01 ~ 3:30
Per earlier log entries, I had refrained from closing up the elevators and then later the trim tabs so that I could do all the necessary gluing with fuel tank sealant at one time. That was completed on 11-7 so by this morning the sealant had properly cured, 70 hours required and I was ready to continue with finally closing up the elevators and trim tabs and then attach the trim tabs to the elevators.
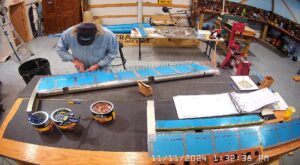
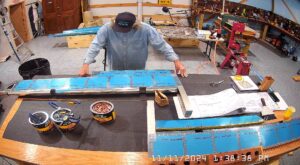
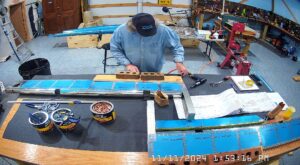
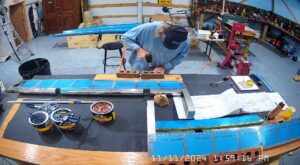
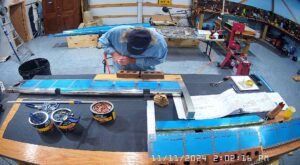
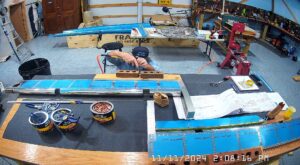
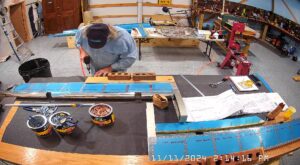
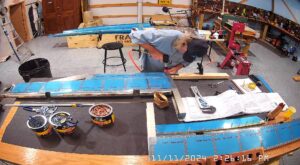
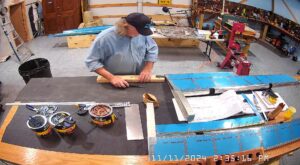
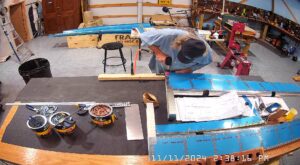
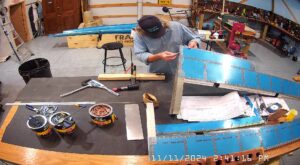
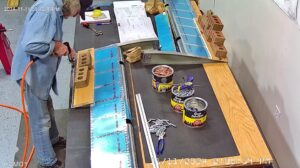
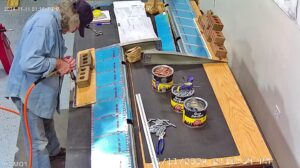
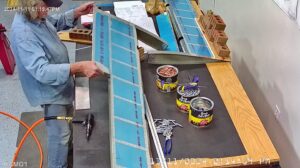
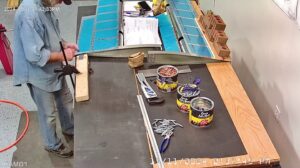
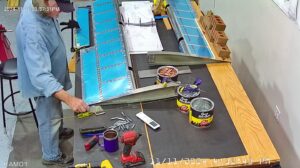
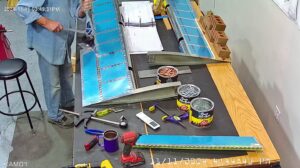
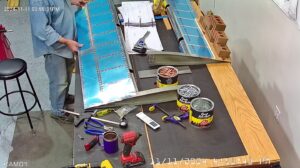
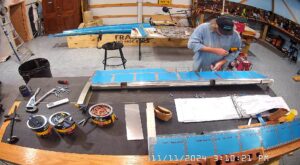
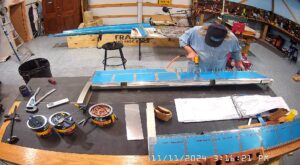
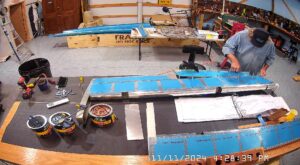
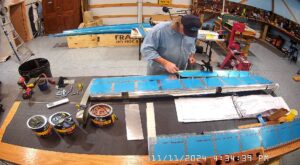
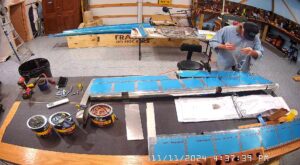
The 3 AN426D3-3.5 rivets in each of the top and bottom elevator skins toward the trailing edge are difficult to set. The most forward rivets, top and bottom, are actually easily set with a squeezer but I could not get either my squeezer or a normal bucking bar in place for the other 4, closer to the trailing edge. I had previously made a home made “bucking bar” out of a 2×4 and a short piece of 1 x 5 x 3/8th soft iron from Home Depot, or Lowes, not sure which.
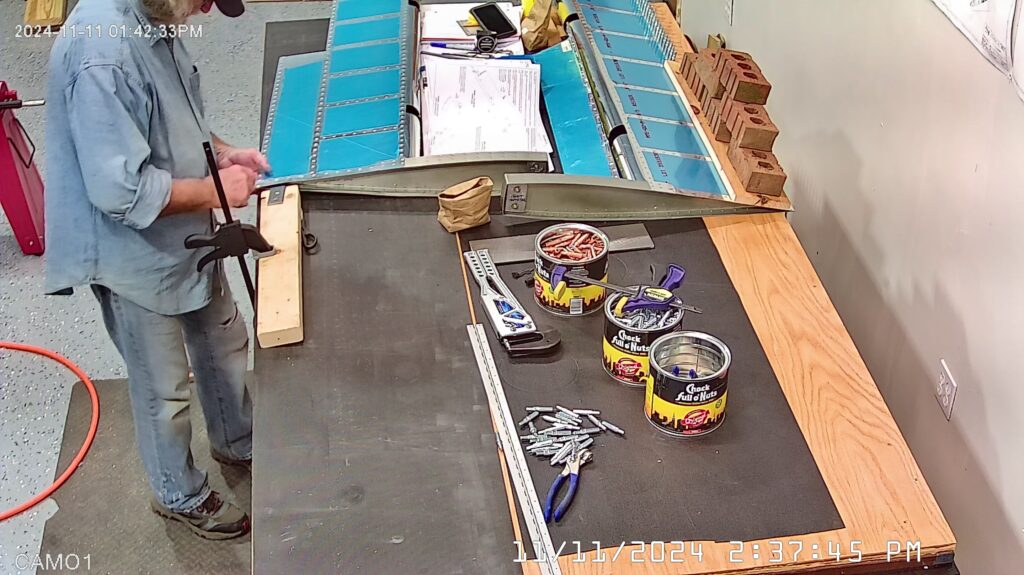
I placed a pair of scissors under the 2×4 to get the angle correct for the rivet and then clamped it to the bench. The only “bad” thing here for me is that the metal plate is a little too flexible so it takes some effort, and care, to properly set the rivet with creating a smiley in the skin.
I began with step 12 on page 9-14 and then continued the process with steps 1 and 2 on page 9-15. The remaining steps on that page were previously completed so I moved then to page 9-17.
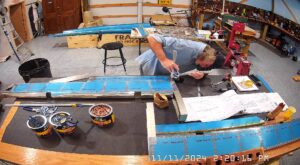
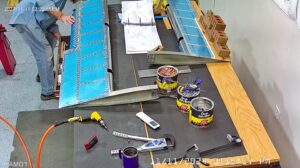
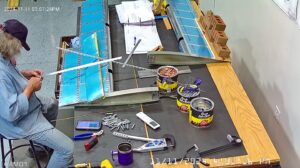
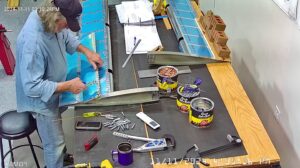
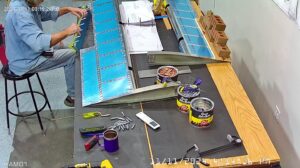
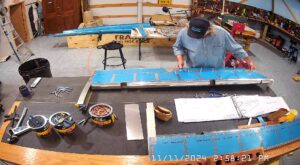
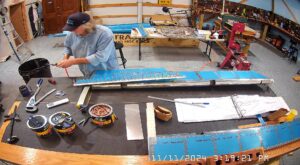
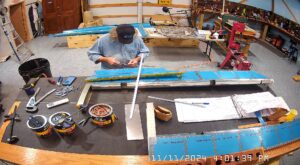
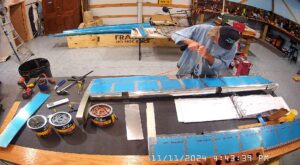
Now moving on to finish the trim tab and attach it to the elevator. These are all right elevator images.
You could buck and use a swivel headed mushroom set to set these rivets but I used my rivet squeezer, partly because I know that once I have the depth set I can get nice, consistent, rivet sets. However, I could not get my rivet gauge behind the hinge to test my rivets so I made a thinner profile guage just for the AN426D3 out of a cutoff piece of hinge.
I followed the instructions and used a piece of safety wire to prevent the hinge from coming out despite not liking this solution. After a quick search I found a suggestion on Vans Airforce Forums to use a #6 screw, nutplate and a rivet eye cut from leftover hinge so I am going to do that and will post a snapshot once I have it done. As this is my first project I don’t have a lot of spare bits lying around so I have to order them when I need them.
