DATE: 11-04-2024 TIME: 1:10 – 4:41 ~ 3:20
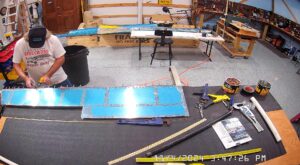
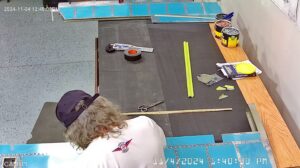
My afternoon started with just cleaning up the shop. I try to make it a habit to start with a tidy shop. Then, I found that I had noted riveted the left elevator tip top skin so I had to start with that.
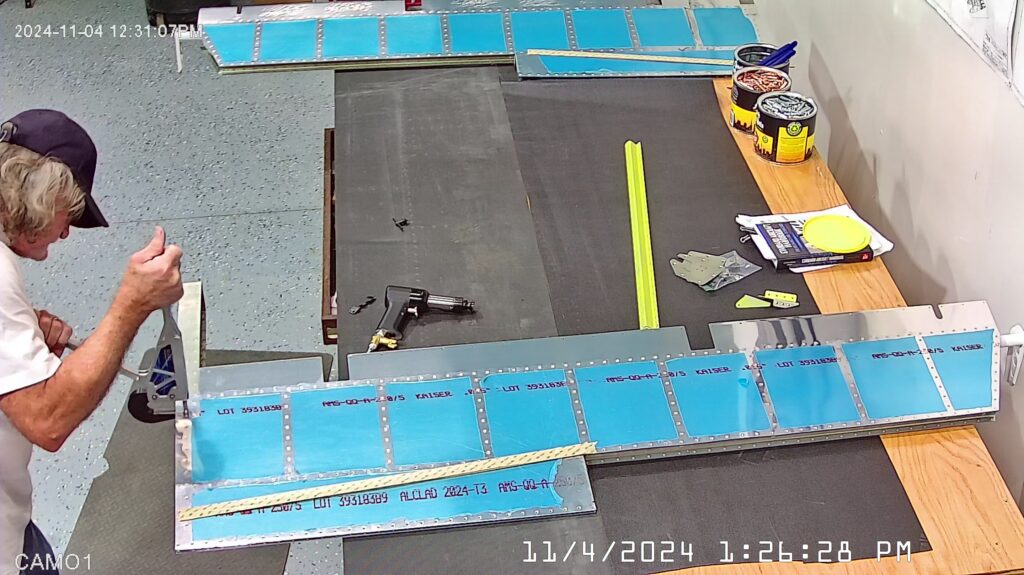
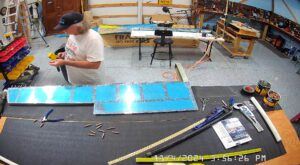
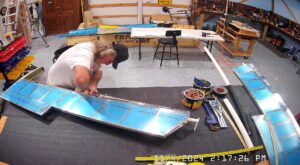
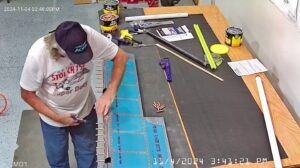
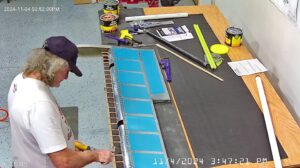
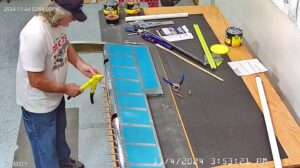
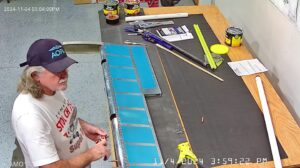
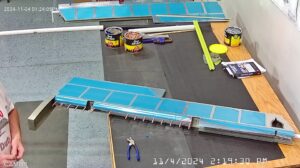
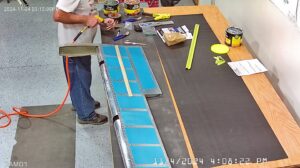
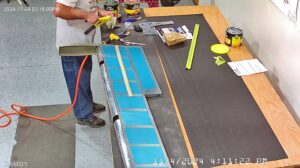
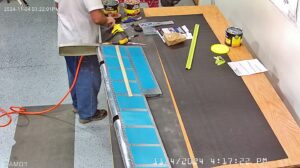
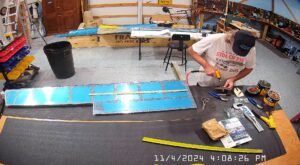
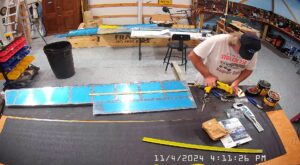
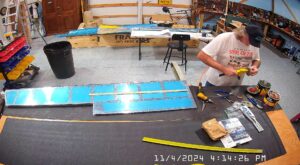
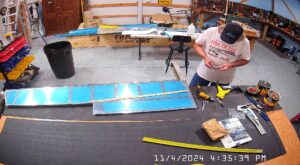
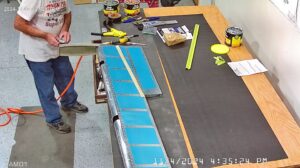
I had not completed with the assembly on Page 9-14 at this point which includes gluing the foam ribs into the elevators with fuel tank sealant because I wanted to glue the trim tab foam ribs at the same time, using just a single mix of sealant. Consequently I also left the close out tabs and sheer clips not riveted per step 2 and continued instead with rolling and riveting the leading edges of both elevators as described on steps 3 through 6.
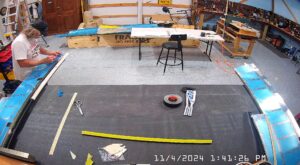
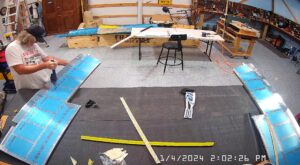
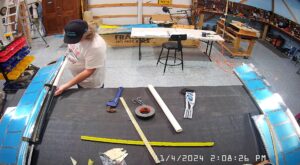
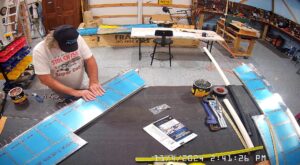
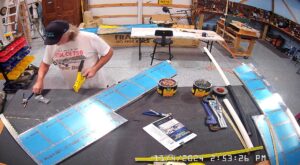
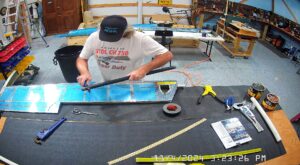
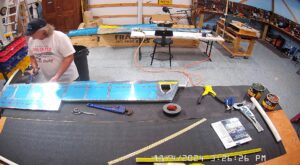
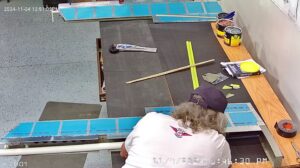
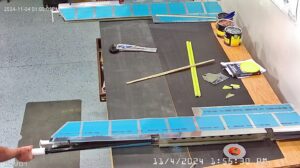
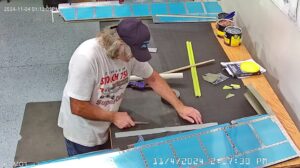
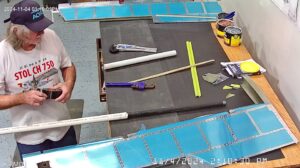
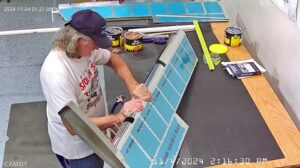
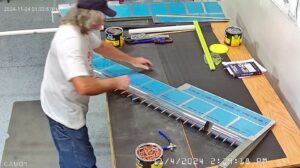
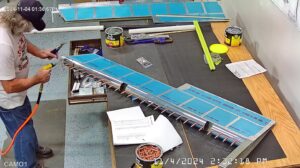
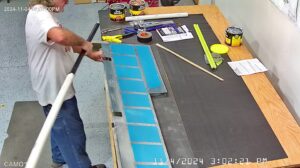
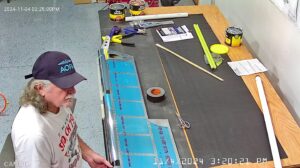
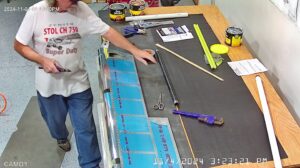
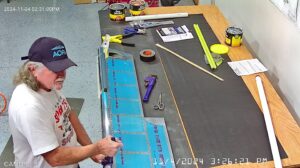
This rolling process takes some effort and I spent a little time doing it in an effort to make sure I did not kink the skin. I had a 36″ section of 1.25″ black iron pipe and had rivet it to a length of PVC to provide more leverage. I used this on the first elevator and then I removed the PVC pipe on the second because the elevator horns obstructed the PVC pipe from being flat. That made rolling the second elevator leading edge much harder, but the results were better.
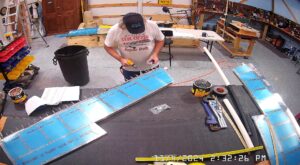
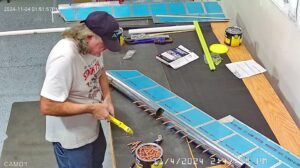
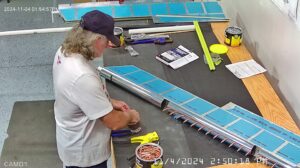
Step 7 on Page 9-15 is to rivet the trim cable attachment brackets to the cover plates using LP4-3 rivets. These are tough rivets to set, at my age, with a hand riveter. I had already purchased a pneumatic riveter for building the Zenith 750 SD but it came with a countersunk nose for 1/8th rivets so I did not want to use it and pulled them by hand. Meantime, I ordered a set of noses for the pneumatic. There are a lot of blind rivets to pull and the pneumatic riveter is a joy to use.
The next process was step 8, trimming and attaching the counterbalance weights to the outboard ribs. While not specified in my version of the manual, these weights, of which there are four, need to be trimmed according to whether they are being attached to the left or right rib. One would think lead is easy to cut, and generally thin lead is easy to cut, but sawing off large chunks, or “relatively thin” large slices, isn’t that easy. I did my trimming with my bandsaw and then used a file to clean them up.
Unfortunately you cannot see much of the trimming as I don’t have cameras on the bandsaw. I need to correct that.
