DATE: 11-16-2024 TIME: 11:43 – 16:57 ~ 5:00
I started by completing the fabrication of the F-1012D up elevator stop bracket per page 10-13, step 2. Then I made two shorter sawhorses before continuing on page 10-11.
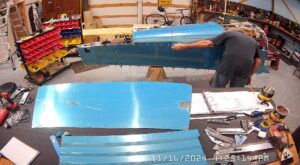
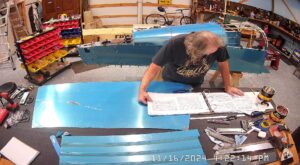
I then went back to step 1 on page 10-11 with my additional clamps and made sure that the left and right F-1032 longerons were as accurately clamped as I could. The manual says to match drill with a 3/32″ bit and then in step 3 to match drill #40 “all the remaining” holes, which I took to mean including these 3/32″ holes. Earlier in the manual where it said to do this I just drilled them with the #40 drill, which turned out OK. This time I decided to follow the instructions and drilled first with the 3/32″ bit using my Milwaukee impact driver instead of the pneumatic drill. It’s a much heavier drill so a lot more fatiguing. The fact that the tailcone was so high on the sawhorses didn’t help. I did make some shorter sawhorses first thing but needed someone to help move the tailcone, which I arranged later.
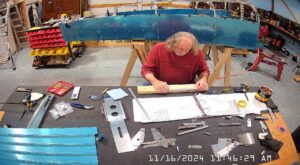
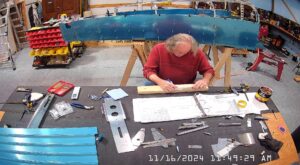
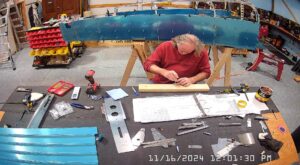
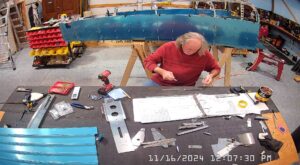
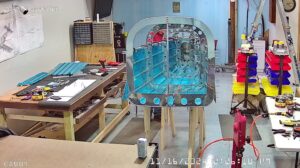
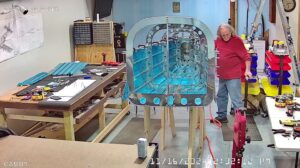
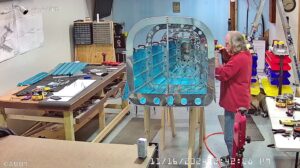
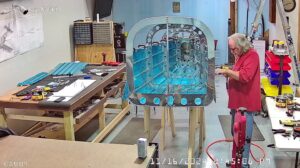
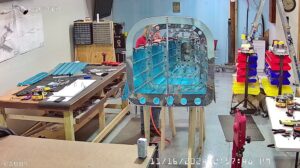
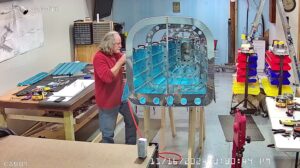
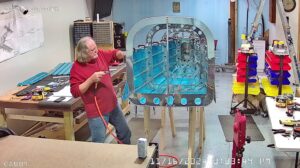
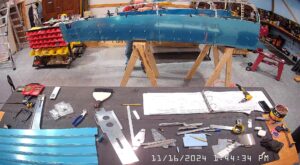
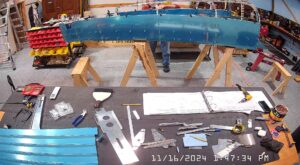
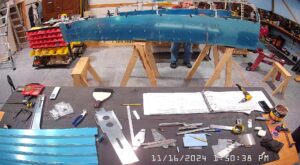
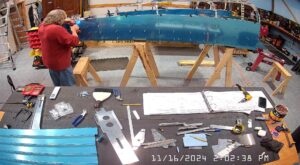
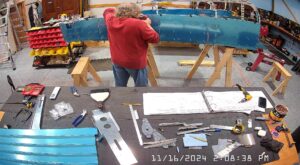
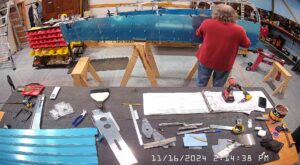
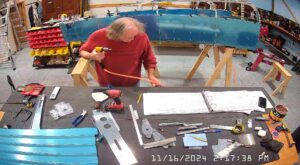
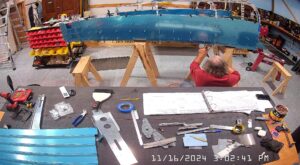
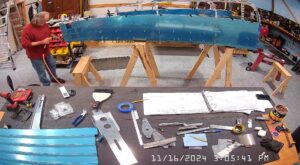
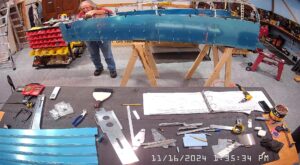
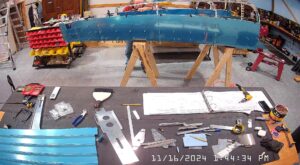
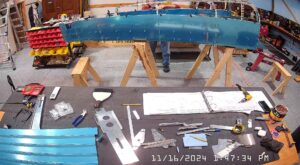
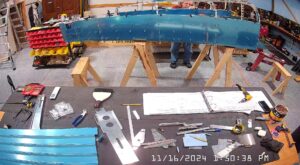
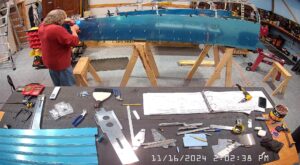
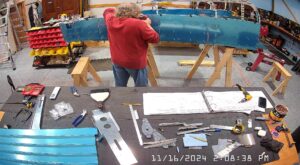
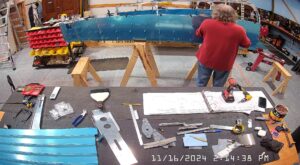
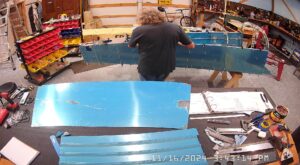
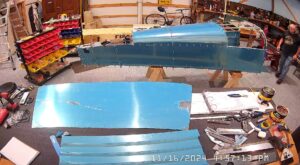
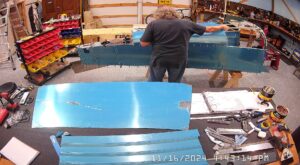
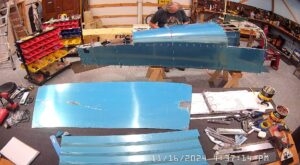
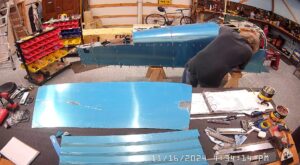
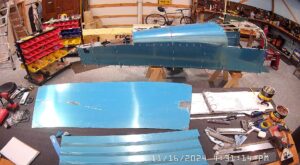
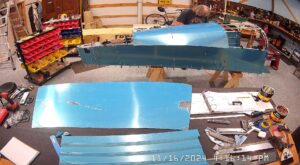
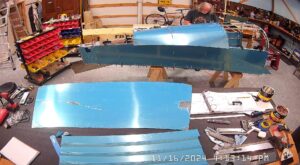
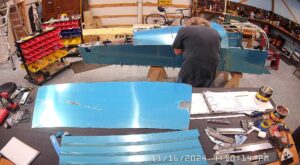
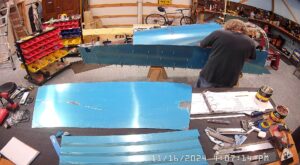
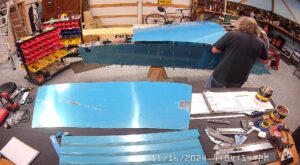
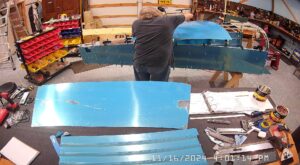
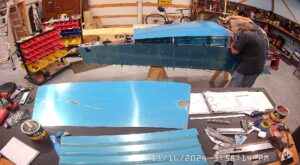
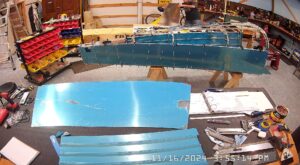
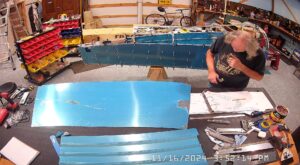
It’s hard to see the match drilling of the F-1032 longerons because of the location of the cameras, but I will move things around a bit for the next work session so that snapshots are more meaningful.
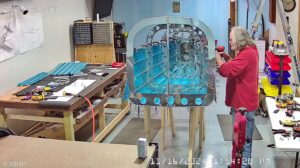
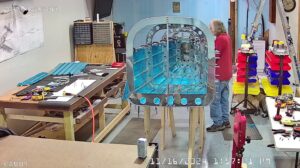
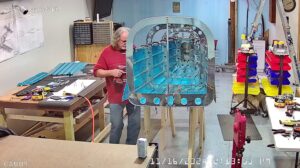
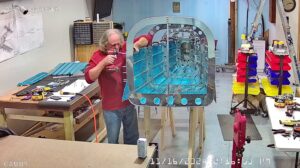
That said, the shots below are 3/32″ drilling both the left and right longerons per step 2 on page 10-11.
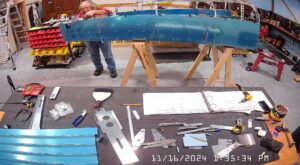
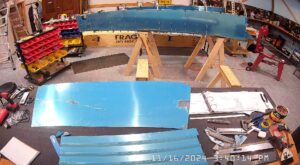
Next came Page 1012 step 1, separating the strip and deburring the forward top skin F-1074 after separating the strip.
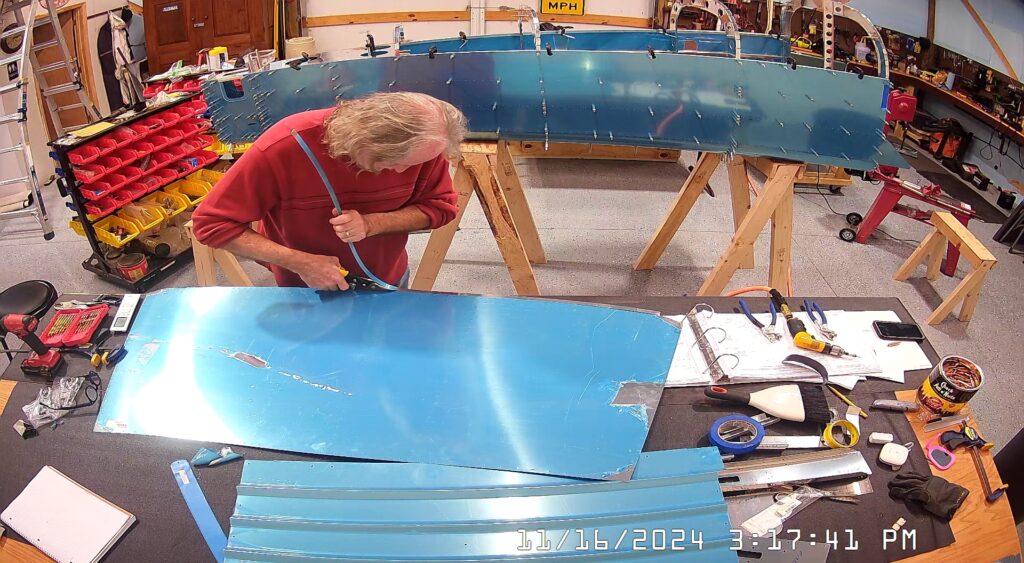
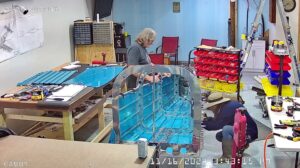
I had not flipped the tailcone for final drilling the underside / bottom skin as I found with some random drilling that everything was final sized my only issue was moving it to the lower sawhorses so I could work more easily at the centre of the bulkheads and frame so I fetched my trusty helper, wife Aurora, to come and give me a hand before proceeding.
Now came time to heavily flute all of the flange tabs with 2 holes per step 3, insert the F-1047B left and right stiffeners and the the F-1047A stiffener. This would have been impossible with it on the high sawhorses. I then cleco attached the F-1075 aft top skin to the F-1007, 8 and 9 bulkheads. This took some effort and a lot of clecos which I had to remove from other places so i decided to buy another 100. I have no idea how many silver clecos I have at this point, but I’d rather have too many in place than not enough. I guess I’ll count them once they are all removed again.
