DATE: 12-18-2024 TIME: 10:17 – 5:16 p.m. ~ 7:00
Well, this morning I had my trusty 1/4″ universal socket drive set from Harbor Freight which includes 1/4″, 3/8″ and 1/2″ universal drives. I went a little nuts and bought a couple of other wrench sets, a picker upper and an extendable mirror, just in case. I also bought a 1/4″ swivel ratchet for few extra dollars.
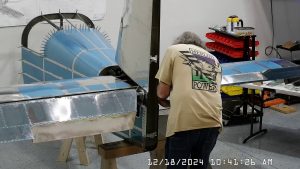
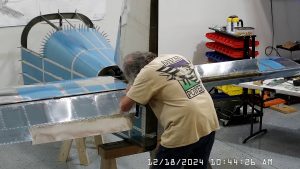
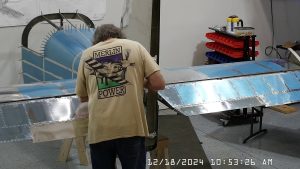
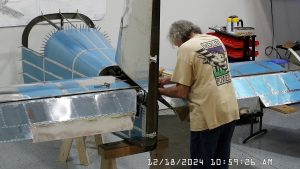
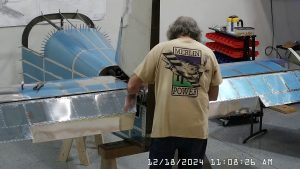
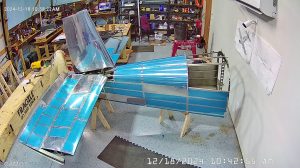
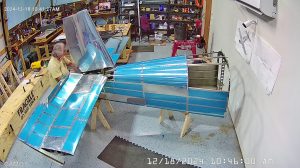
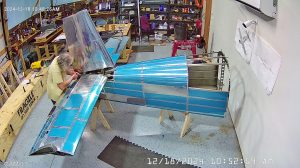
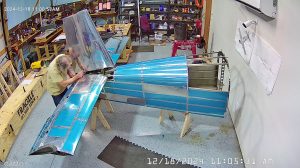
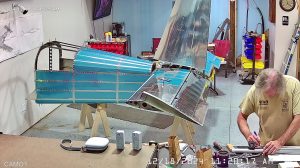
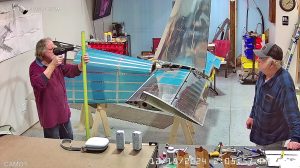
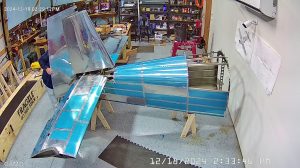
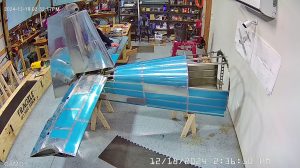
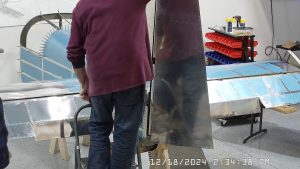
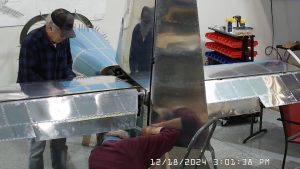
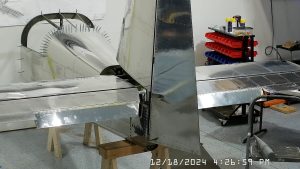
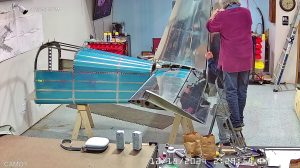
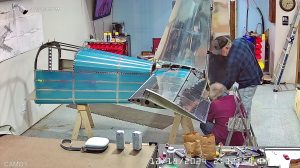
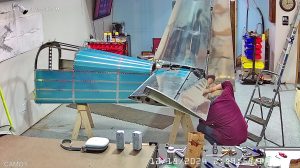
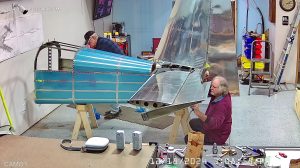
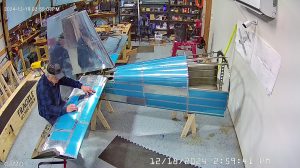
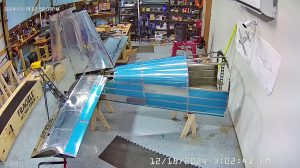
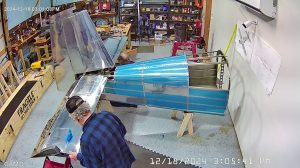
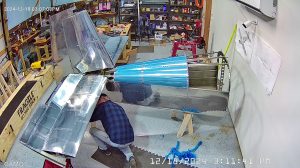
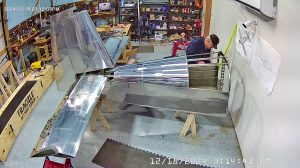
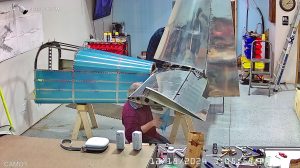
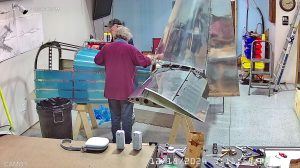
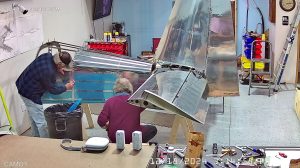
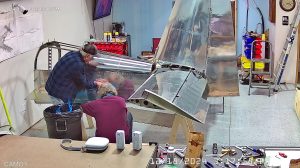
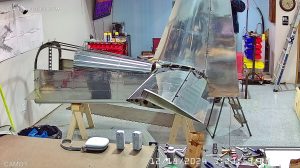
I began by removing the bolt and replacing it with a new one and a new nut and then inserting and tightening up the bolt per step 2 of page 11-6 and figure 3 on page 11-2. No problems with my customized thin wall socket. Sadly Harbour Freight did not have a thin wall socket set or I would have purchased that too. No point in trying to provide snapshots because the whole process is done beneath the vertical stabilizer and between the two elevators so none of my cameras would pick that up. Well, OK, here are a couple of shots just to show that I did complete the process.
So the next step, step 3 on page 6, is to cut the F-1091 push rod to length. Easy enough on my HF special bandsaw, just want to be careful not to bend the rod. It is easy enough to insert the threaded rod ends, mark the holes per the instructions, match drill and deburr, followed by priming. The only comment I make here is that the tolerances between the insert and the internal diameter of the rod preclude having primer on the inside of the rod and the insert. We primed the inside of the rod with P60G2, about 5 ounces mixed up and then poured into the rod and shaken around, like a rain stick, while rotating to make sure we got good coverage. We scuffed, cleaned and primed the outside of the rod and the rod inserts with my rattle can zinc phosphate primer and then cleaned the primer off the insert where it goes into the rod. We set the rivets using the pneumatic riveter that I purchased with the Zenith 750 Super Duty kit. Much easier than trying to use the hand riveter.
Even though the #30 holes are evenly spaced and either end insert should work at either end, I marked them to match the end in which they were drilled and I indexed one of the holes on the insert to the same matched hole on the rod. I figured that would be easier to get them back in the same place for riveting rather than trial and error and hoping that both ends and inserts were perfectly identical.
Due to the weather, the primer would not dry so between priming and reassembling we left the rod overnight and continued instead with attaching the rudder to the vertical stabilizer per the instructions on page 11-7.
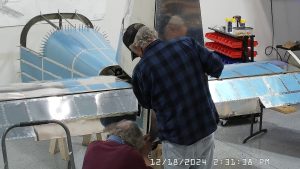
Attaching the rudder to the vertical stabilizer starts on page 11-7 at step 5 and threading the jam nuts onto the rod end bearings and the rod ends into the rudder. The starting point of 3/4″ from the forward face of the R-1002 spar to the centre of the rod end bearing turned out to be a little too short to provide adequate rotation for the rudder so we had to remover the rudder after initial attachment to adjust the rod end length. Measuring the angle is all but impossible so you have to rely on measuring the distance from the rudder skin to the trailing edge of the trim tab. That in itself may not be all that accurate because of the way you finished off the trim tabs and the hinge placement attaching the trim tab to the elevator and the length of the rod end bearings in the elevator. We did get within a 1/16th of an inch match between the two sides so I figured that was about as good as it was going to get (you have to turn the rod end a 1/2 turn minimum anyway).
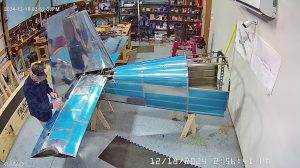
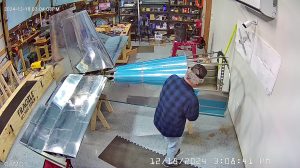
At this point, having almost finished the rudder setting and pretty much most of the rest of the heavy lifting I figured we might as well remove the rest of the blue vinyl wrap.
That made the day a wrap, except for looking ahead at the various fiberglass pieces and trimming the elevator tips to 1/2 inch flange so they would fit comfortably in the elevator. Later on in the evening I read about carbon tips made by Sky Designs so I’ve decided to go with those rather than the standard fiberglass from Vans which aren’t formed all that well anyway – they don’t come close to the top and bottom skins without forcing a lot of foam into the tip to make it at least somewhat conform to the shape of the elevator. The horizontal stabilizer tip is the same, very poorly formed, in my view. I will likely also buy their long rang fuel tanks when it comes to building the wings.
Check them out, their tips fit the 9 and 14 and I think the price is very reasonable.
