DATE: 12-21-2024 TIME: 11:09 – 4:48 ~ 5:30
They say time flies when you are having fun and, for me at least, that is certainly true while building this Vans RV-10 aircraft. Occasionally there are frustrations because I don’t understand something, or I am uncertain, but I really enjoy this whole process. What makes this really apparent is that even though I have spent 5, 6, 7 and 8 hours on a number of days working on the assembly I don’t think I have ever felt like I was in the shop that long, or that I was working in any sense of the word.
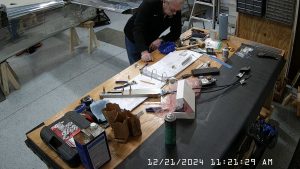
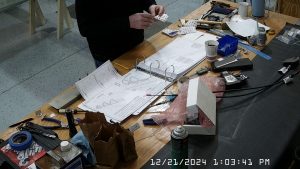
Today Joe and I continued the trim control assembly process as defined on pages 11-8 and 9, beginning at step 2. Although the parts were completely fabricated yesterday I started by cleaning up the edges on the sanding belt and wheel and then on the 3M medium wheel.
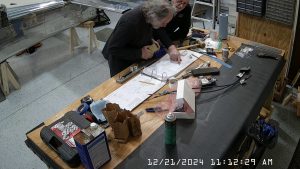
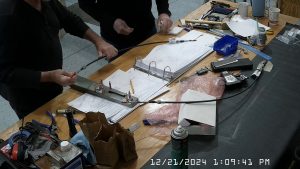
Before we started riveting anything I wanted to make sure the parts we had fabricated were correct, particulary the trim bellcrank brackets. It would have been very frustrating to have riveted them in place only to find that the 1/4″ holes were not aligned enough to get the AN4-6 bolt through with the belllcrank in the centre so we skipped briefly to page 9 and step 2. I really recommend doing this with the brackets cleco’d in position before you rivet. It’s a lot easier to fabricate and replace one or both of the brackets before riveting them in place than having to drill out the rivets and start again.
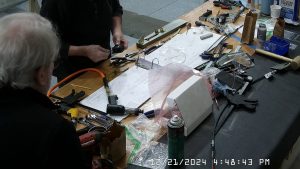
It was too cold to prime the parts outside so we built a temporary “paint booth” beneath the bench by wrapping some 4 mil plastic sheet. We were only spraying the 5 parts for the trim brackets and bellcrank and spacer, plus we sprayed the F-1095D links and spacer otherwise I would have added an extraction fan. In reality, you can purchase fairly economical inflatable paint booths with extraction fans for not much money and will likely do so as time goes on. In the meantime the mini-booth underneath the bench sufficed.
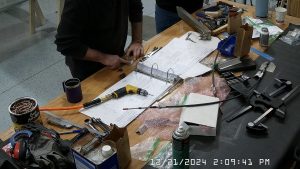
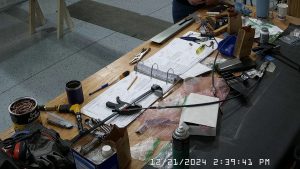
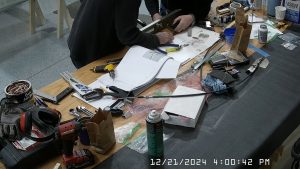
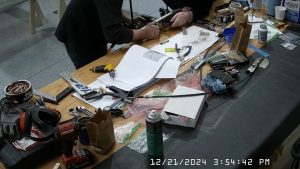
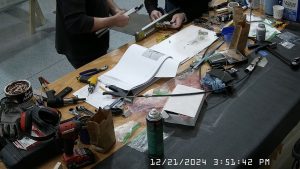
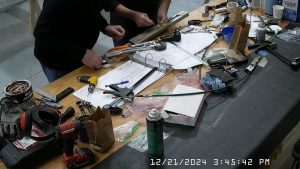
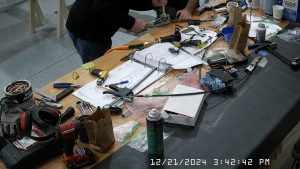
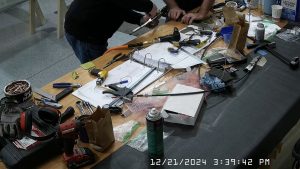
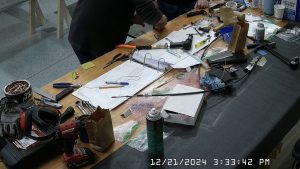
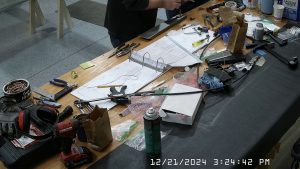
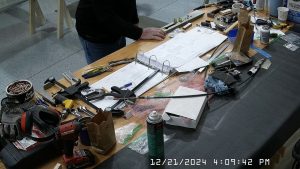
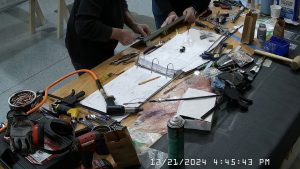
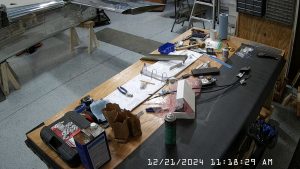
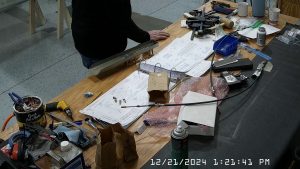
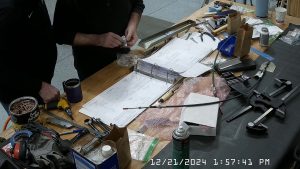
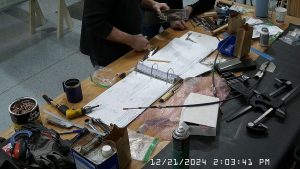
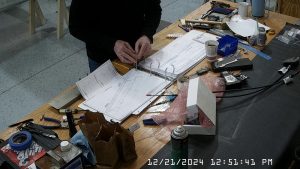
Having determined that all was good, we completed the riveting and riveted all the nutplates in place. You will see from the first snapshot today that we had already test cleco’d everything to see where it went (before shaping the F-1095G brackets.
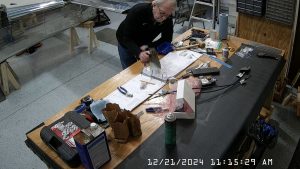
We also bolted the bellcrank in place and double checked that was not binding nor too loose.
That was all we could get done today and I’d say there is about another day’s worth of work to do before putting the empennage up and out of the way to get on with the Zenith 750 so hopefully I will be able to start that for 2025. Target date for the completion of the Zenith 750 is September 23rd 2025, my wife’s birthday. After all, the Zenith is her aircraft.
