DATE: 12-11-2024 TIME: 10:08 – 04:28 ~ 4:00
I had two helpers today, EJ, my trusty regular helper and bucking bar holder extraordinaire, plus a pilot friend from Lakeland, Florido, Joe Gleason. We go to Sun-N-Fun pretty much every year and Joe is very kind to allow us to stay at his house and disrupt his life for a week.
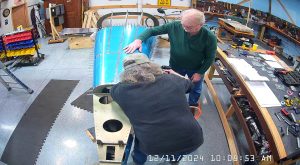
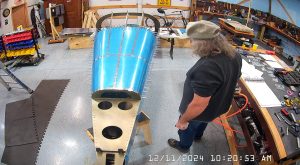
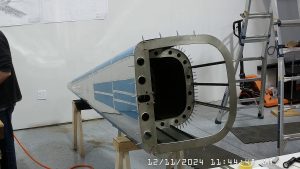
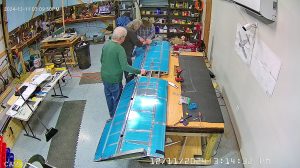
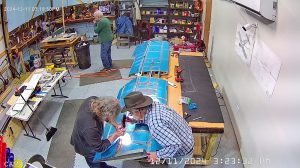
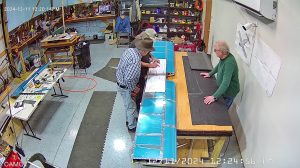
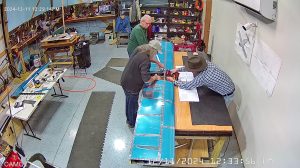
Anyway, the number one project this morning was to complete the riveting of the F-1075 skin to the F-1032 longerons, left and right. It’s pretty awkward and we ended up going over the some of the rivets a number of times to get them properly set.
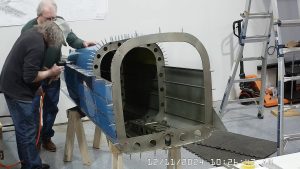
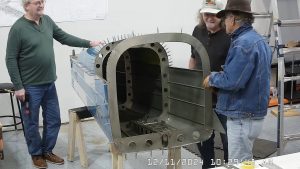
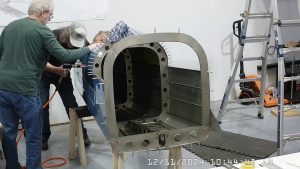
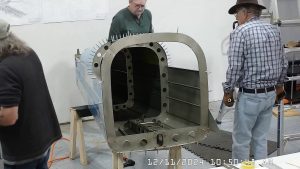
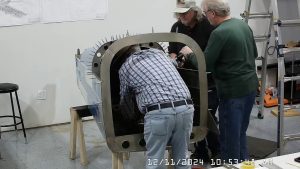
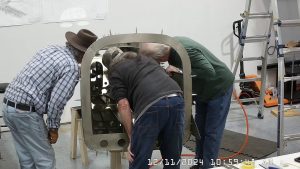
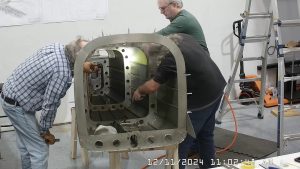
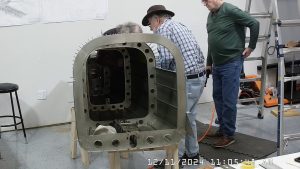
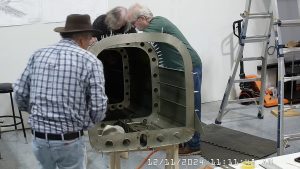
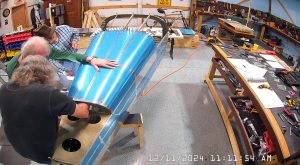
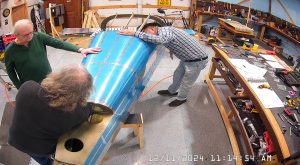
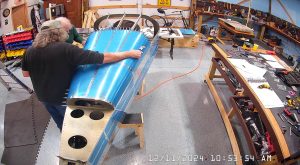
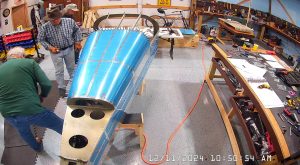
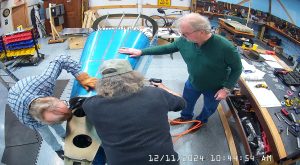
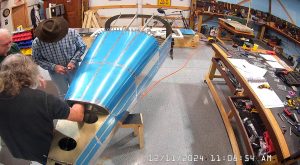
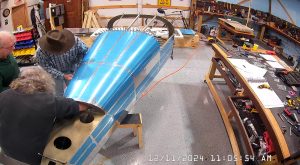
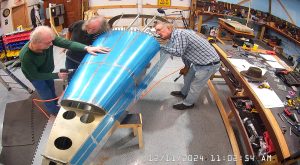
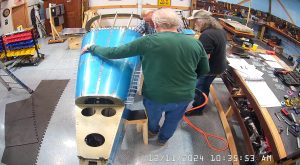
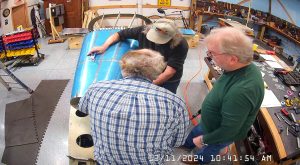
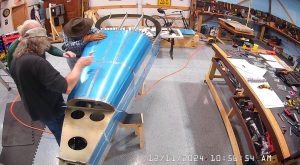
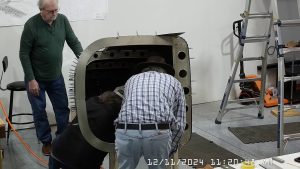
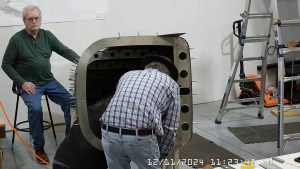
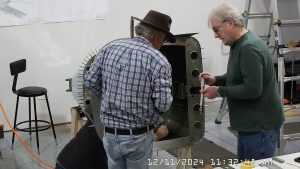
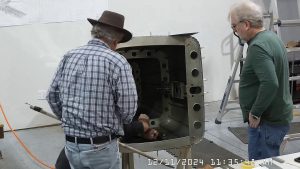
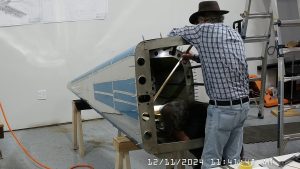
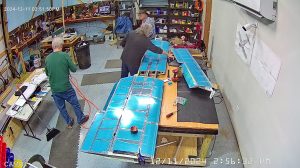
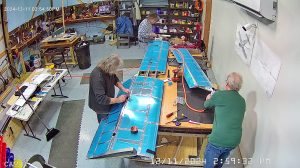
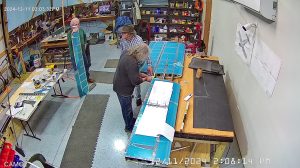
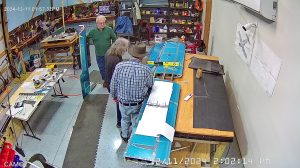
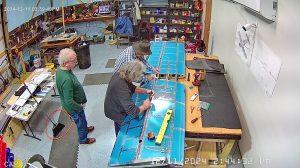
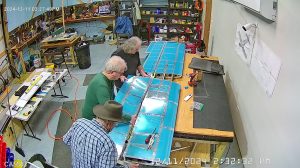
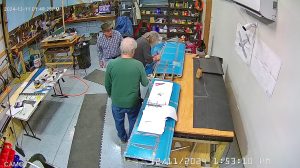
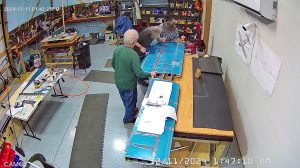
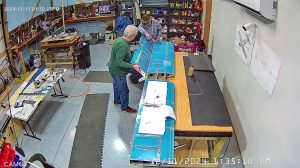
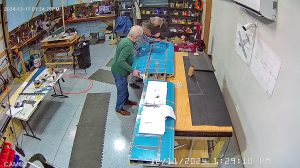
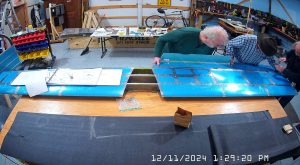
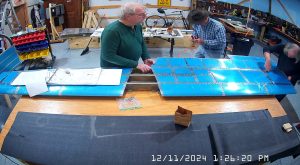
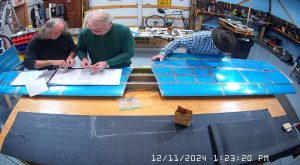
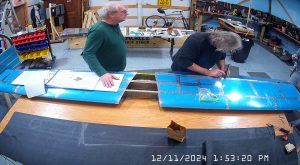
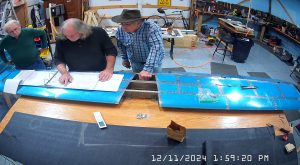
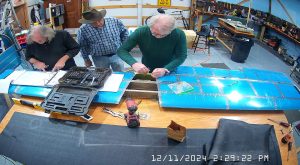
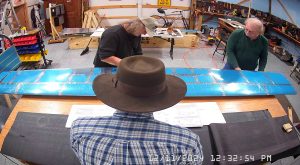
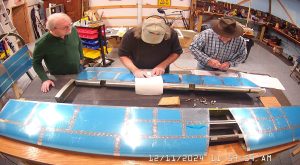
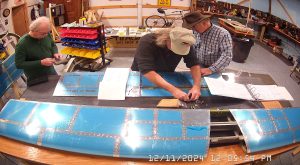
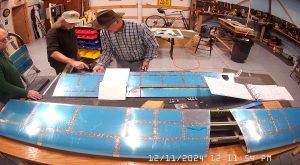
Once the top skin was attached the last step in the assembly of the tailcone was to install the battery and the master relay, neither of which is actually shipped with the empennage kit, and then to bolt the shoulder harness anchors onto the F-1032 longerons. Another difficult task given how far they are into the tailcone. You can see from the images that we turned the tailcone onto its side to facilitate the process.
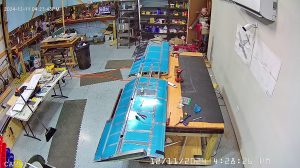
After completing the riveting and attaching the shoulder harness attachment points we reorganized the workshop from assembling the tailcone to facilitate assembling all of the subassemblies into the final empennage section. Shortly after starting, getting the horizontal stabilizer, vertical stabilizer, rudder and elevators down from the storage floor, we went to have lunch and then also, in the middle of the process, went to visit another local pilot friend who is in the process of building a Zenith 701 (STOL).
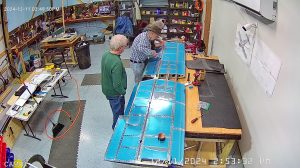
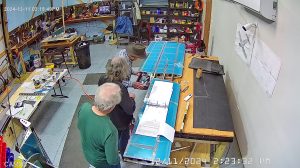
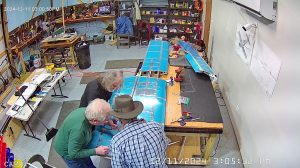
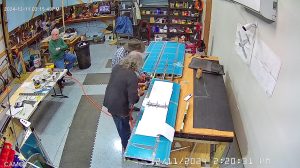
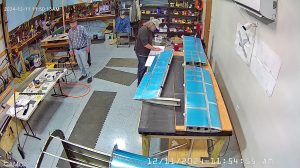
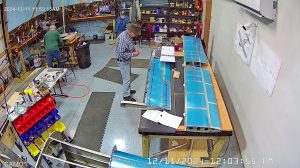
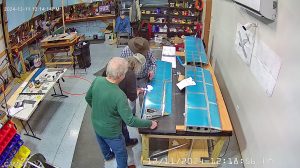
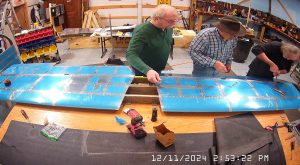
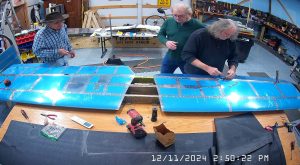
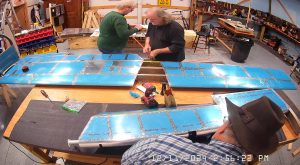
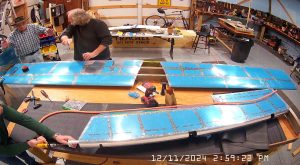
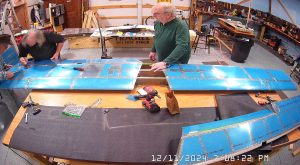
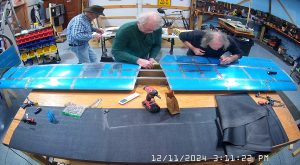
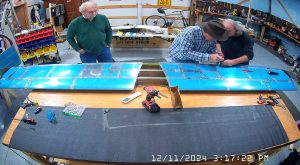
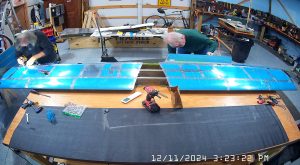
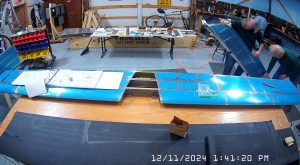
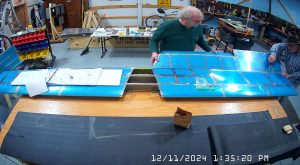
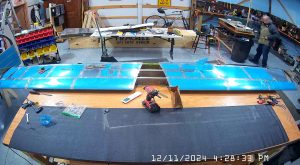
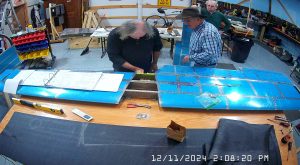
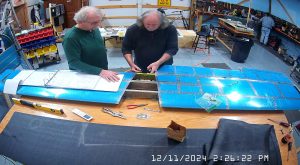
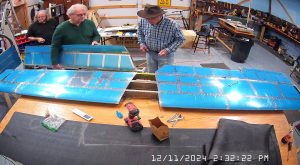
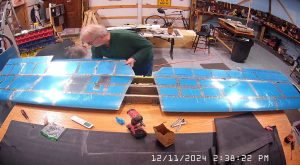
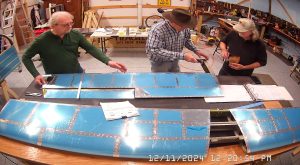
As with most things Vans you will see from these images that you assemble, disassemble and reassemble things more than once to get everything done.These snapshots incorporate the processes on page 11-2, all steps. Attaching the elevators to the horizontal stabilizer, and then checking the elevator range of motion. You have to screw the horizontal stabilizer to the bench to do this properly with the rear spar overhanging the edge of the bench by a couple of inches. Inserting the AN3 bolts into the 2 outboard elevator rod end bearings took some work. Must have dropped them on the floor 20 times or more.
When you have done that, and assuming everything is correct, you have to take the right elevator off, use the E-Drill bushing, which we had to file per the instructions in a drill press to get it to fit, to drill a matching hole in the left elevator horn. The you have to remove the left elevator, attach the right and repeat the process. That is all on page 11-3 to step 4.
