DAET: 12-06-2024 TIME: 09:46 – 4:16 p.m. ~ 5:30
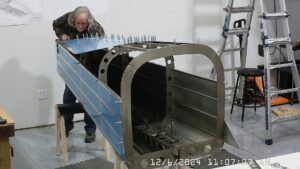
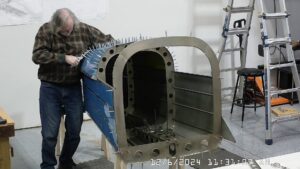
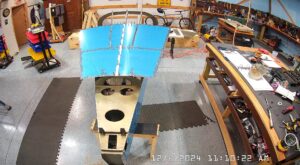
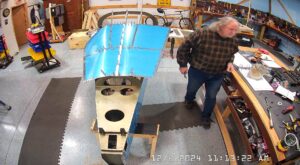
Assembling the Vans RV-10 tailcone / empennage I knew that I was going to be on my own today, no assistant, with quite a bit of riveting to get done. I had to figure out the best way to get as much done, without screwing up, as I could.
As you near the end of the empennage, or any large sub-assembly, mistakes can be costly and very time consuming to correct so I recommend the further along you are in assembly, the slower you should go, and read and re-read the instructions to make sure you haven’t missed anything.
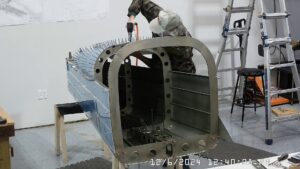
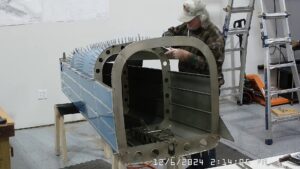
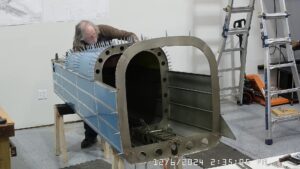
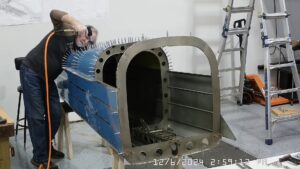
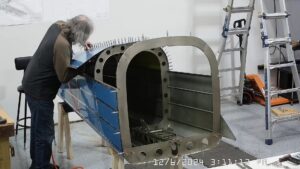
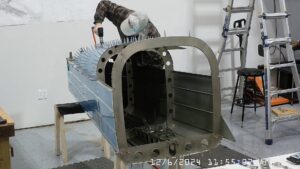
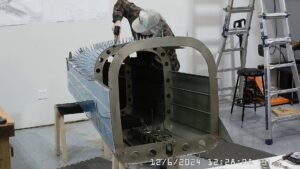
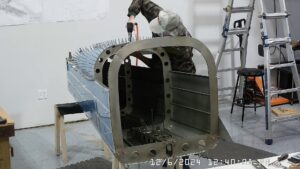
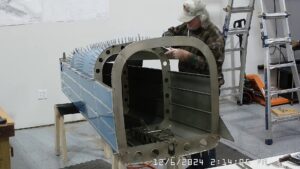
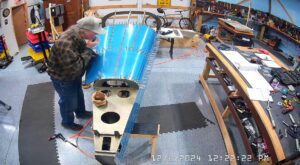
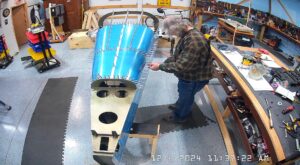
At this point I was starting on page 10-23 at step 2, riveting the aft top skin, F-1075, to the frames, F-1008, F-1009, the stiffeners F-1047B left and right, F-1047A and the F-1032 left and right longerons. Although the F-1075 is also riveted to the F-1007 frame the instructions say to not do that at this time as that is done when the front fuselage is attached to the empennage. Interestingly, they specifically say to not rivet the two front corner holes of the skin into the F-1007 which would also capture the F-1032 longerons. What the instructions don’t point out is that the rear two rivet holes, one on each of the left and right, is that they are for empennage fairing screws. Those holes are identified on page 10-25, the 64th rivet holes from the front of the side skin. Nott sure why this is not mentioned but I did not rivet them, leaving them for the empennage fairing screw. If it turns out I’m wrong I can always put a rivet in later, but I don’t think I’m wrong.
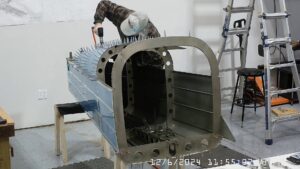
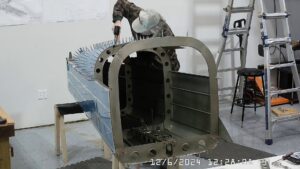
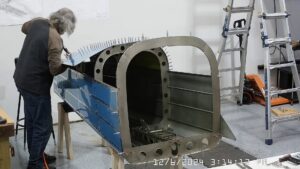
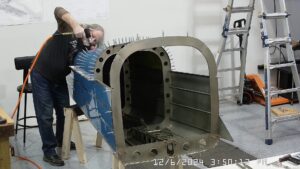
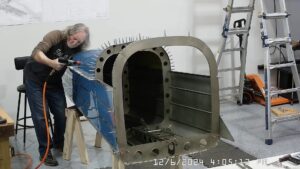
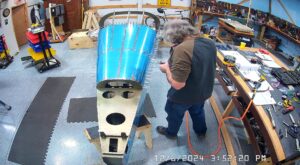
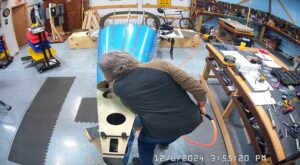
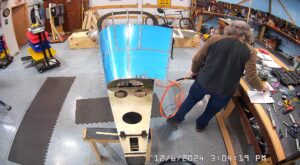
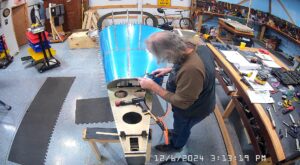
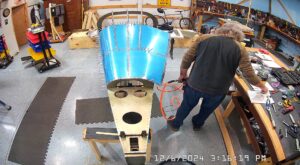
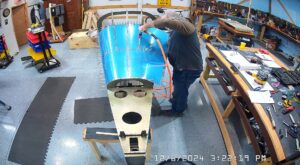
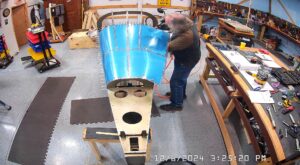
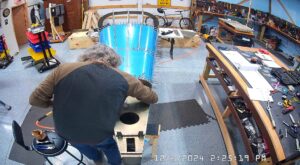
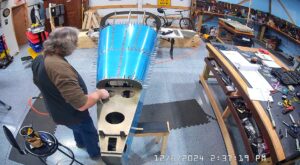
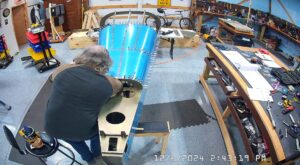
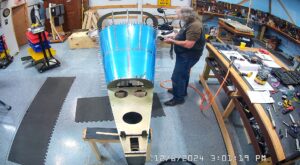
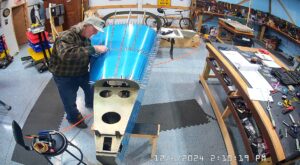
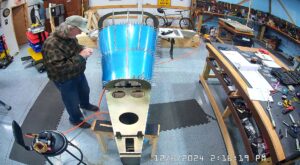
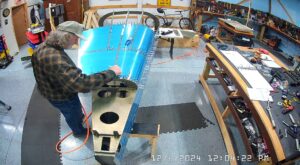
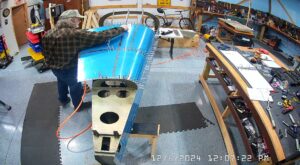
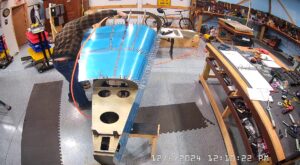
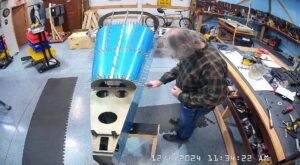
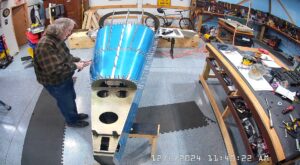
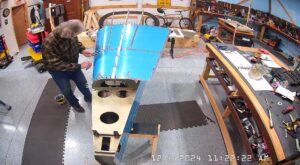
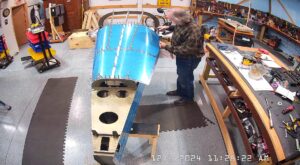
When you look at this skin it isn’t immediately obvious as to how you can rivet it on your own without really long arms, if at all. I experimented a little with this but in the end my process was as follows:
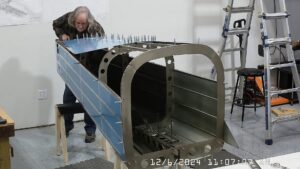
- Cleco the top skin to the F-1047A stiffener and the F-1007, 8 and 9 frames.
- Cleco the left half of the skin to the F-1047B stiffener, down the F-1007, 8 and 9 frames and across the bottom to the F-1032 left longeron.
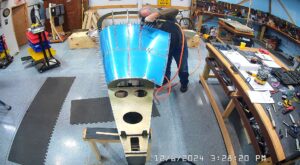
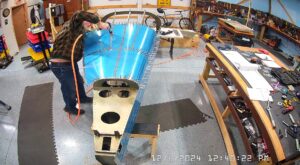
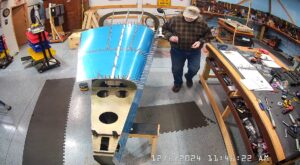
- Start by riveting the skin to the F-1047A stiffener and to the frames down the centre.
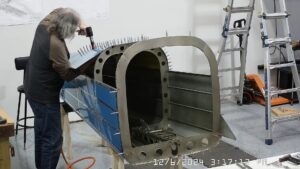
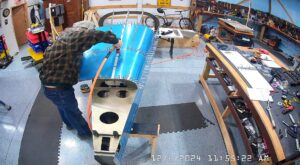
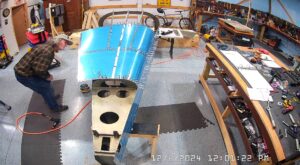
- Then I riveted down the frames on the right side 3 or 4 rivets at a time to the F-1047B right stiffener, and then along the stiffener.
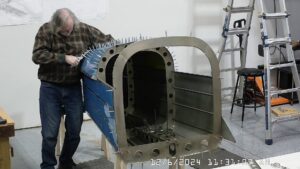
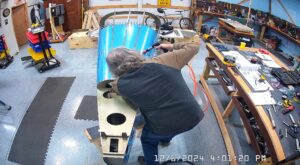
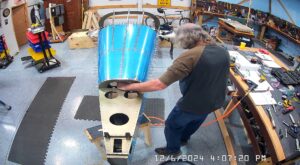
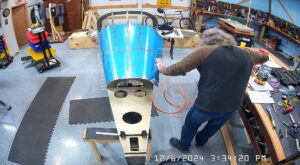
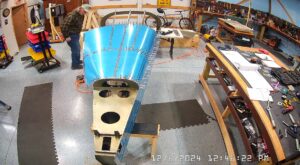
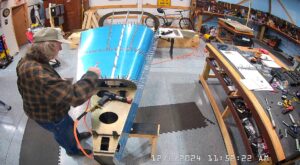
- At this point it is getting difficult to get the bucking bar under the side of the skin, but to the extent I could, without bending / creasing the skin, I riveted down towards the F-1032 longeron. I started with the F-1009, then the F-1008 and of course cleco’d the F-1007 to keep everything as aligned as possible.
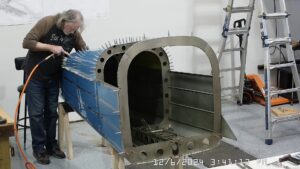
- I could not reach the most aft rivet with the bucking bar from the front and still have the rivet gun on the outside so I rolled up my sleeve and put my arm through the back, through the frame of the F-1009. From there I could reach all the way forward to the rivet on the forward side of the F-1008 frame to buck it.
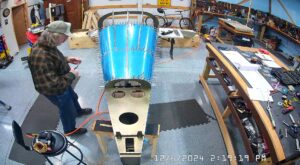
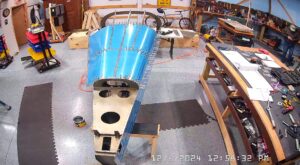
I left the majority of the F-1075 to F-1032 longeron, forward of the F-1008, bucking to the following day when I knew I would have some assistance. This was a difficult are to do and I also gave EJ and another friend the opportunity to do the riveting. It was difficult holding the bucking bar, particularly closer to the F-1008, from the front with any strength so we ended up going back and re-setting a number of those rivets.
Putting my arm through the F-1009 frame to buck the back of the F-1075 resulted in a few scrapes and some bruising, but nothing too terrible.
I had completed steps 3 , 4 and 5 on page 120-23 yesterday so no need to repeat that information today. While assembling the bellcrank into the tailcone we had scratched the interior of the bottom skin so I started my day removing the scratch and priming the newly sanded area. There are no snapshots of the process but it’s not difficult, you just have to remember to sand in the direction of the aluminum grain and not across the grain.
