DATE: 12-29-2024 TIME: 2:42 – 4:16 ~ 1:30
Watching Roger Dubbert and listening to him build the Zenith aircraft is a real treat. One of the things he maintains, as he did when we first purchased the tail kit from him at Sun-N-Fun in April 2024, is that priming the interior of the airframe is not necessary if you are not in a particularly salty atmosphere. We are here in middle Tennessee and he said he wouldn’t bother, the airplane will probably last 100 year without corrosion here.
All that said to say that I decided to prime the entire interior of the airframe anyway because:
- I had already purchased enough primer for the RV-10 airframe and as it expires, leaving it to go stale wouldn’t make any sense
- You have to prime wherever there are metals overlapping, like all riveted seams etc. and trying to prime just those areas, while using less primer, doesn’t seem any less difficult that just priming the whole thing
- If I do come to sell the aircraft someone who lives in a harsher environment would be more likely to consider it an option if it is completely primed
- The additional weight, particularly given the thickness of the skins, is going to be negligible.
The down side is that my “paint shop” is just a partially plastic lined area under my barn side shed so, given that it is winter right now, it’s cold and windy and uncomfortable. I have Sherwin-Williams P60G2 wash primer which uses a catalyst-reducer so it cures just fine even though it is cold. I also have zinc phosphate primer for priming areas of parts I either missed, or just doing a couple of small parts. The zinc phosphate does not cure in the cold humidity.
There are a number of real differences between the Vans RV-10 build process and the Zenith. The Zenith is a much simpler design, doesn’t use alclad aluminum, uses pop rivets, much thicker skins and far fewer parts overall. Both kits are matched hole, final size drilled, for the most part and although Zenith generally says deburring shouldn’t be all that necessary, Vans says to be sure to deburr. I took the Vans route and started by deburring all of the rudder components.
The other major difference between the two kits is that with the Vans kit you have to assemble the subassemblies, then disassemble them, then dimple and countersink and, finally, reassemble and rivet, mostly with a rivet gun and bucking bars which often requires 2 people. The Zenith rudder is very much a one time assemble and then rivet.
One of the things I found confusing is that the videos pointed to by Zenith regarding rudder assembly do not comport with the IPL instructions provided with the kit. I chose to follow Roger’s order as there didn’t seem to be much need to do the riveting in smaller steps.
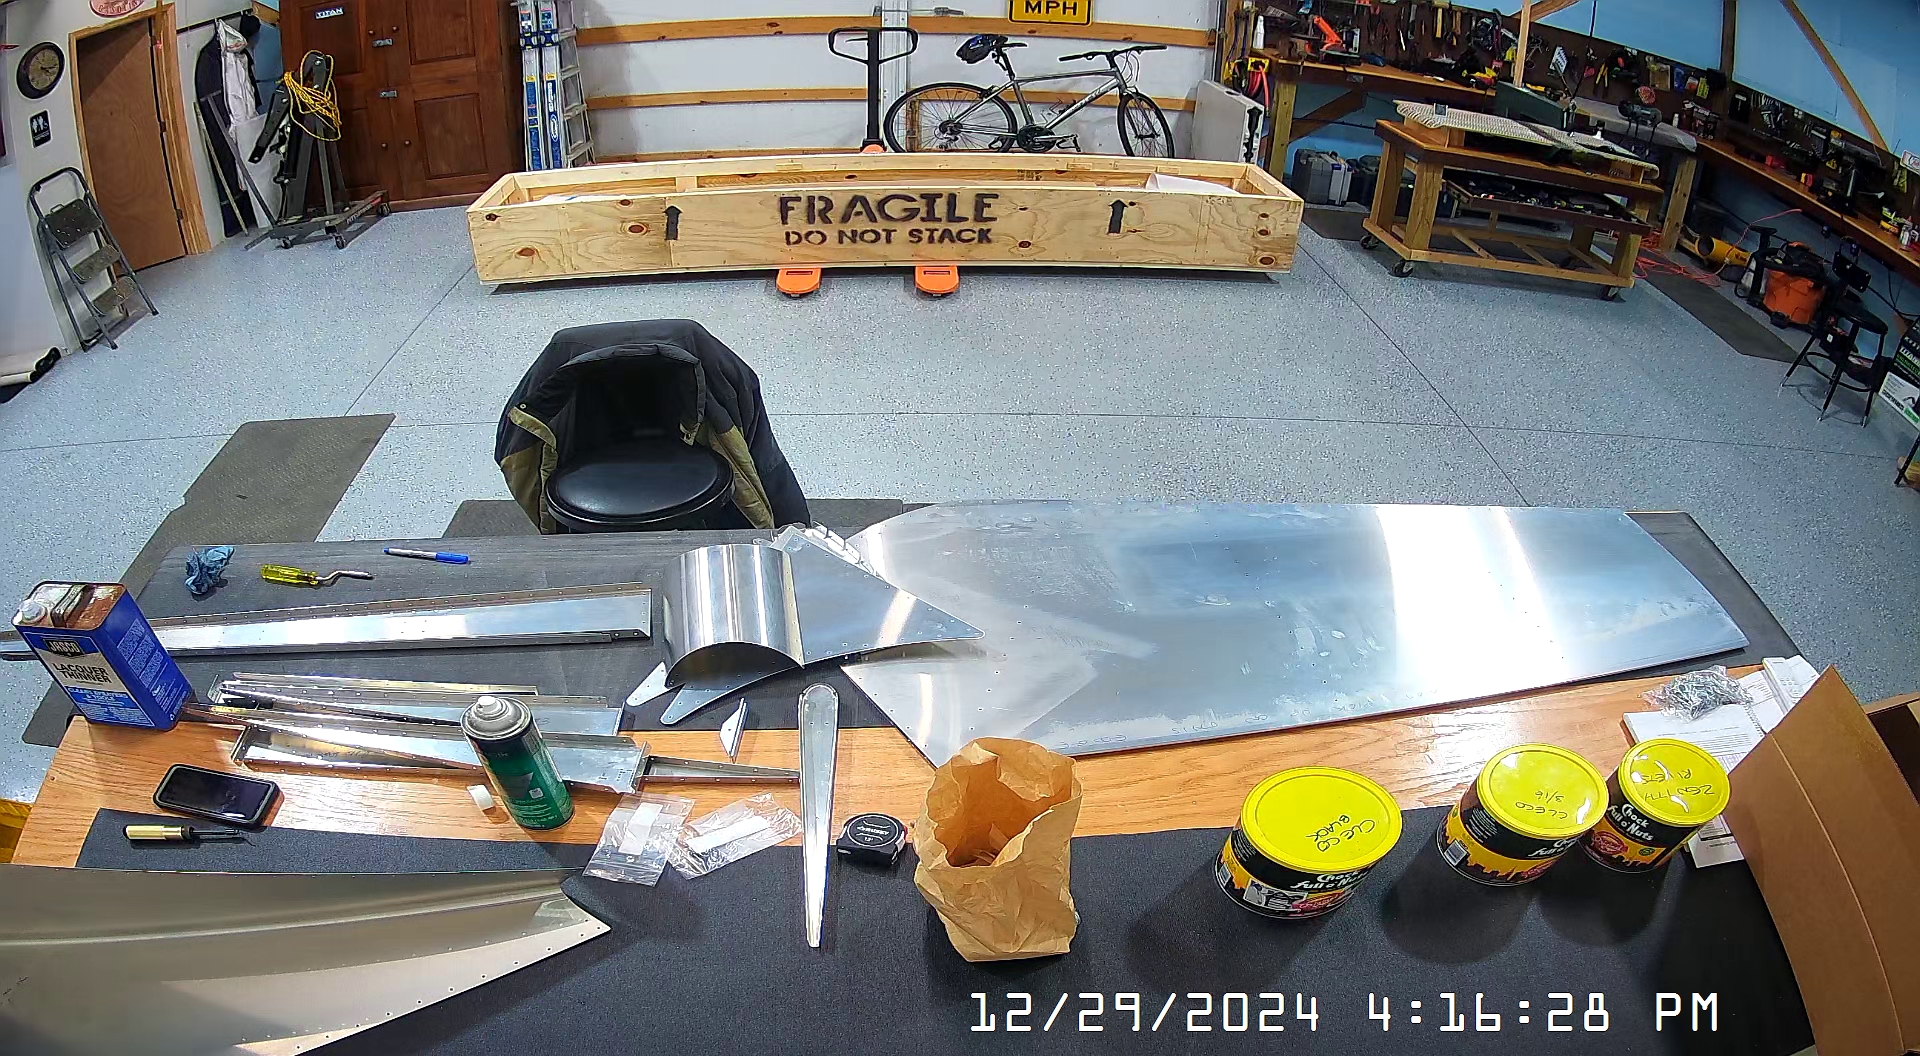
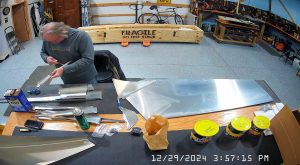
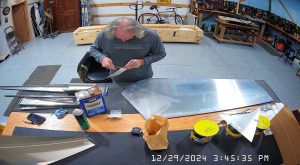
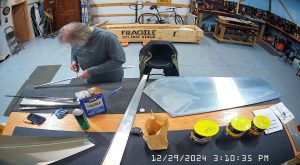
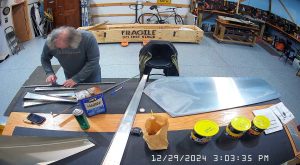
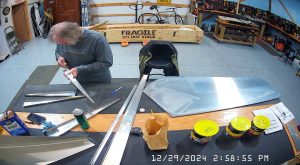
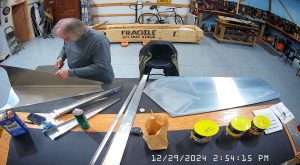
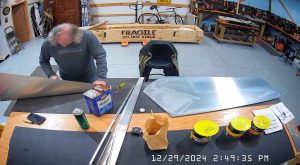
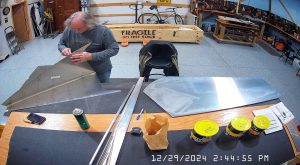
The snapshots here are primarily my deburring and cleaning process.
The next step for me was to scuff and prime all the rudder parts prior to assembling and riveting them together.
