DATE: 2024-08-23 TIME: 4:30
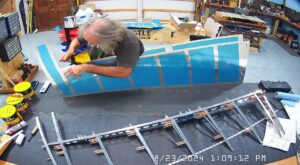
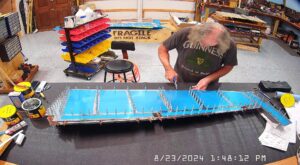
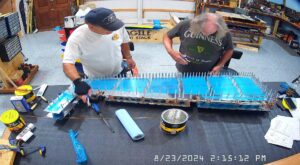
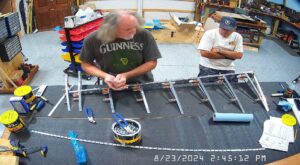
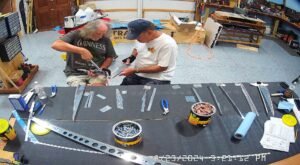
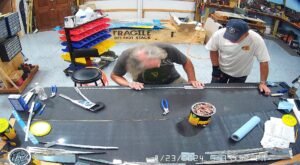
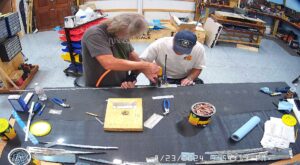
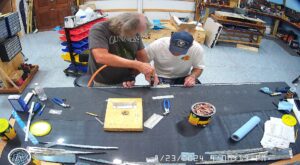
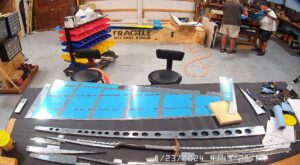
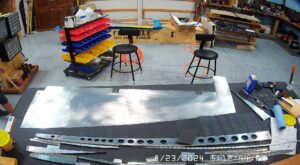
Picking up where we left off yesterday with the rudder assembly. Started by deburring the sking and then attaching the left skin to the rudder skeleton with clecos.
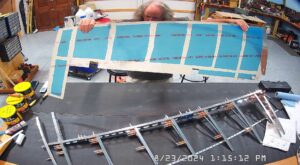
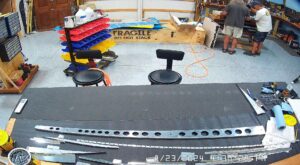
Then lined up and attached the trailing edge wedge followed by the left skin. After checking all the holes were final sized, the parts were final sized during manufacture so we had nothing to do there, the whole assembly was then disassembled again.
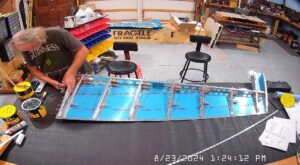
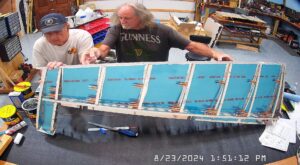
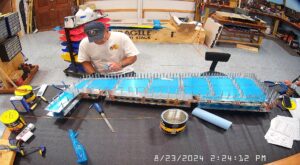
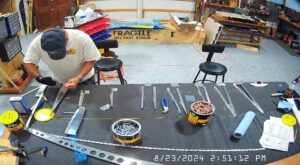
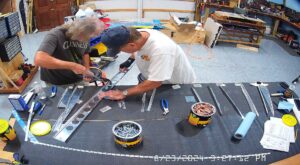
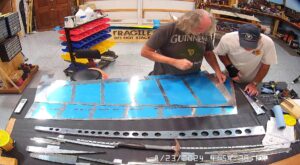
Then deburring and dimpling all the various components. Some were easiest done with the rivet squeezer and some on the C-Frame. This was then followed by machine countersinking the trailing edge wedge which was greatly facilitated by using the trailing edge wedge tool purchased from Cleveland as it held the wedge flat for a perpendicular countersinking cage.
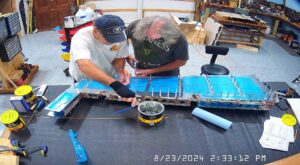
Both sides of the wedge have to be machine countersinked, careful to not countersink too deeply and widen the holes, because the trailing edge is double-flush riveted.
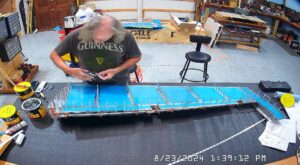
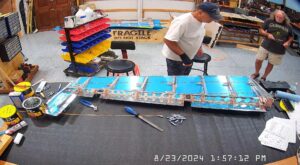
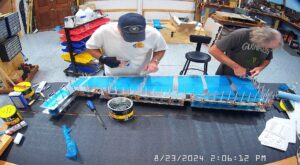
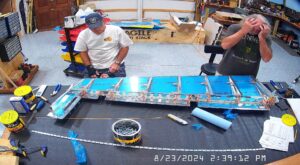
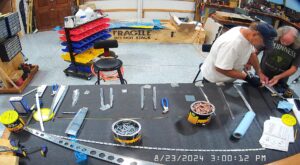
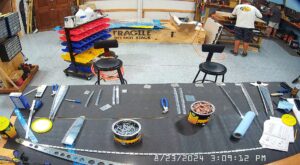
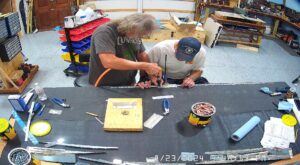
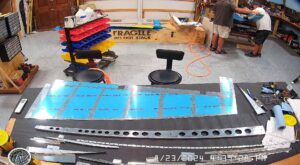
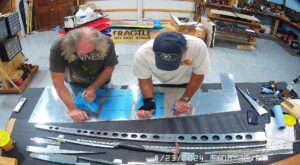
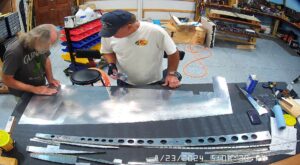
After that it was a matter of scuffing and cleaning ready for priming.