DATE: 11-05-2024 TIME: 10:43 – 4:19 ~ 6:00 hours
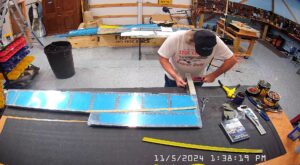
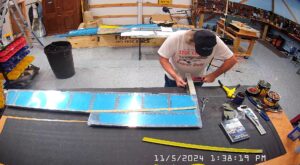
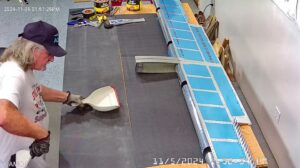
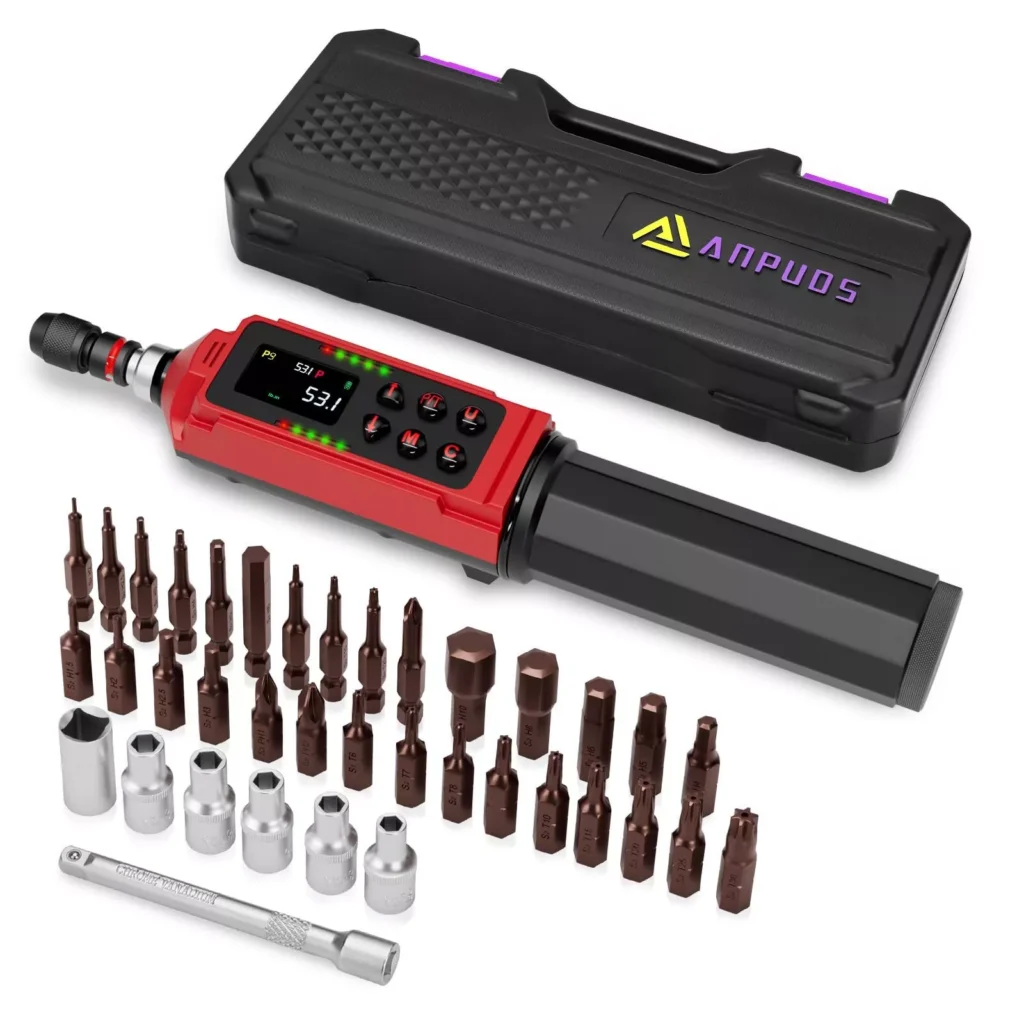
I had not completed the counterbalance weight trimming so started this morning again at step 8, trimming the weights and then attaching them to the outboard rib tips of the elevators. I had purchased a really nice digital torque wrench off eBay for tightening the bolts and screws.
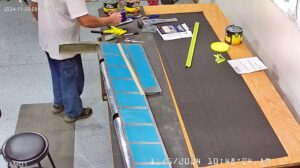
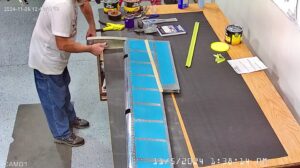
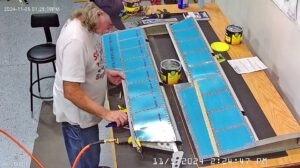
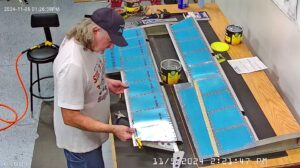
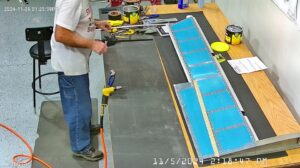
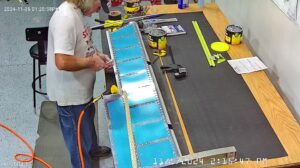
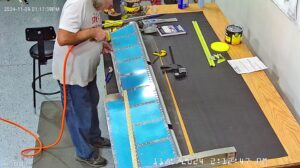
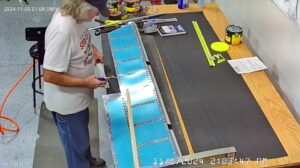
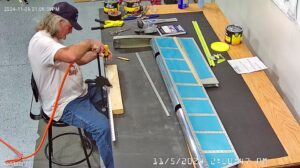
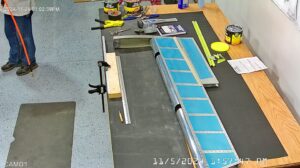
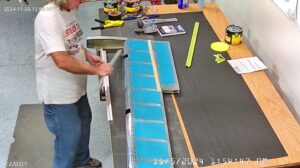
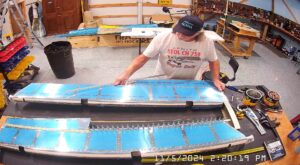
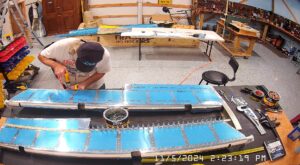
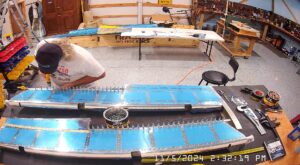
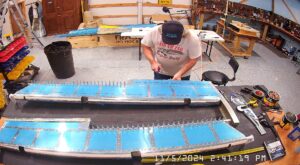
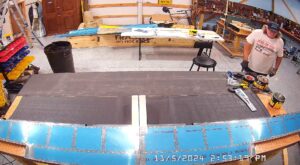
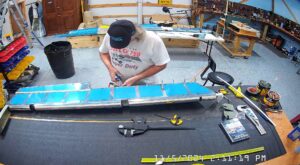
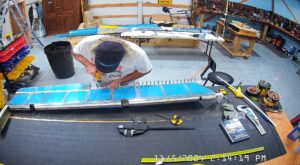
The snapshots below are primarily the attachment of the counterbalance weights to the outboard rib tips, but a few trimming snapshots too. I did not use gloves, and probably should have. Having lead dust embedded in your skin is probably not a good thing.
As I was working on finishing of the elevators, except for gluing the foam ribs, I continued with the steps on Page 9-18 with steps 1 through 3, trimming and attaching the trim tab hinges to the elevator.
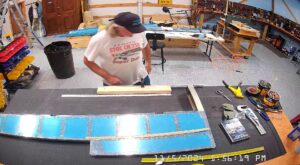
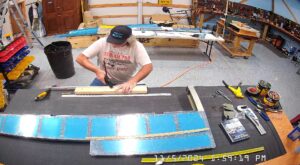
I finished off the day cutting templates for the making the 6 clamps / jigs for the trim tab forming. We had already cut them from a board but one of the clamps cracked so I figured to make all six again using plywood. This is actually on Page 9-16 Step 1. I do all my wood cutting outside as I don’t want the sawdust in the workshop so you cannot see that, but you can see the blocks made in the next post.
