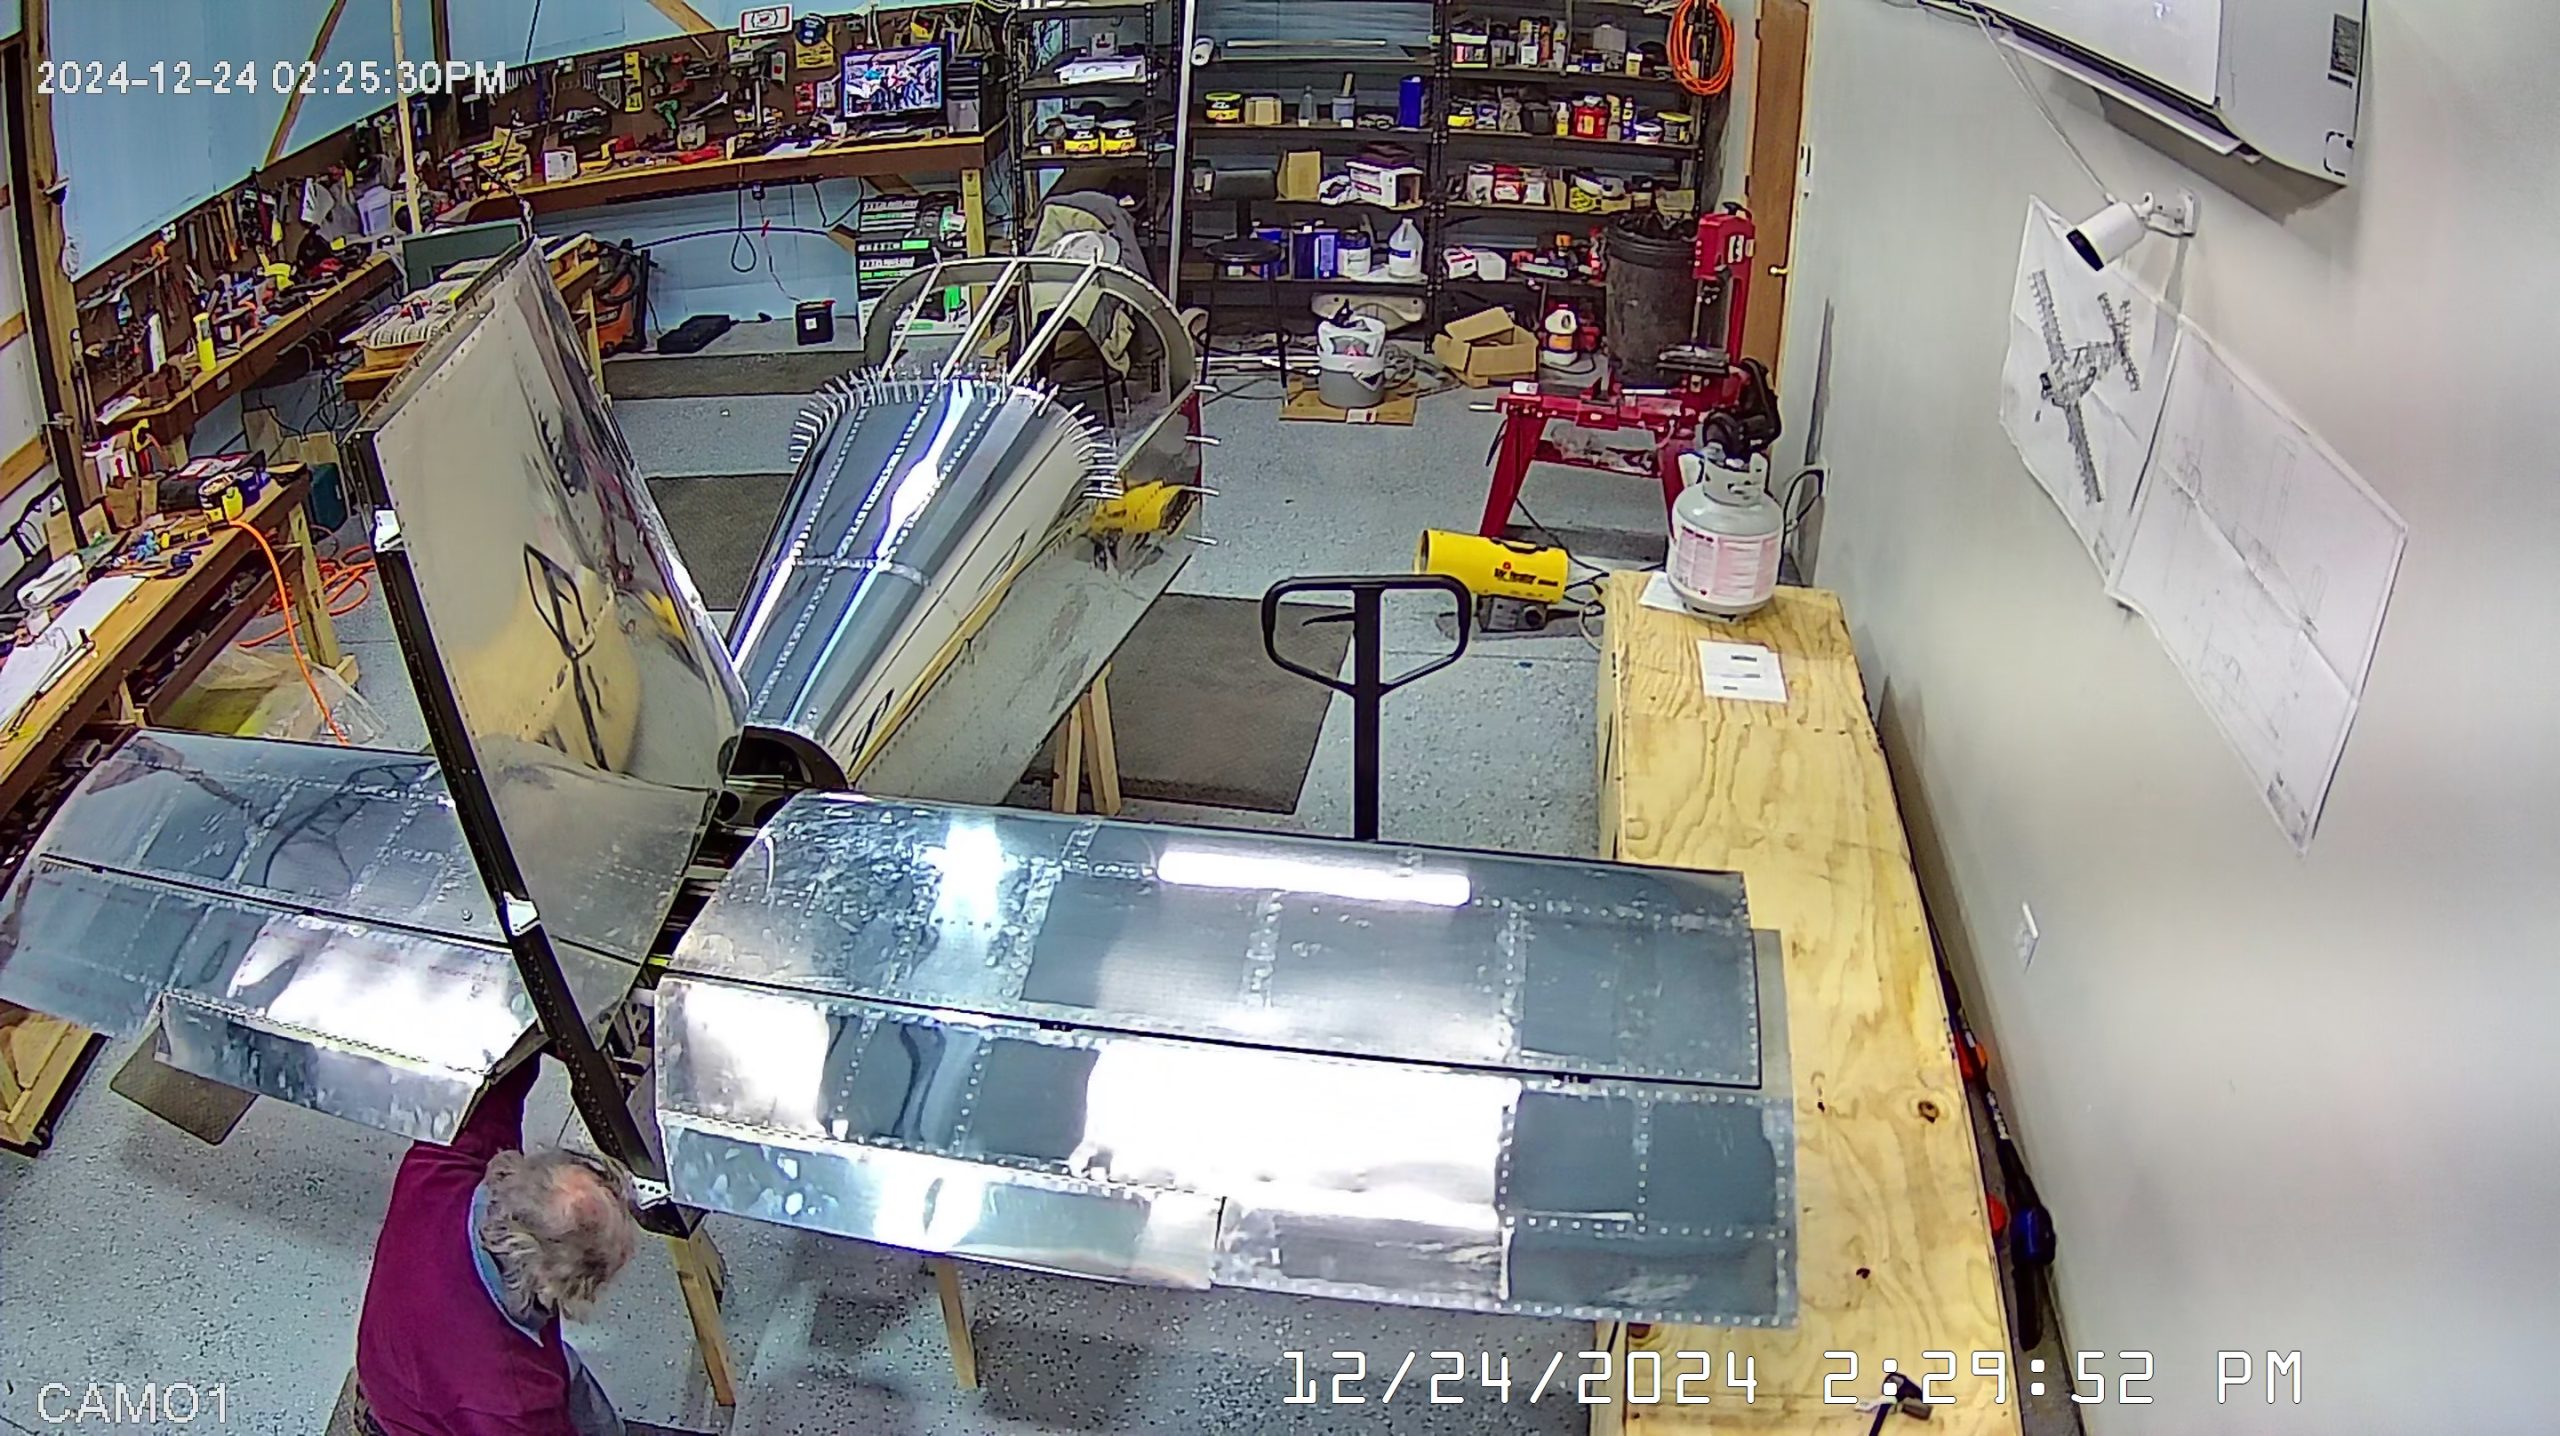
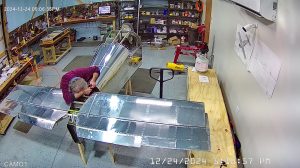
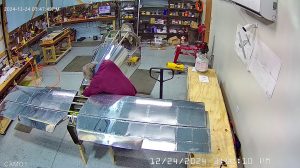
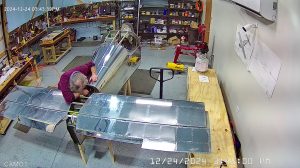
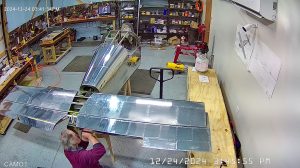
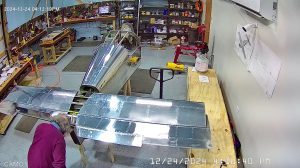
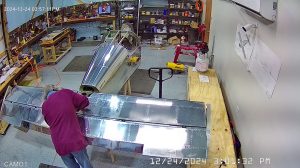
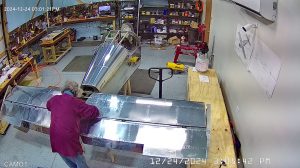
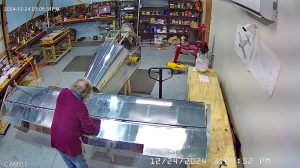
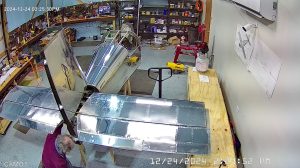
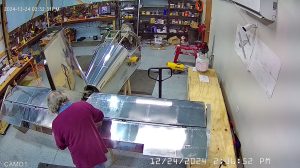
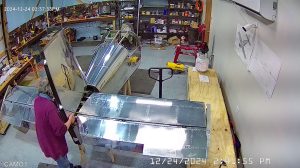
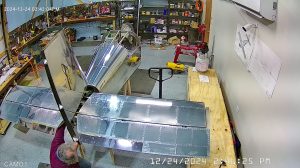
DATE: 12-24-2024 TIME: 11:14 – 5:38 p.m. ~ 6:00
Today the assembly of the RV-10 empennage continued on page 9, step 2, installing the elevator trim brackets, servo and cables into the tailcone and attaching the cables to the trim.
I had left the vertical stabilizer attached to the tailcone in the hope that I could complete the trim control installation without having to remove it. This proved to be next to impossible and after a short attempt I decided to just remove the vertical stabilizer and proceed from there. The cables that are part of the elevator trim are armoured and very rigid despite being flexible and feeding them through the horizontal stabilizer and attaching them to the trim tab horns was not easy.
To make matter worse, the instructions say to feed the cables through to the cover plates and the nuts riveted on the cover plates. Once the cables have been routed, the instructions say to attach the F-1095 elevator trim sub-assembly to the F-1014 aft deck with the screws indicated. I found this to be quite difficult as, I ultimately discovered, the sub-assembly was pressing up against the spacer beneath the vertical stabilizer attachment bulkhead.
Nevertheless, having attached the sub-assembly to the F-1014 aft bulkhead I proceeded to step 3 to try and thread the trim cable anchor bracket assembly onto the cable until it was about half way on the 7/16 thread of the cable. This was virtually impossible without putting some serious stress on the cable but I did manage to get the left elevator done. Then, attaching the anchor sub-assembly to the elevator was very difficult with a lot of stress on the cover plate.
Nevertheless, I moved over to the do same with the right trim table and found that to be even more difficult but I did get it done. Then I ran the tabs to the full nose up position to try and make the necessary adjustments per the instructions and found I could not.
In the process of doing all of this, I had also unscrewed the trim tab control sub-assembly so make it easier to pull more cable through the elevator and make it easier to thread the rear anchor sub-assembly onto the cable. When I came to re-attach the sub-assembly I discovered that one of the screws was slipping so I determined to remove the whole trim table cable assembly and, if necessary, replace the nutplate. So I reversed everything I had done so far and then decided to leave the trim tab controls until the following day when I would finish it off.
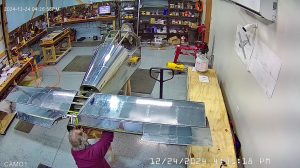
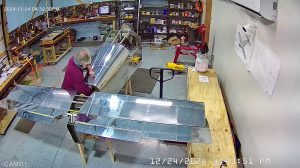
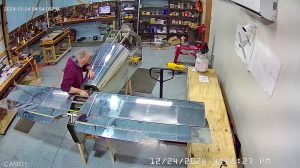
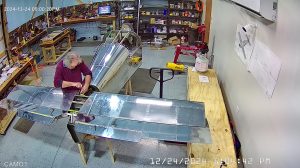
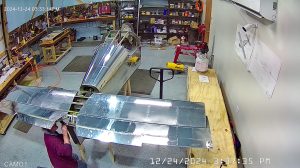
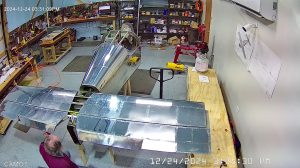
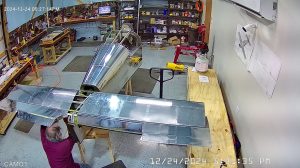
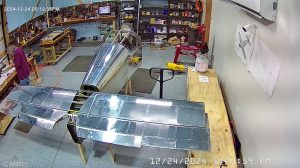
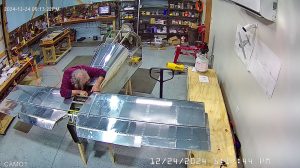
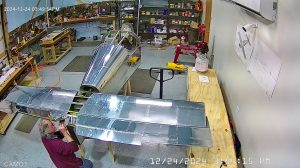
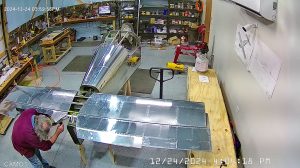
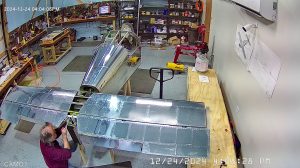
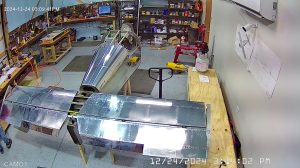
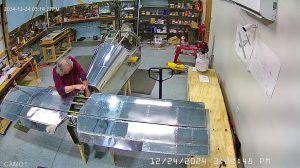
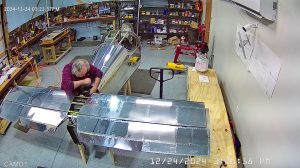
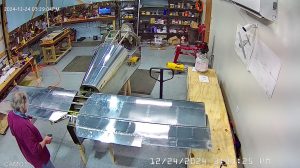
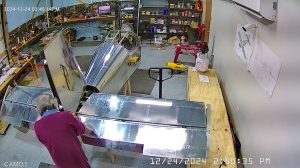
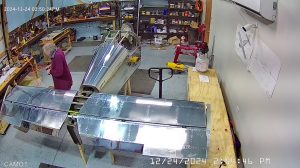
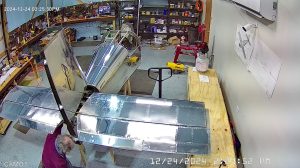
These snapshots are of me going through this process. I have tried to make them as meaningful as possible but the nature of the work and the location of the camera(s) make that difficult.
