DATE: 02/01/2025 – TIME: 2:44 – 5:06 ~ 2:15
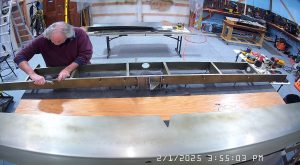
As with the Vans RV-10, there are multiple posts with respect to many of the assembly processes simply because there is a lot of repetitive work and, being detail oriented, I take my time. Thus, today I continue with the enith 750 SD horizontal stabilizer assembly.
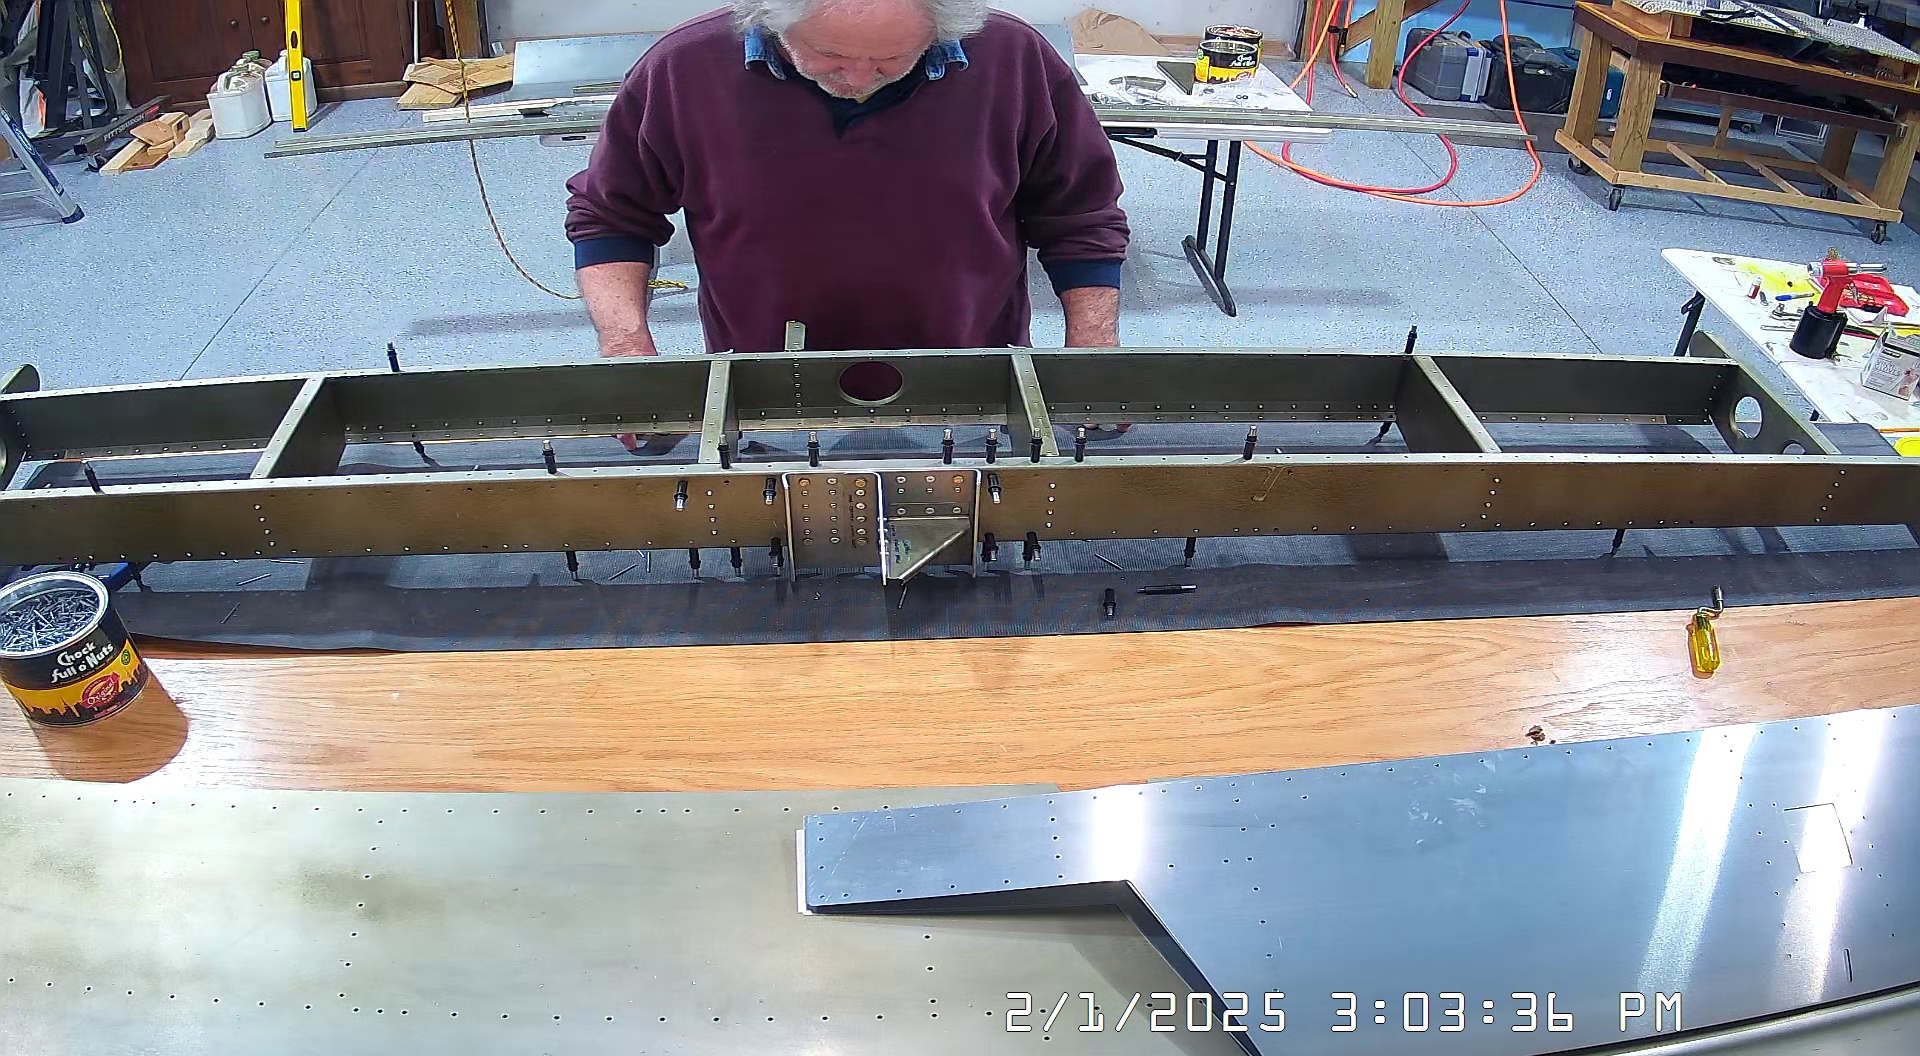
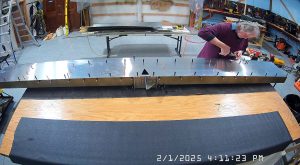
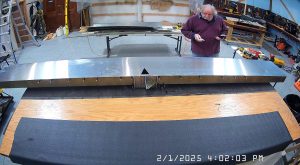
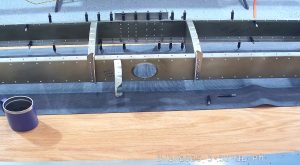
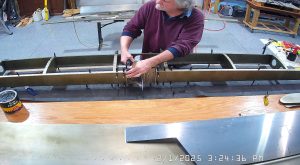
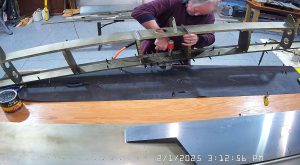
The pictures below show the riveting of the various brackets and doublers to the centre of the rear spar. I mentioned elsewhere that I have had to final size drill a number of the related parts.
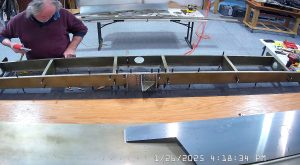
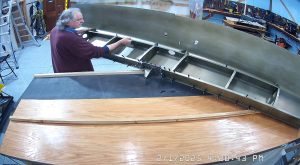
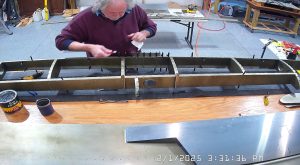
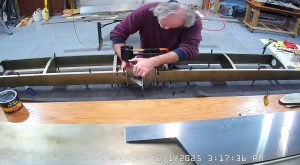
I finished off the riveting and torquing the bolts and then proceeded to attach the skin per the instructions. I tried initially to use a couple of 2×2 lumber pieces to level and keep the assembly off the clecos but that did not work so I switched to a couple of short pieces of 2×4 on edge and that worked fine.
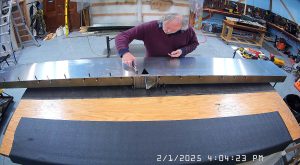
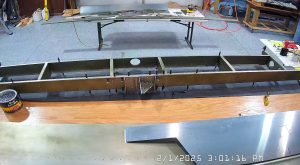
I did a lot of double checking to make sure I had riveted everything that was going to be inaccessible once the skins were clecod in place. You will notice in these pictures that the nose ribs were not drilled for rivets and that some of the rib holes were not final sized so I had to do both.
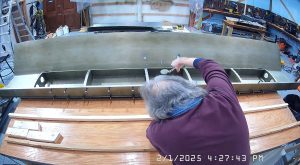
The nose ribs have to be match drilled so the way to accomplish this correctly is to draw a line down the centre of the rib flange and then, when it is in place beneath the skin, maneuver it so that the line shows in the centre of the skin hole through which you are going to match drill. The most difficult part of this is marking the centre line where the rib flange tapers.


It is a difficult time of year to get too many hours in as I am also preparing for the upcoming fruit orchard season and it has been pretty cold some days. Also, I am not going to pick up my fuselage until 2/20 so I can easily finish the tail before I can start on the fuselage.