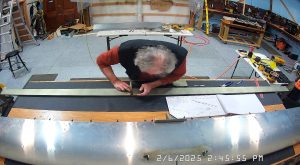
DATE: 02/06/2025 – TIME: 2:14 p.m. – 4:33 ~ 2:30
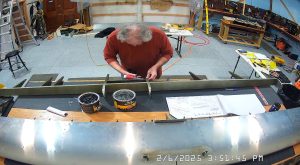
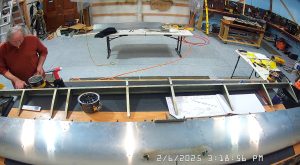
At this point I had finished the assembly of the horizontal stabilizer and so began the process of assembly the elevator.
The first step is to identify the top of the two tip ribs by drawing a line through the tooling holes. The side of the line that the leading edge is on is the top of the rib. Then cleco the rib angles to the tip ribs with the flange that attaches to the rib forward and the flange that attaches to the spar to the rear. My instructions then said to drill the middle hole through the rib and the rib angle for the hinge pin but I checked with the hinge pin and the hole was the correct size.
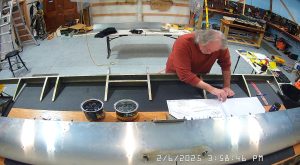
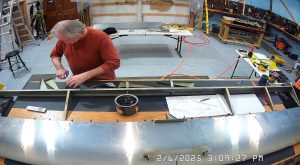
Next is to cleco the rib angle to the ends of the spar with the flange against the back / rear of the spar. Then cleco the nose ribs to the elevator spar. The flat face of the rib is placed toward the center of the spar and the open flange side outboard. Make sure the rib flanges are flush with the flange of the spar. If one flange is not flush then you have the rib upside down. Another way to look at the ribs is that the forward tooling hole should be above the one closer to the spar for proper leading edge orientation of the ribs.. Also, my nose ribs did not have any rivet holes in them. The best way to address the missing holes issue is to draw a line down the centre of the flange of the ribs which will facilitate lining the rib up with the holes in the skin to be match drilled when you are attaching the skin to the skeleton.
At this point you attach the symmetrical rear ribs, there is one extra on the left for the trim tab, with the flat web towards the centre and the open flanges outboard. Then it’s just a matter of riveting everything together to form the elevator skeleton.
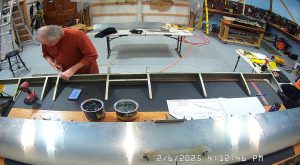
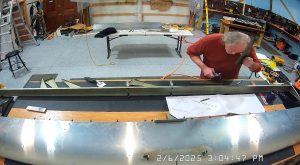

When attaching the L angles to the elevator channel, the angle flanges go on the rear of the channel which is the flat side of the web and when clecoing the channel to the rear ribs the flanges go forward. It seemed a bit weird to me but when I tried to align the skin I could not get the holes in the channel to align properly so I turned the channel over and everything lined up OK. I’m just glad I had not riveted the channel in place before test aligning the skins. Not sure why this would be but it seems as though the rivet holes are not spaced the same on the top and bottom of the skins.
Next the instructions say to pull the trim tab servo wire through the holes in the nose rib and spar, only there were no holes so I drilled them with a 3/8th drill bit and then inserting the grommets provided. Then you can pull the wire through.
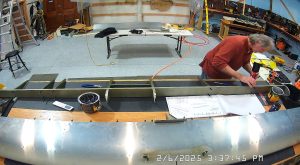
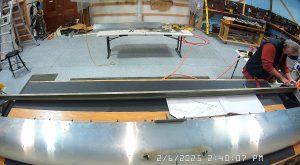
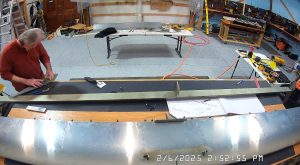
At this point I slid the left elevator skin onto the skeleton and that’s when I discovered that the holes did not seem to align correctly with the channel so I flipped the channel over and everything aligned OK. To be certain, I also slipped the right elevator skin onto the frame. Once satisfied I took the skins off and riveted the channel in place.